Updated October 4, 2026. This guide covers Desktop v0.5.0-beta.3. Screenshots retain the existing K12 theme demonstration; homework and artwork shown are labeled “AI-generated example · Not real student work.”
The previous article, “ Calmer homework time with HexClaw AI ,” explains why you can trust it enough to teach a child: calculation evidence, locally owned mistake records, and a scenario package removable at compile time. This article leaves the underlying design aside and does one thing: walk you through using the whole workflow from scratch . Once your model is configured, follow the screenshots and send your first homework photo.
Keep one principle in mind : the child does not work directly with AI; you, the parent, use AI to prepare a lesson, then teach the child . This walkthrough connects Desktop to a local service, so mistakes, learning records, and photos are stored on this computer. With a cloud service, learning assets are stored on the machine hosting that service. When using a cloud model, the questions, images, and context needed for processing are sent to your configured provider. The first step is therefore to create a dedicated tutor for your child, rather than start chatting with AI.
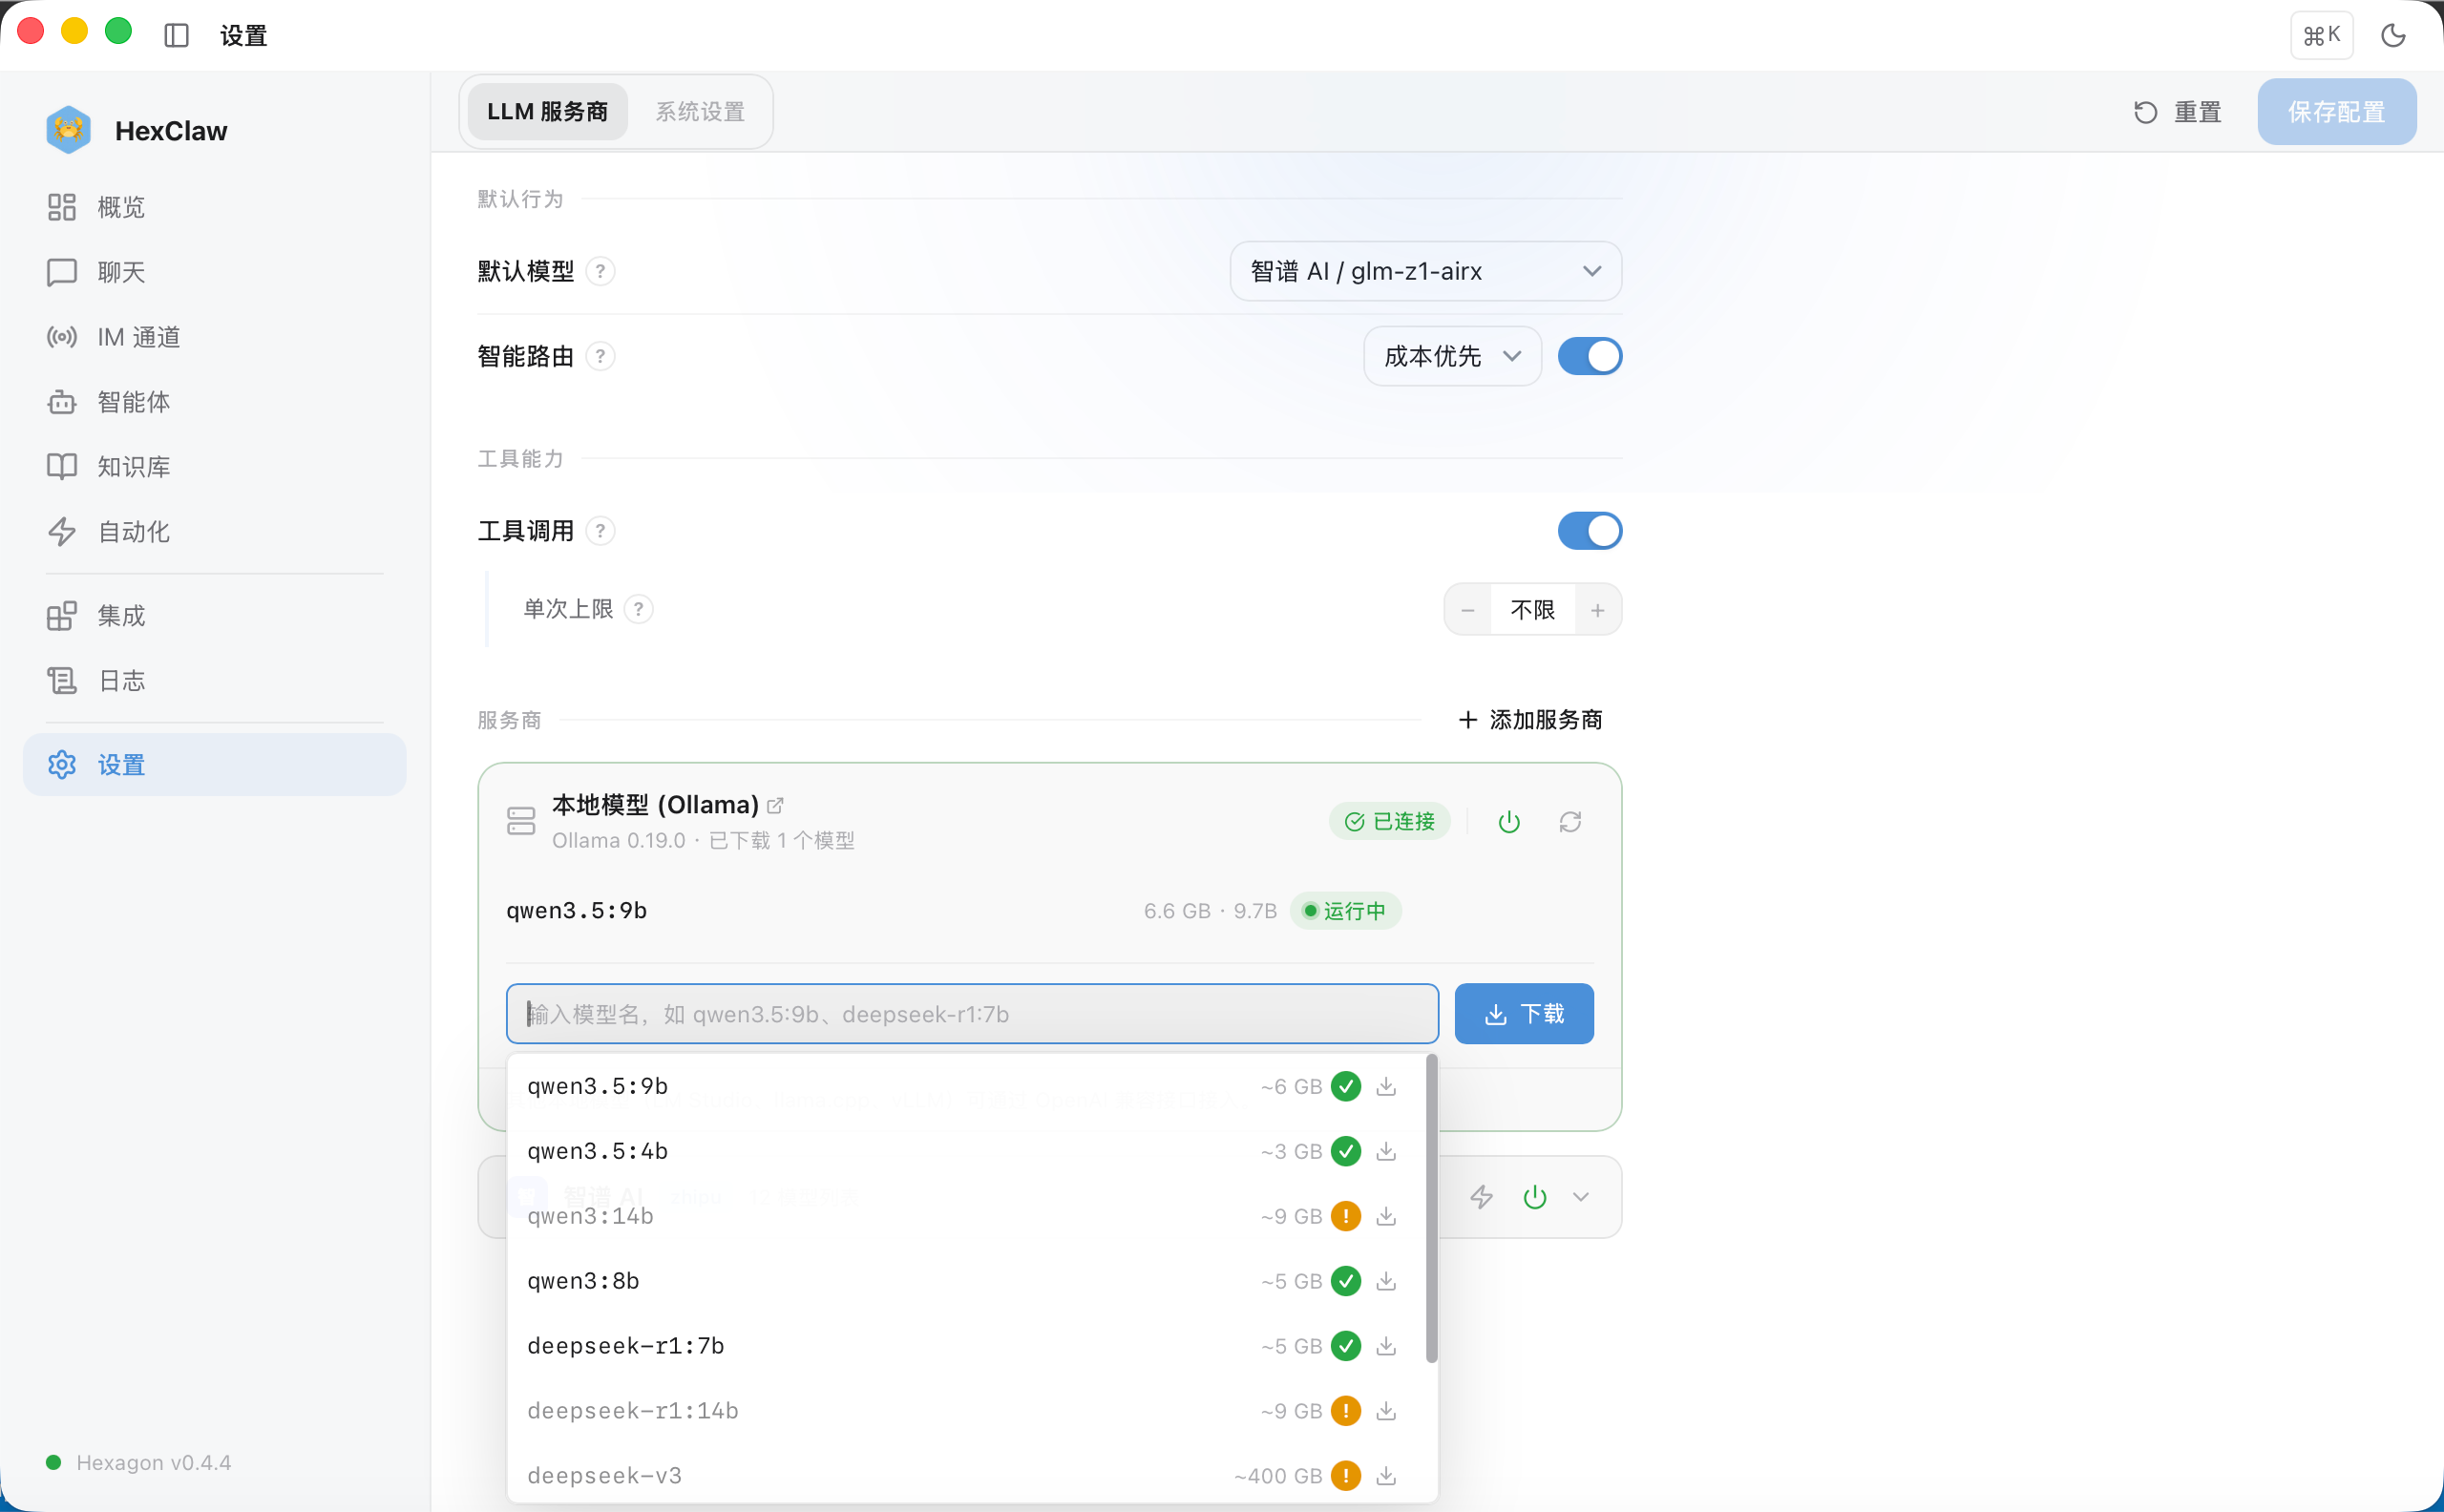
Check the version before starting : download and install HexClaw AI Desktop v0.5.0-beta.3 , then configure a model in Settings → LLM Providers. For photos, choose a model that can read images and reason . The software is open source and free; third-party model calls are billed by the provider.
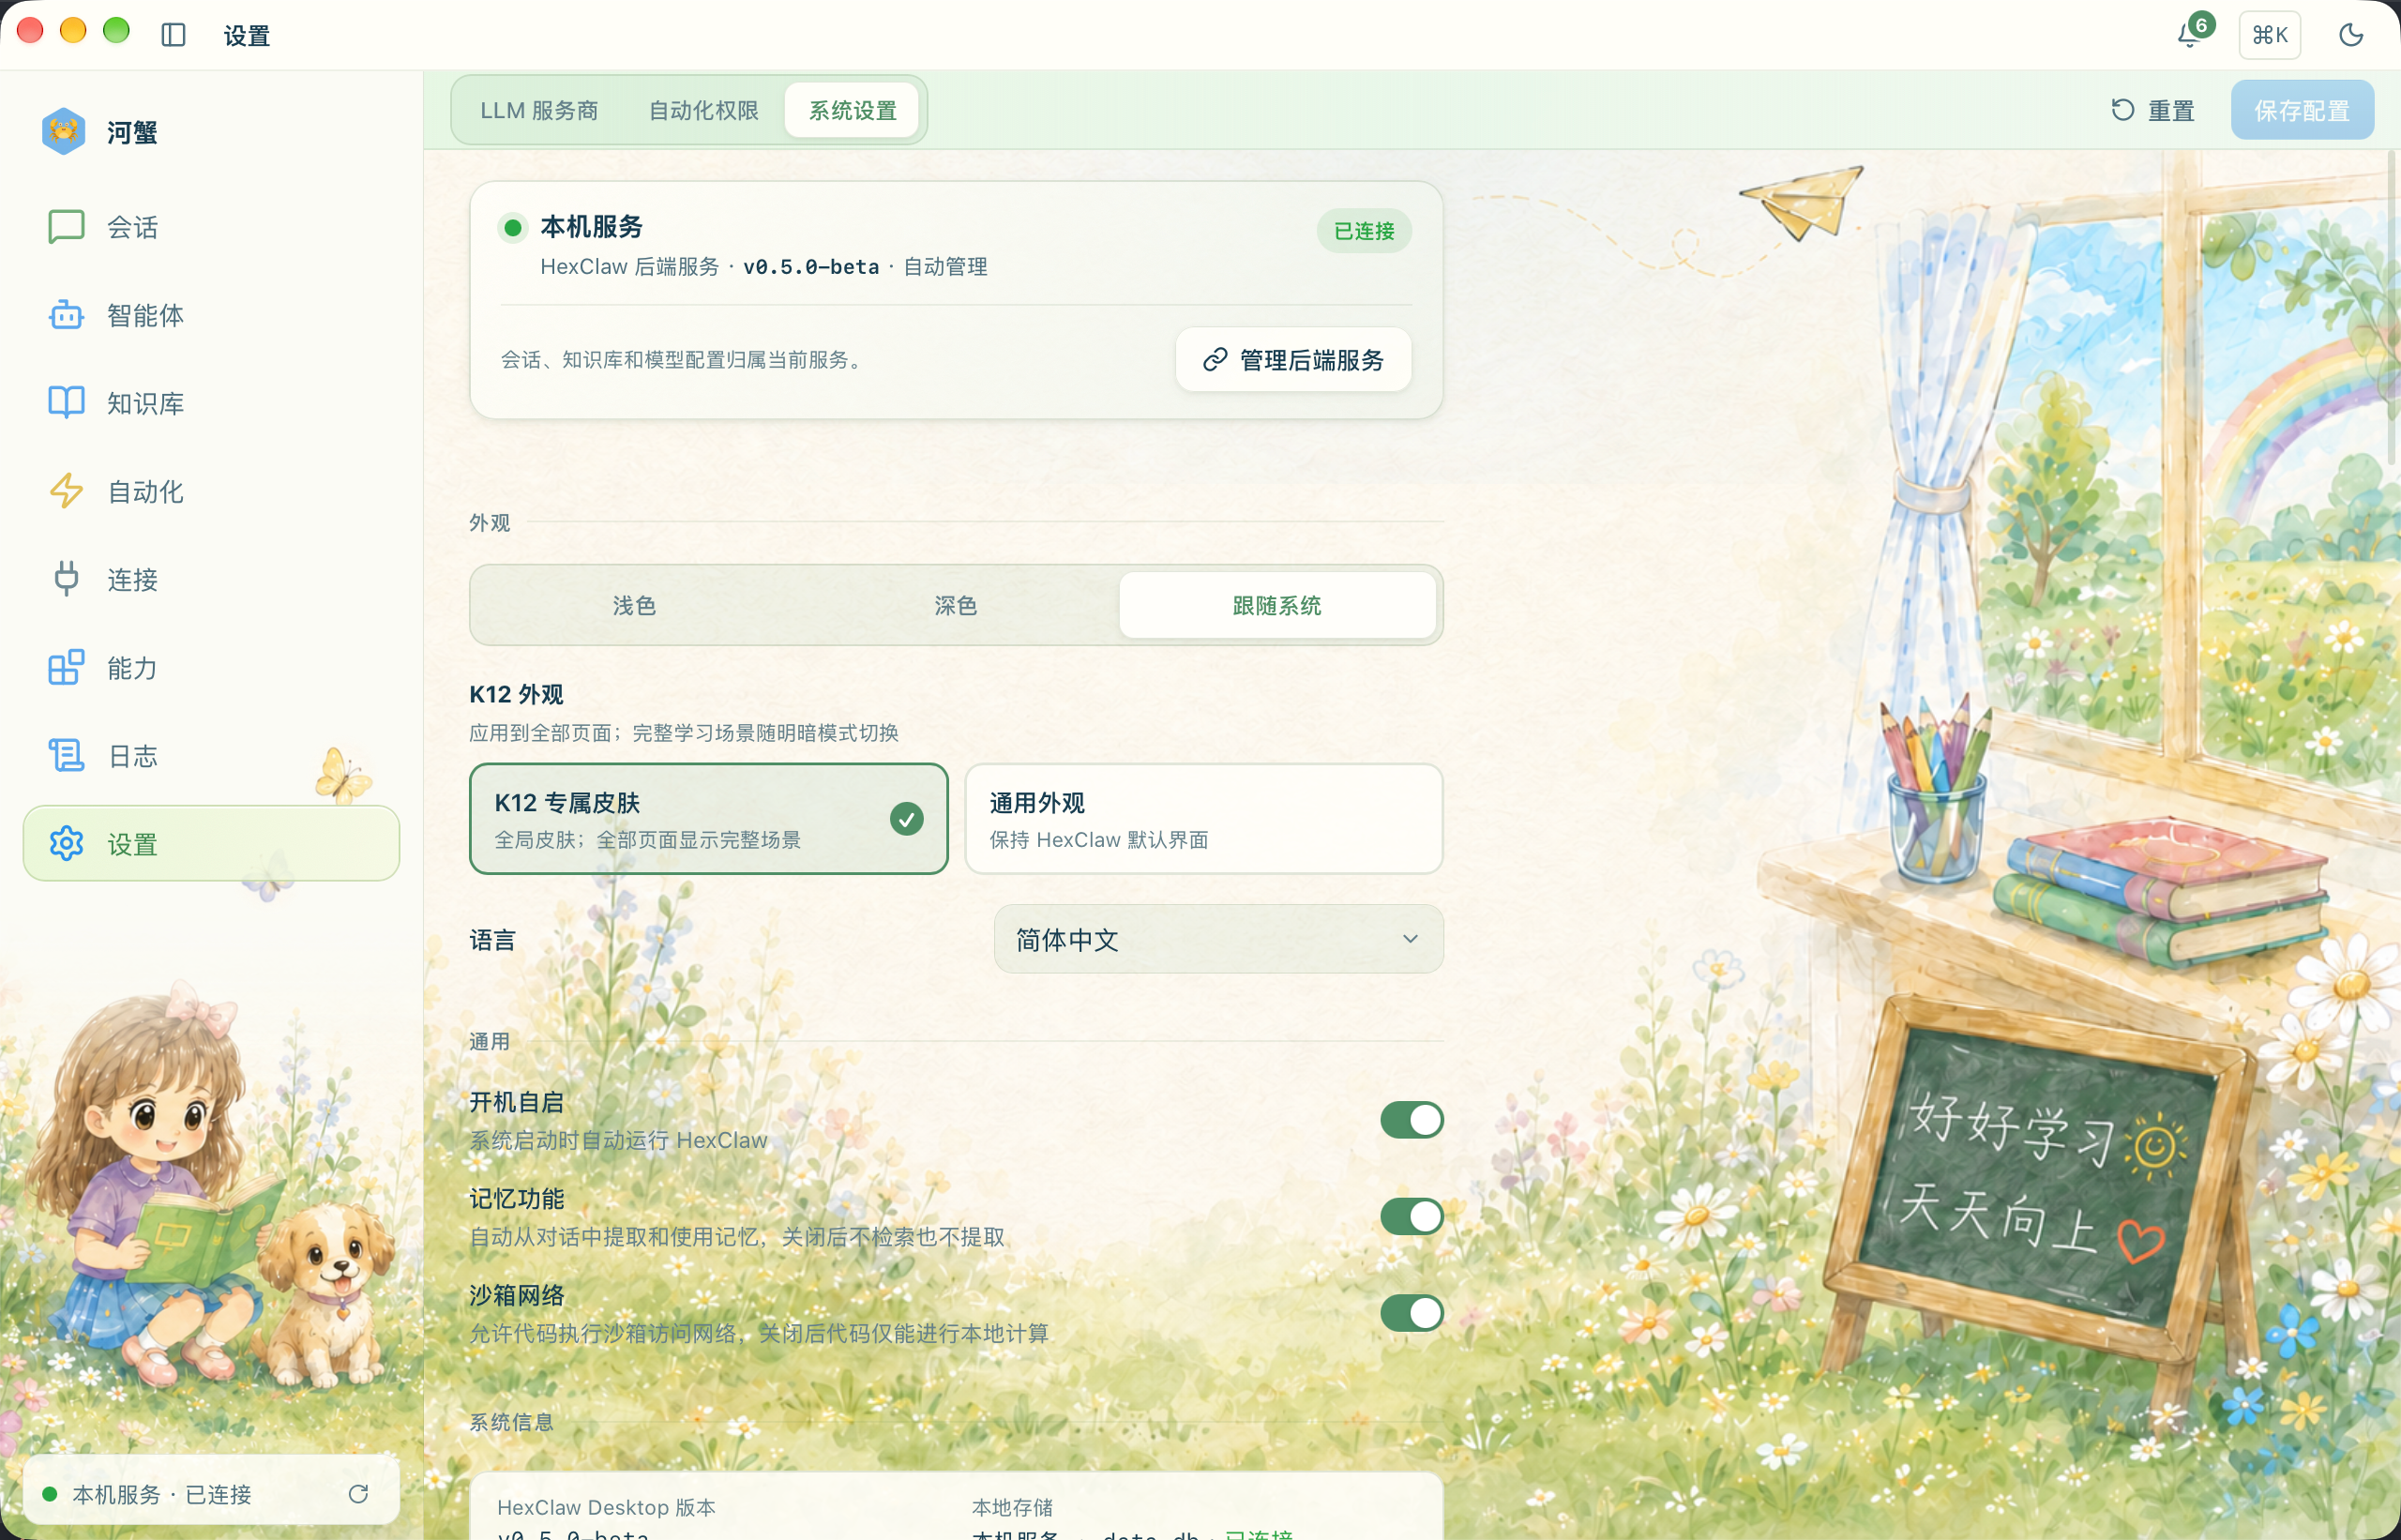
For the appearance shown here, go to Settings → System Settings and switch K12 Appearance to “K12 Theme” . Both light and dark modes are available.
Step 1 · Create a tutor for your child
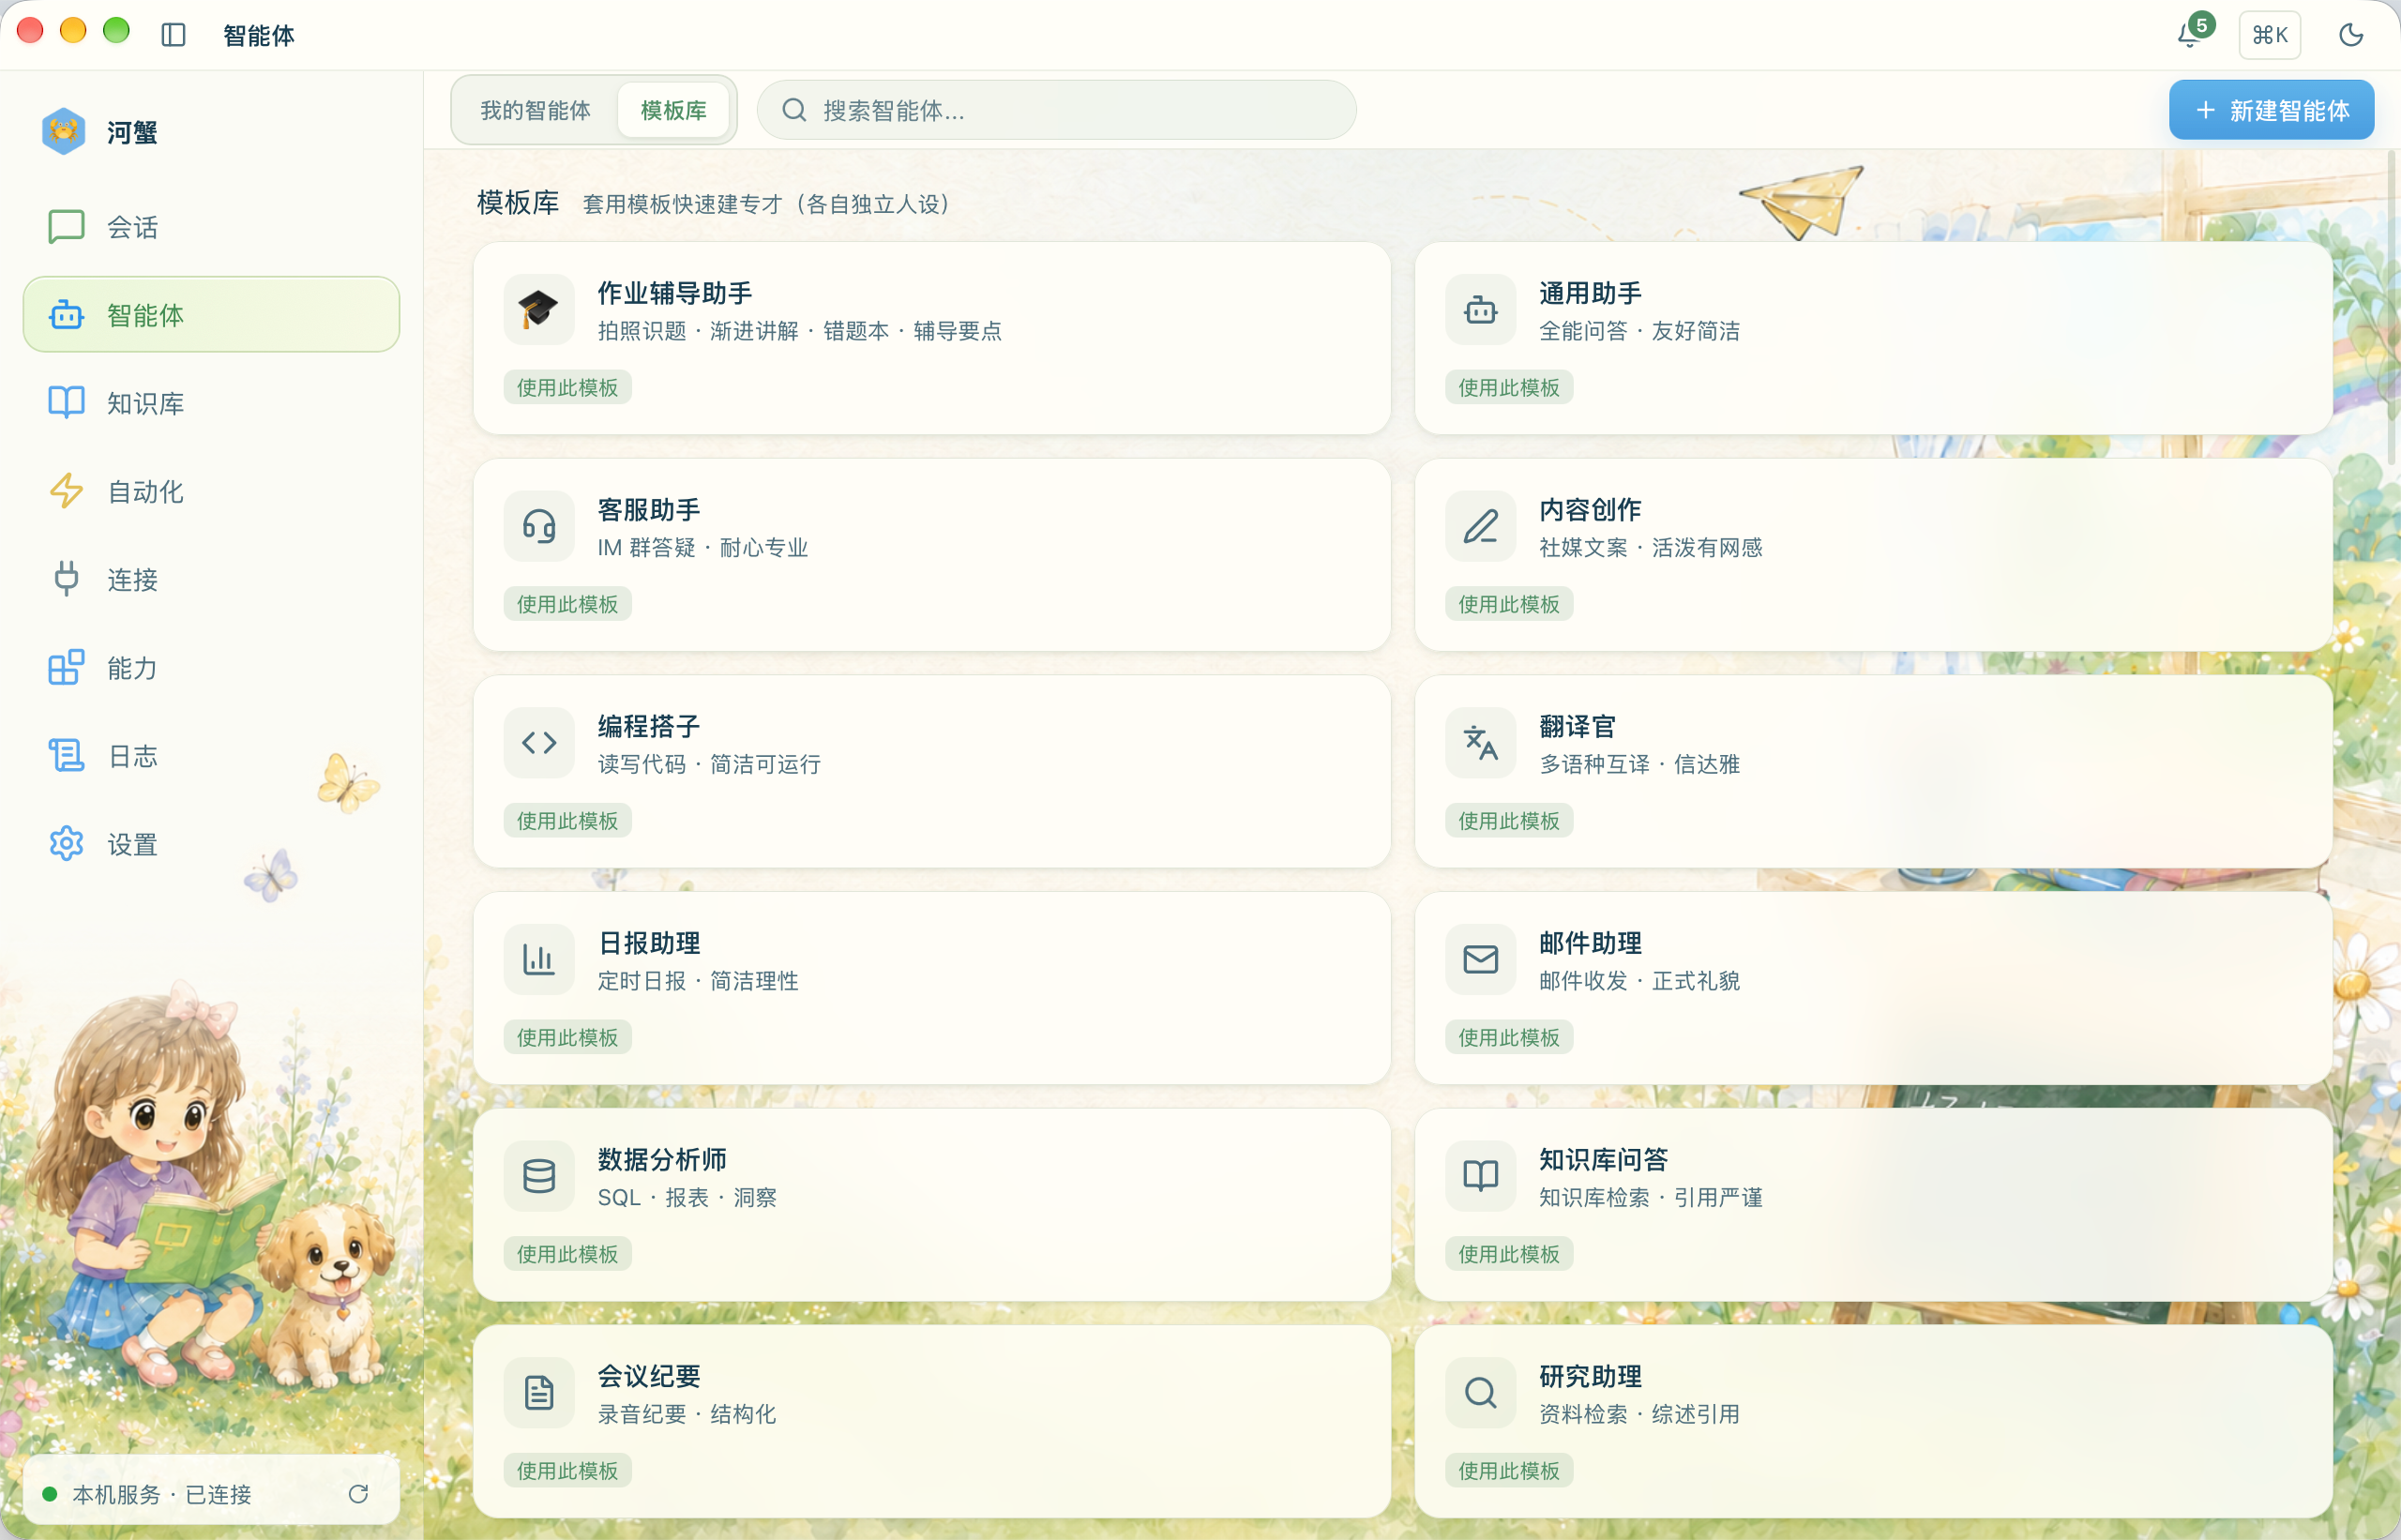
In the left sidebar, choose Agents → Template Library . On the Homework Tutor card, click Use This Template. New Agent → Start from Template Library at the top right opens the same place.
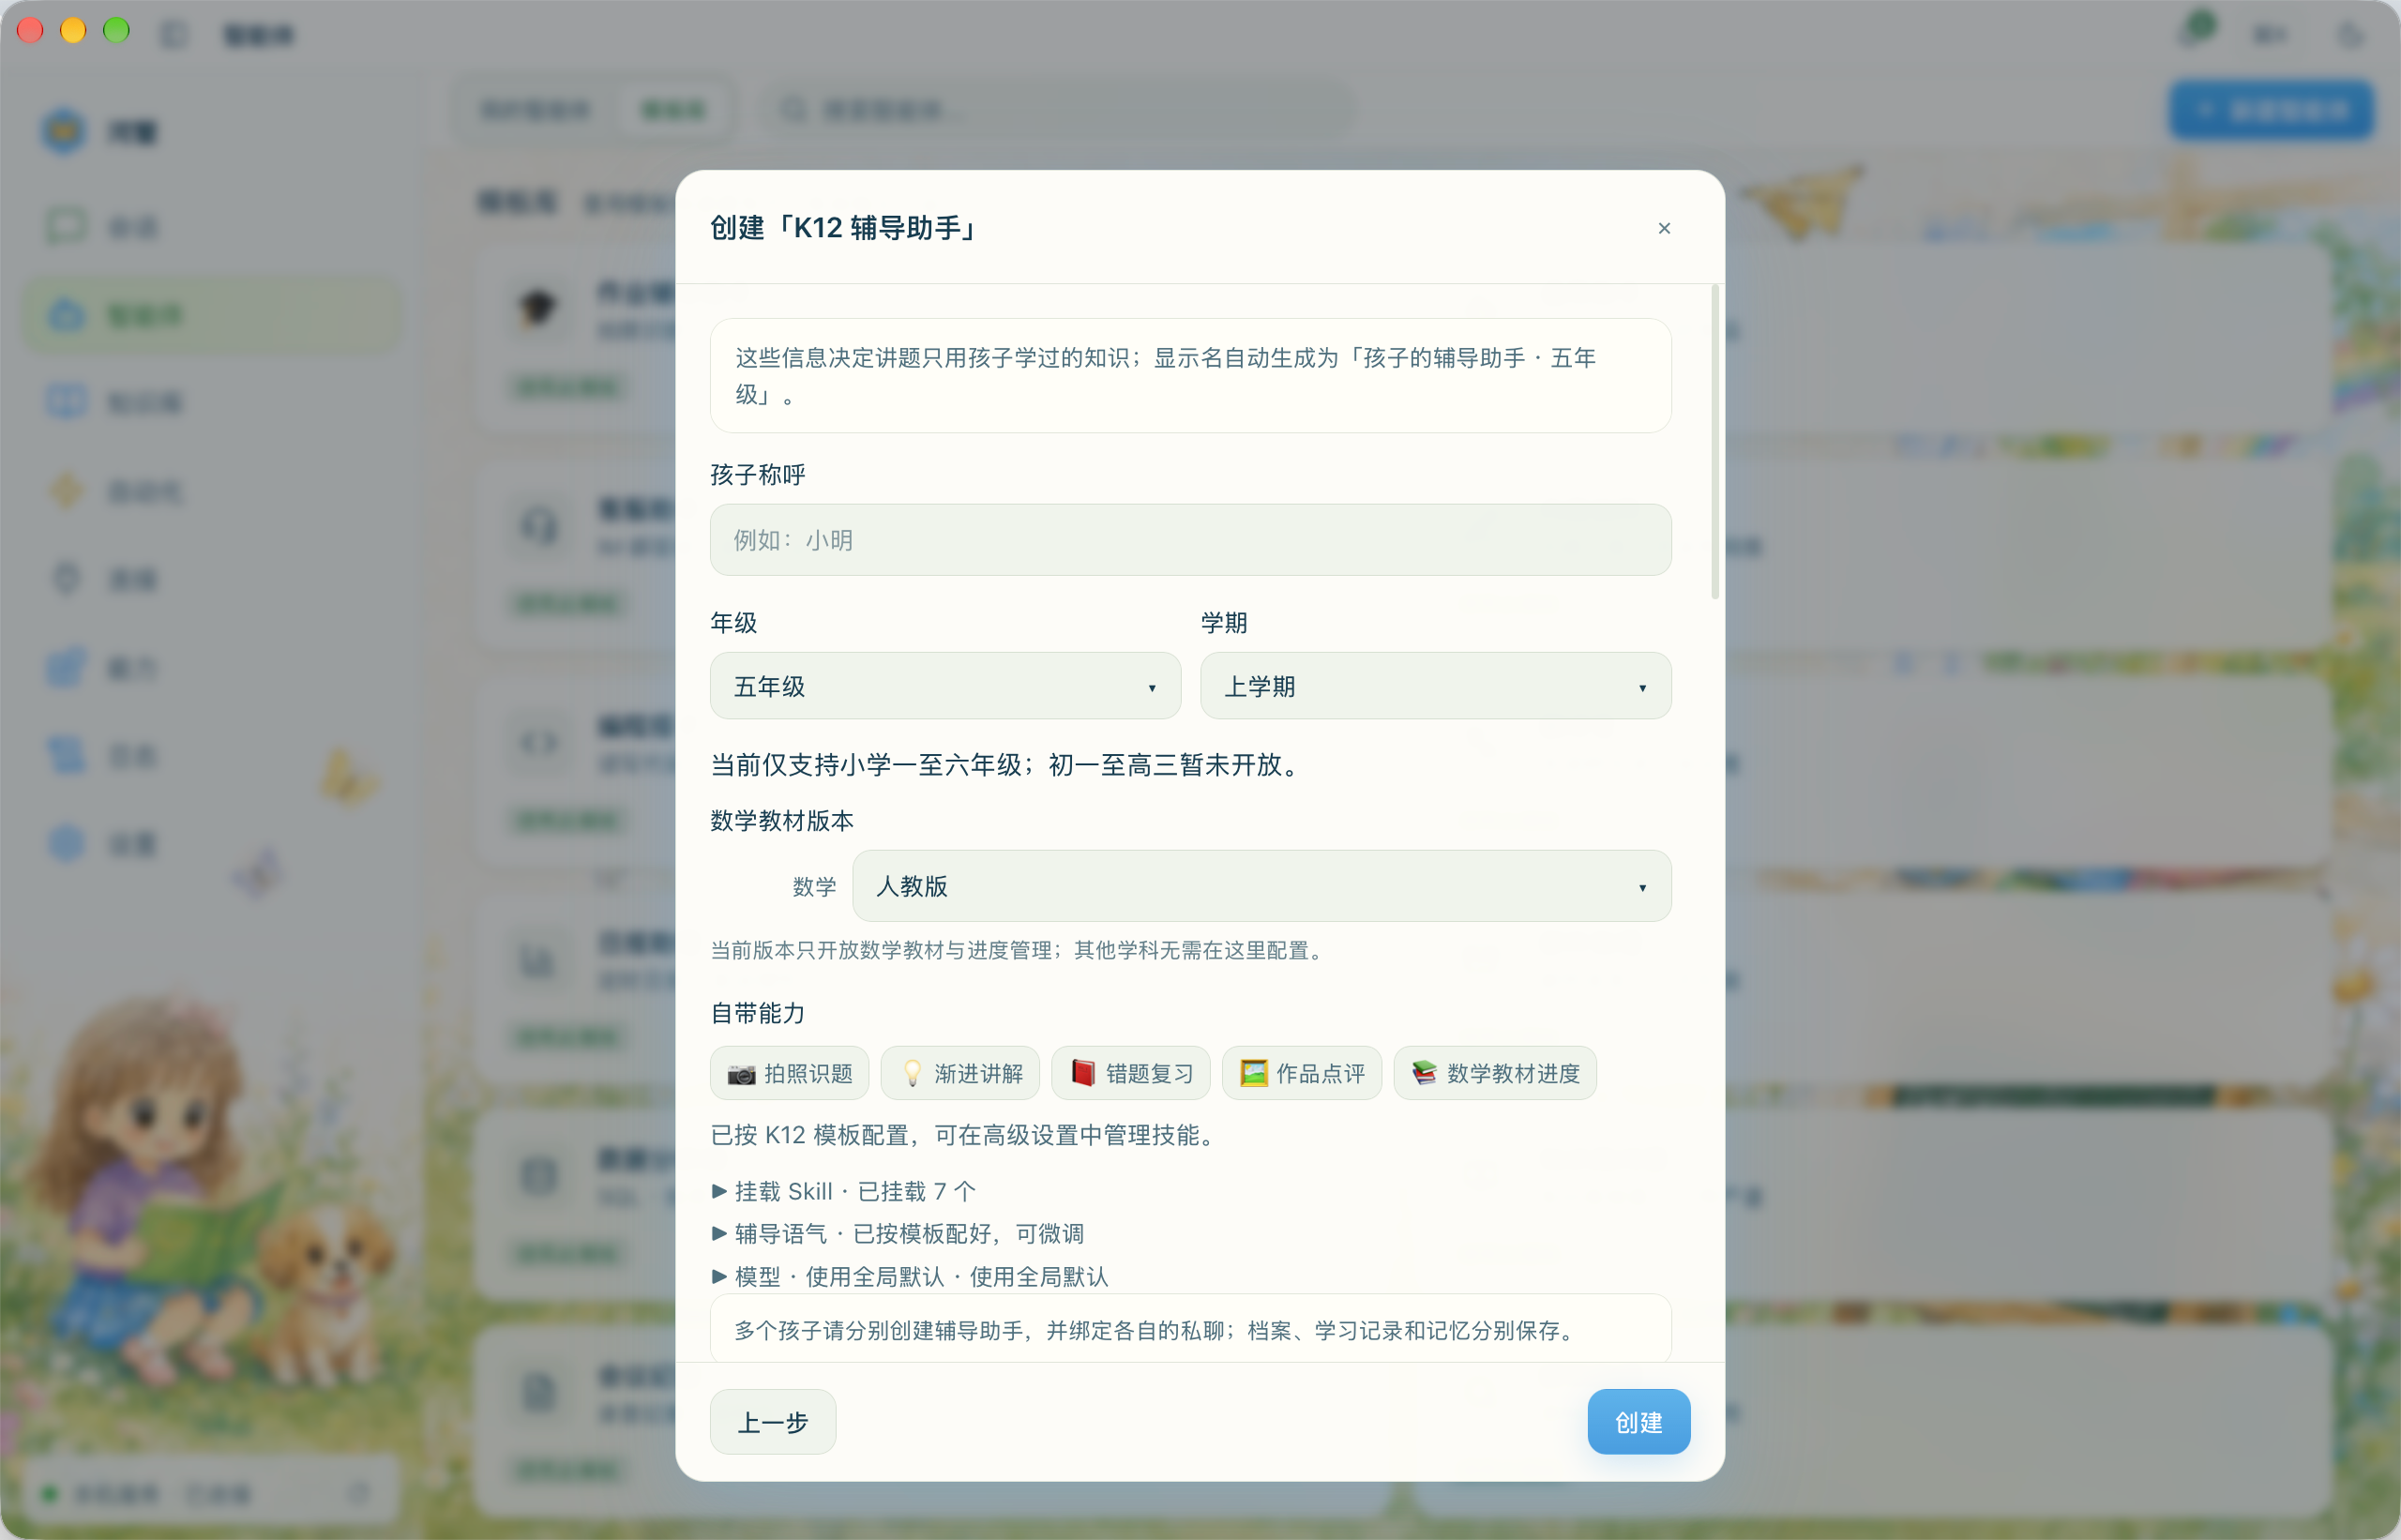
In the Create K12 Tutor dialog, fill in three things first:
- Child's preferred name (for example, “Xiaohong”)—how the tutor will address the child;
- Grade · Term (for example, “Grade 6, first term”)—the most important field, because it determines how the AI chooses methods for the child's grade and textbook progress , rather than imposing secondary-school formulas on a primary-school student;
- Math textbook edition (People's Education Press / Beijing Normal University / Jiangsu Education Press)—only the math textbook is configured here; other subjects do not need separate setup.
The model follows global settings by default. To assign a different model to this tutor, expand Model in the profile, choose the provider and model, and save. You can change it later through Edit Profile.
The display name is generated automatically as “ Xiaohong's Tutor · Grade 6 ”. Click Create to return automatically to My Agents . If you have two children, create two tutors —each child's mistakes, learning records, and memory are stored separately. The following examples use Grade 6, first term.
Remember the three buttons on each tutor card: Start Tutoring for homework photos and explanations; Learning Profile for mistakes and review planning; Edit Profile to change the name, grade, textbook progress, or model.
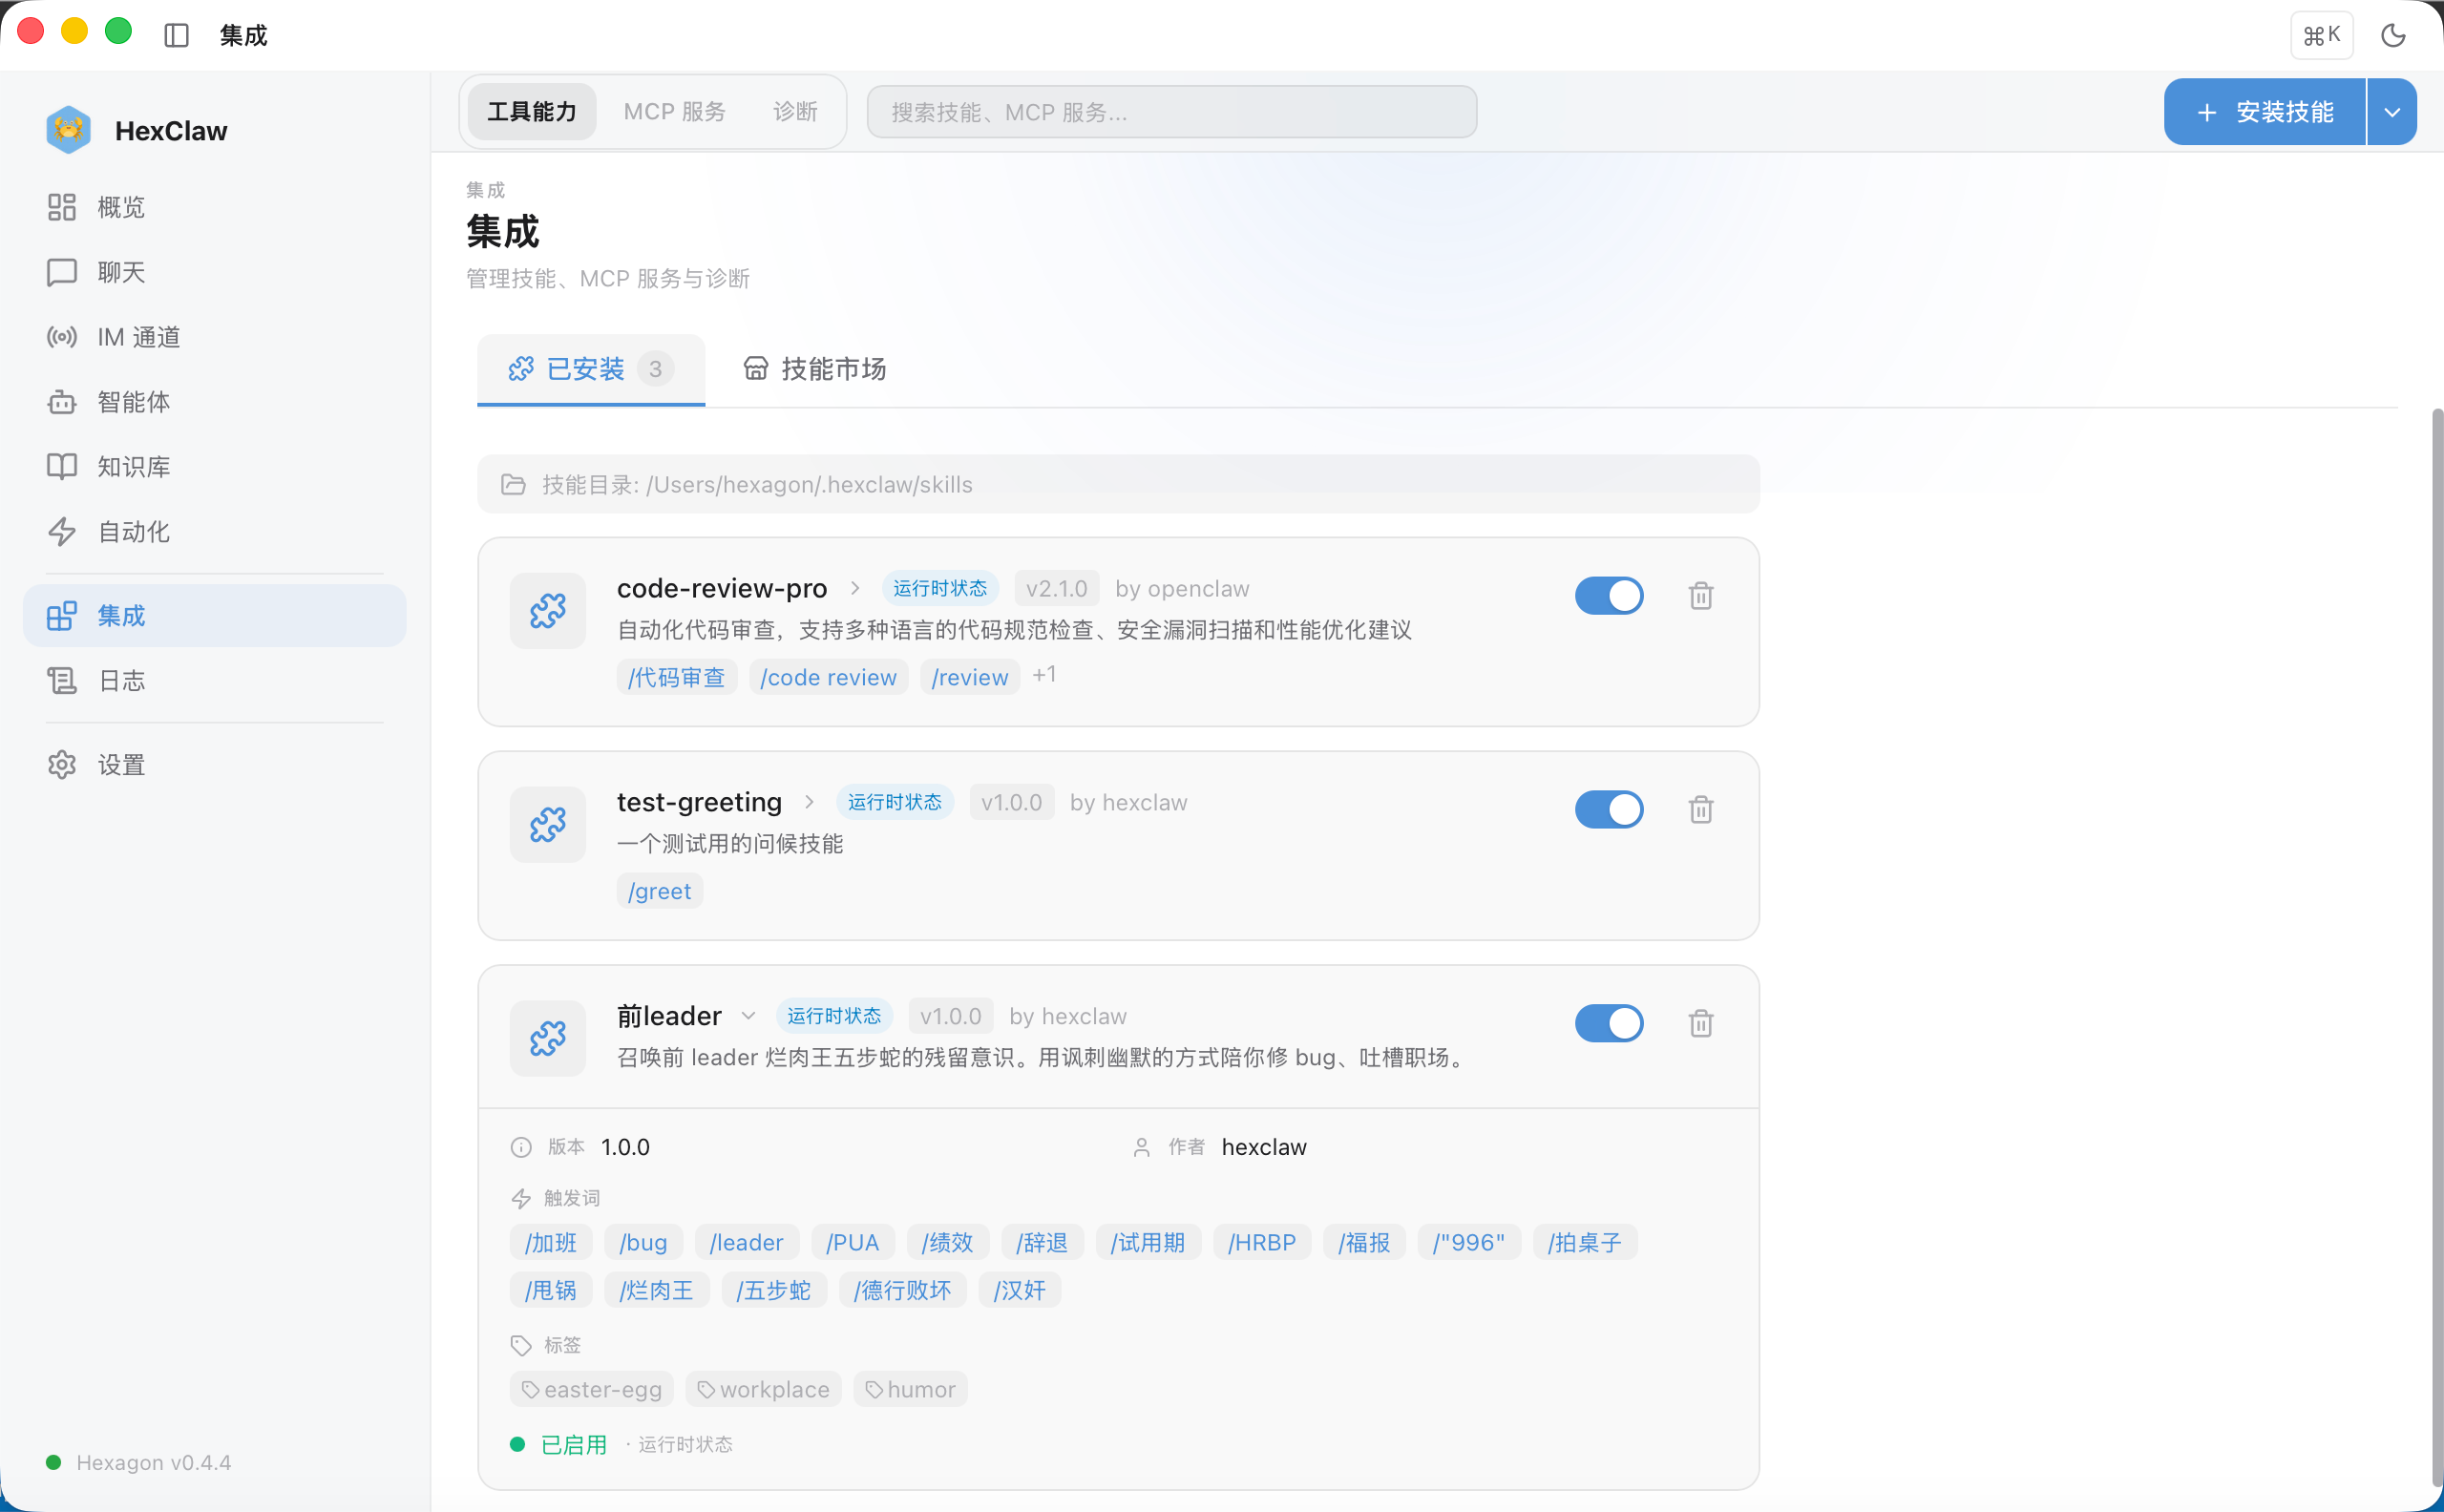
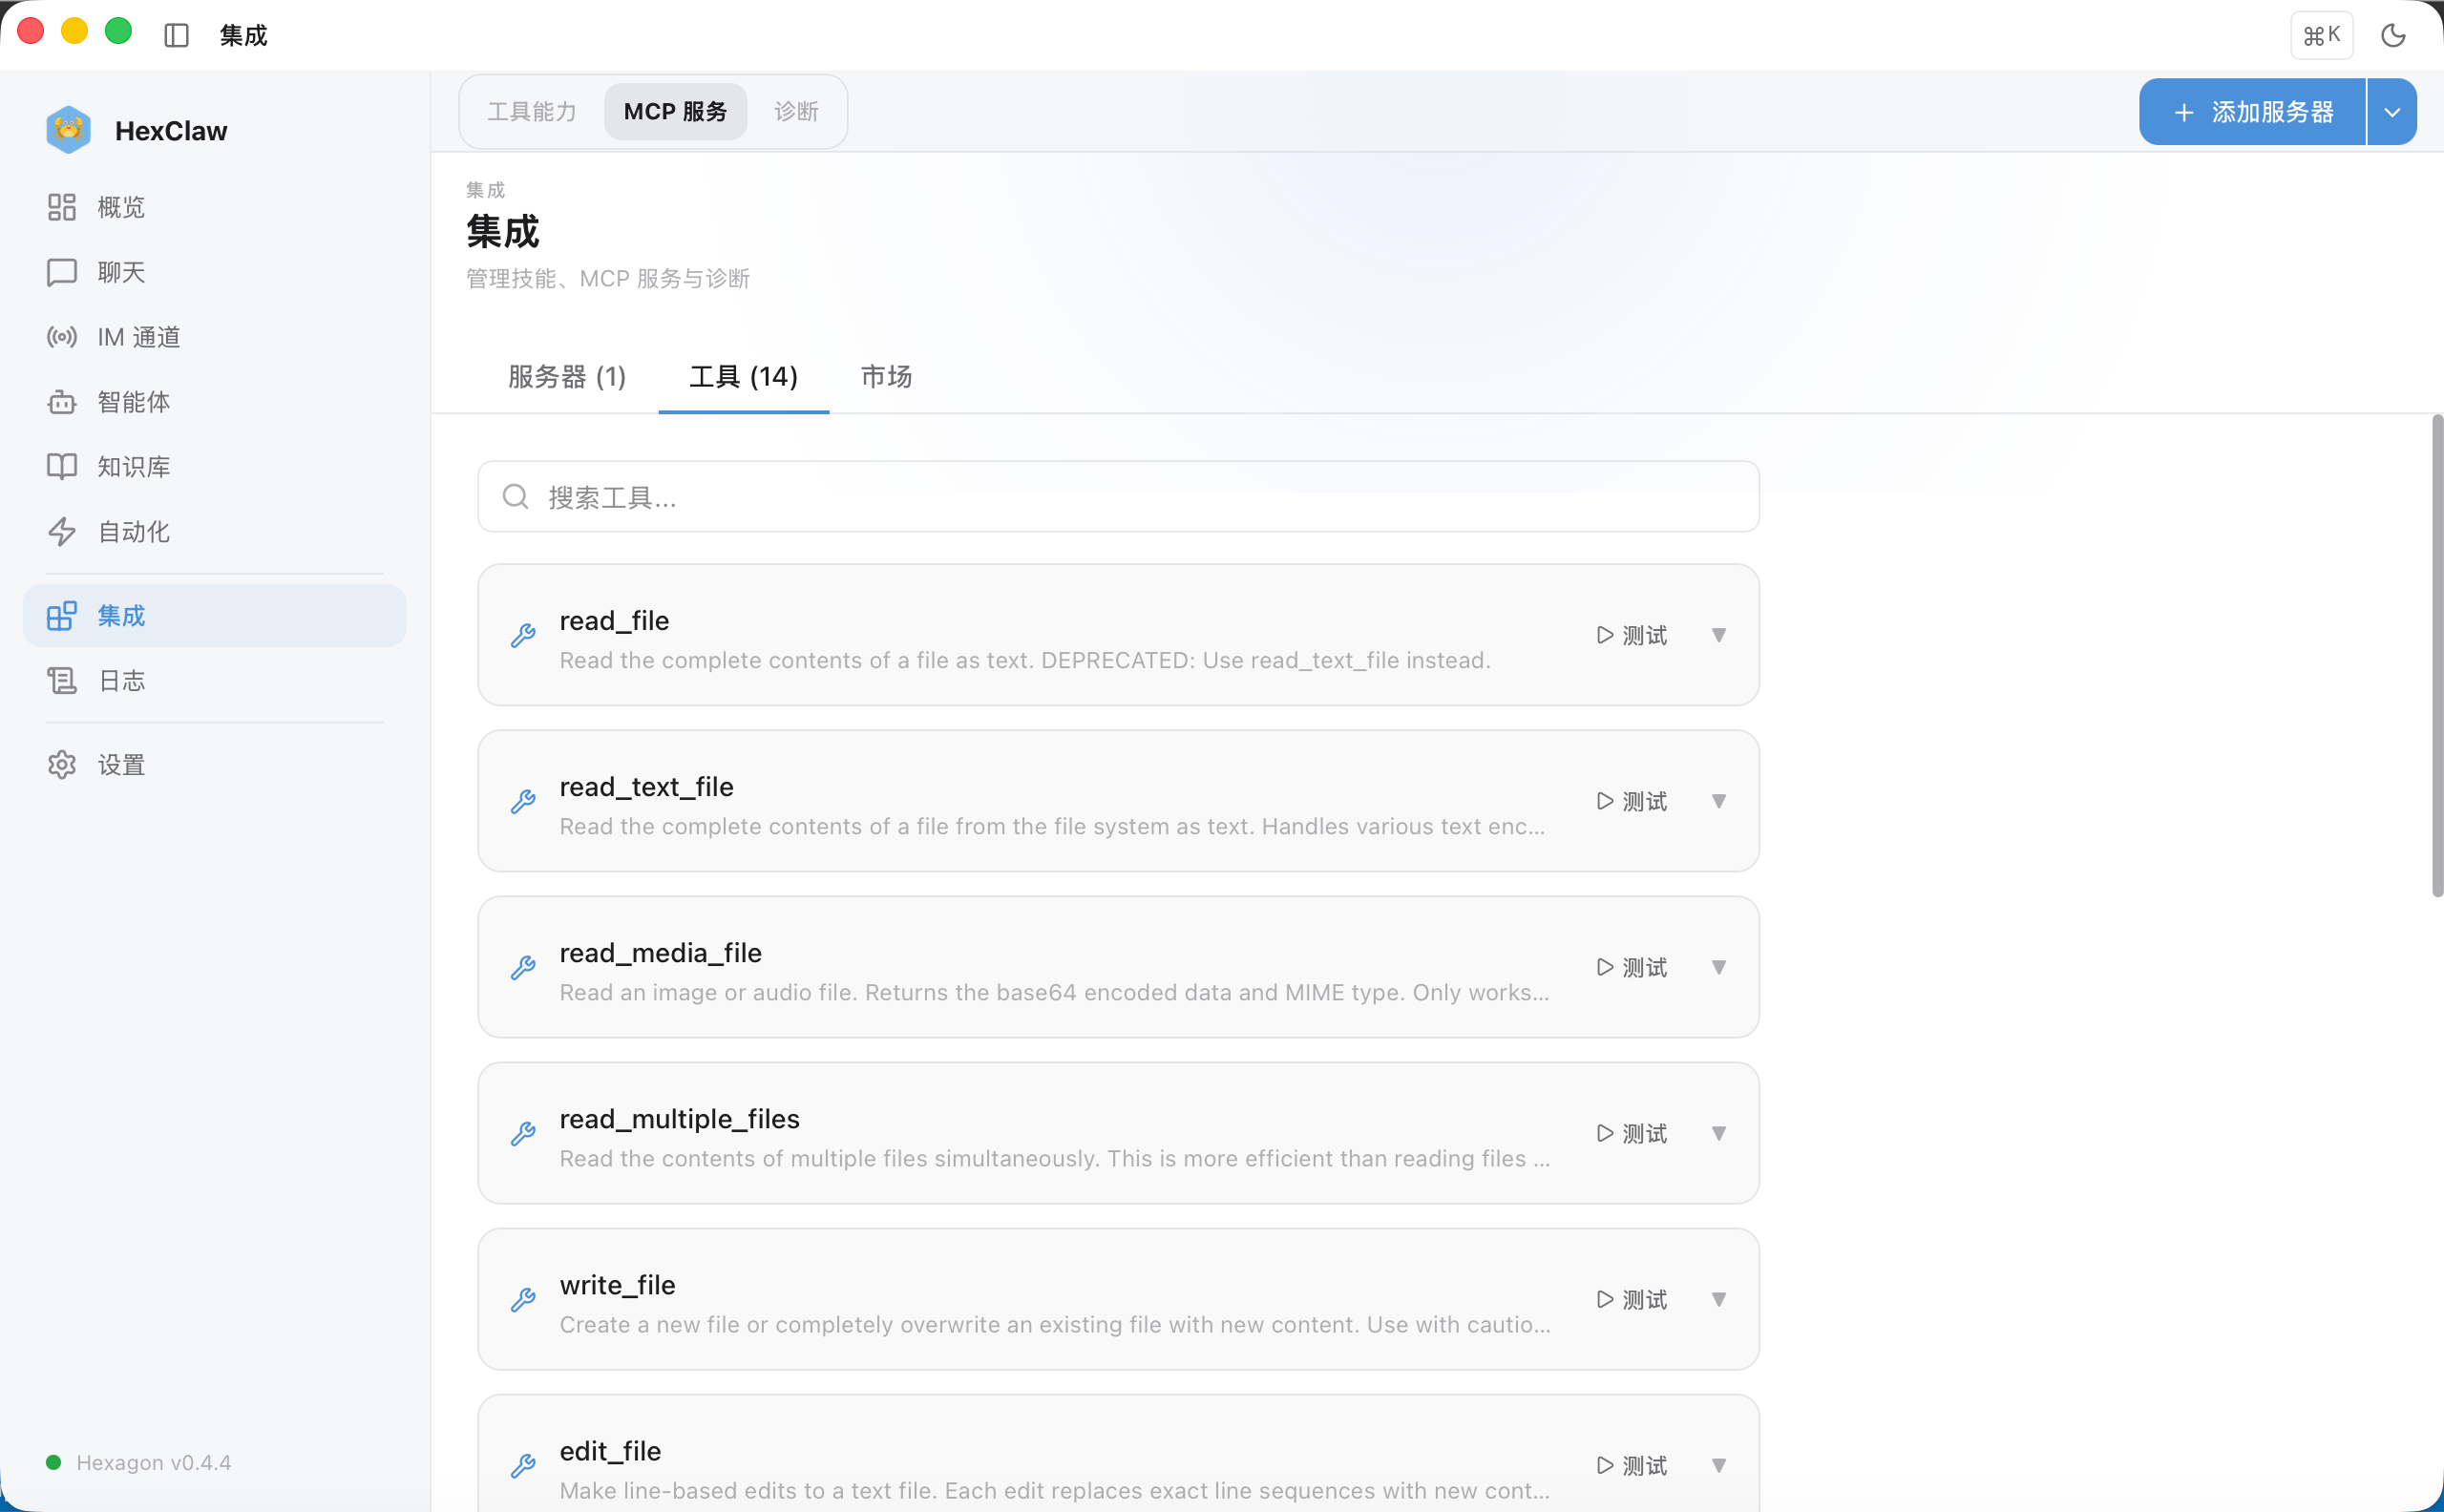
To see where the teaching capabilities come from, open Capabilities → Skills in the left sidebar to inspect installed skills. The template already includes the skills needed for this scenario; enter through your child's tutor for everyday use.
Step 2 (optional) · Add the textbook for explanations closer to class
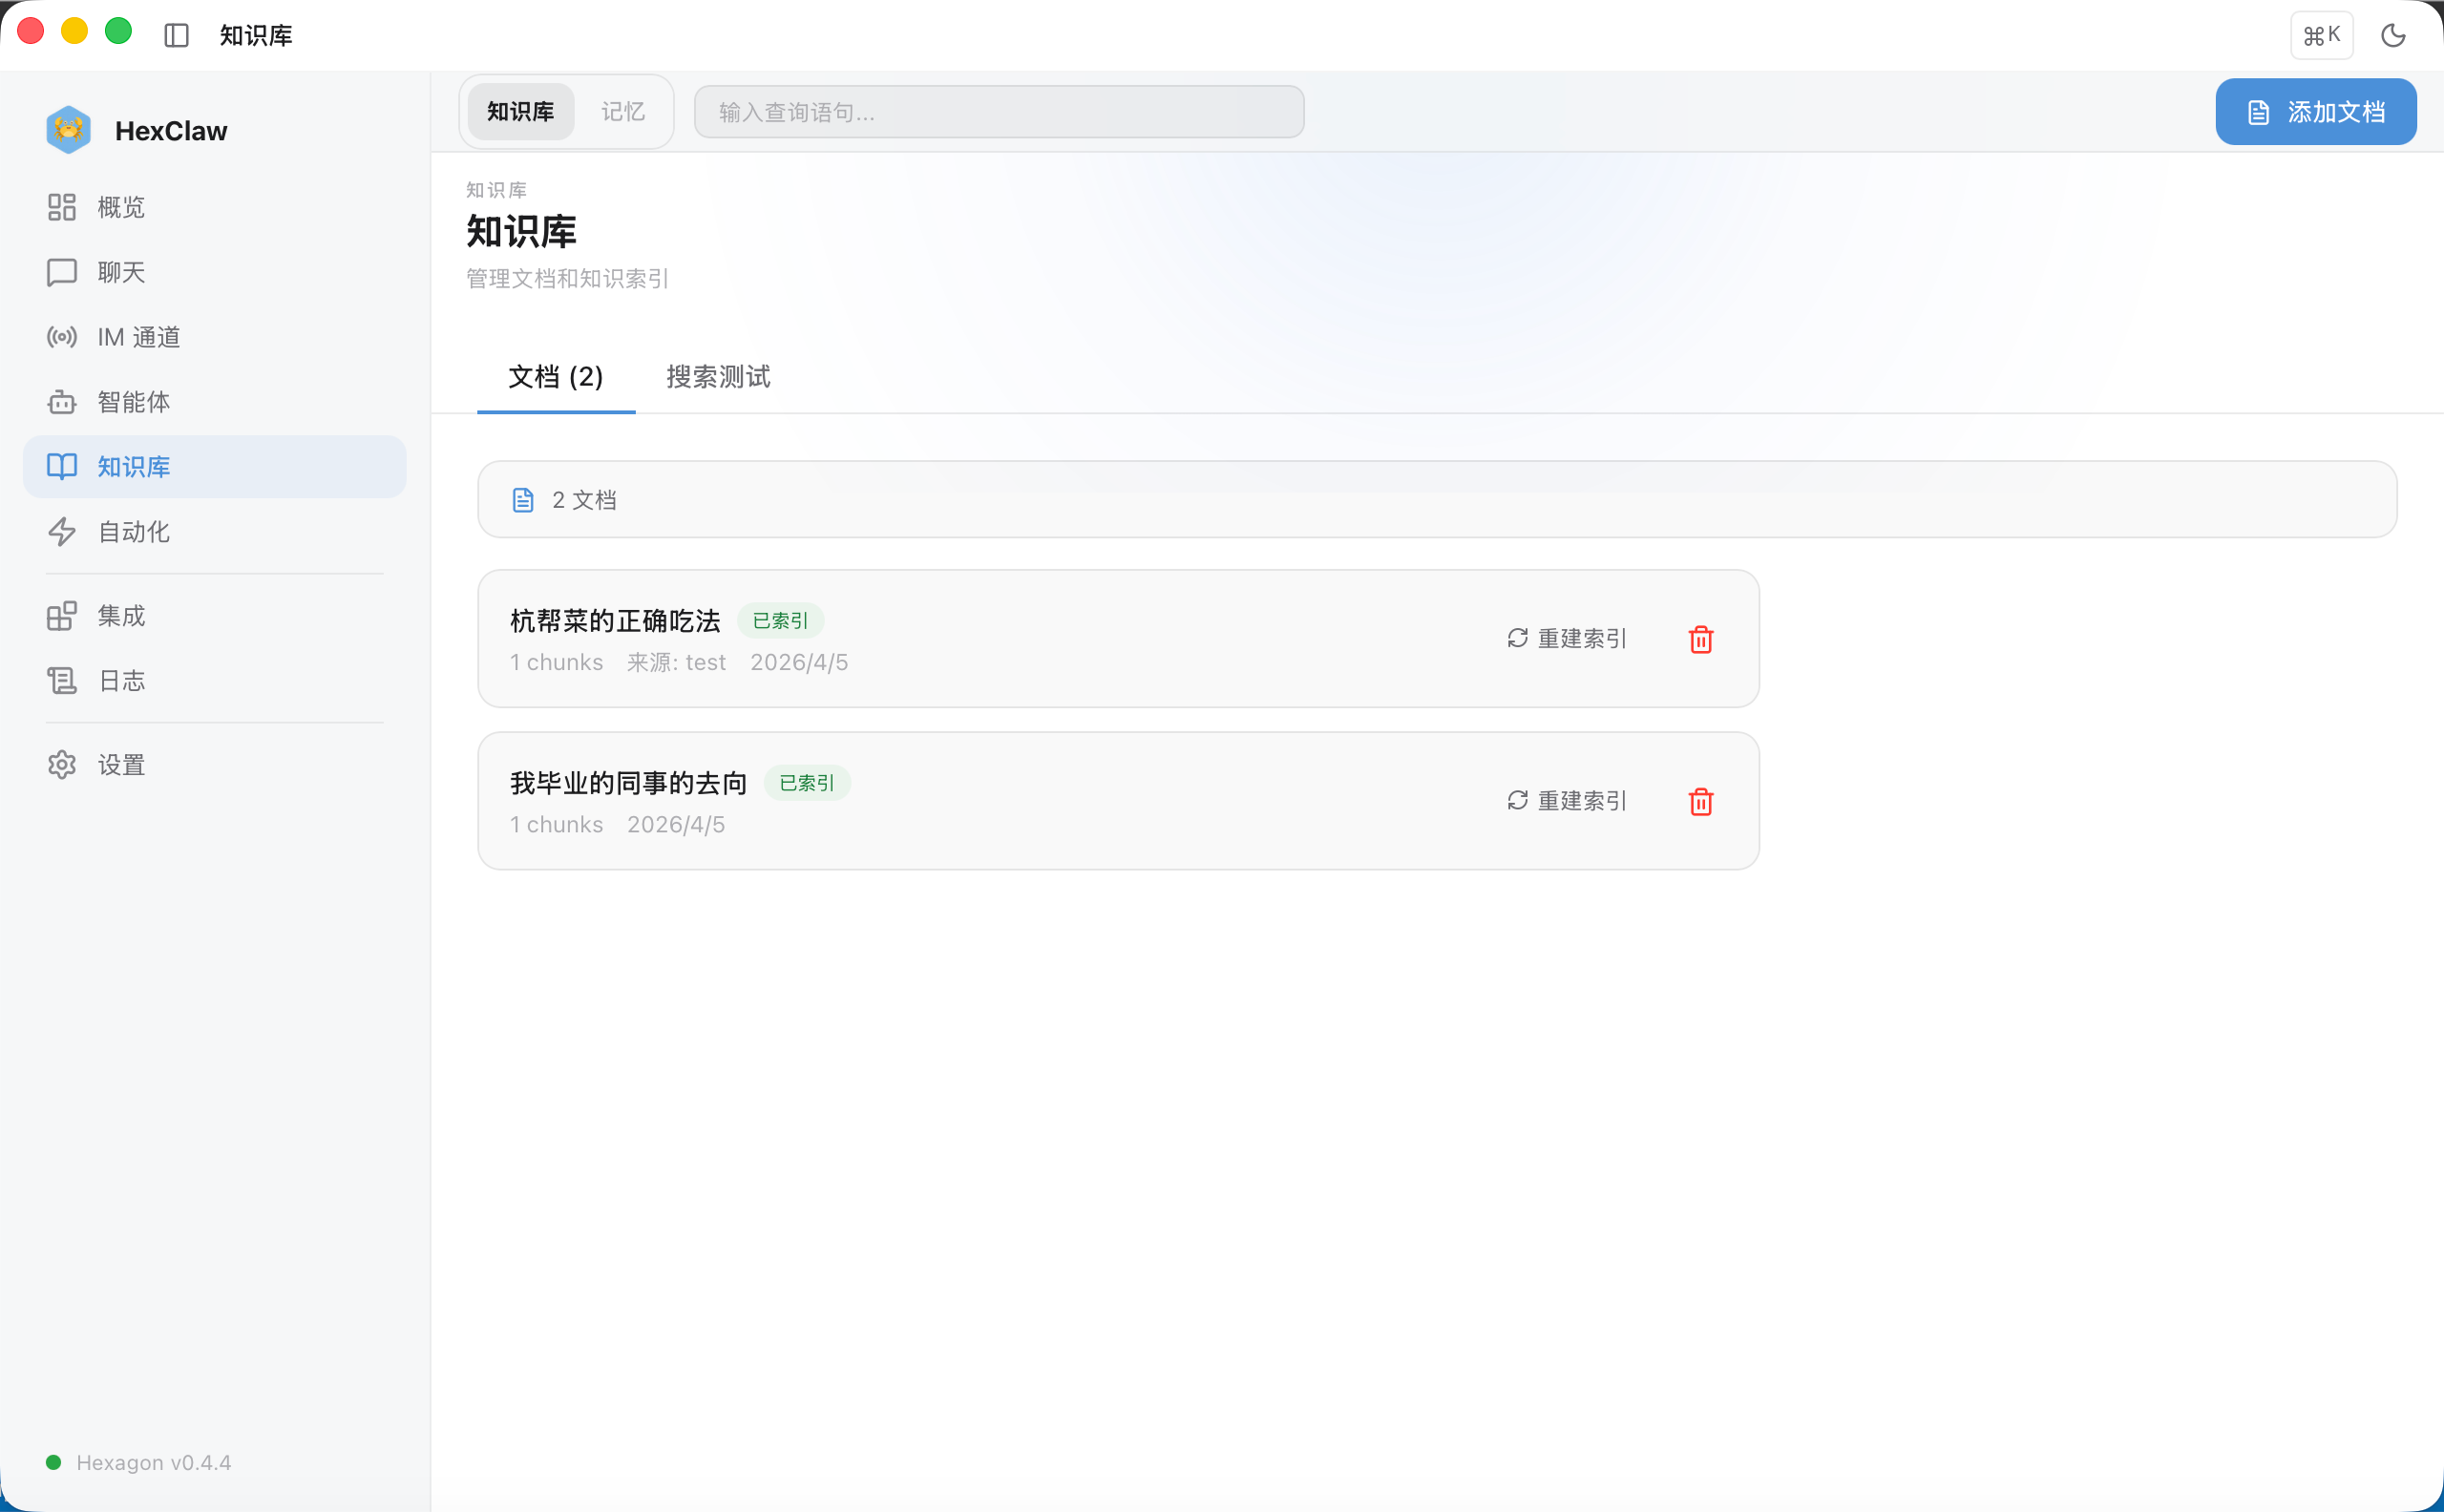
You can use the tutor without this step. Adding it gives the AI the actual textbook your child uses as another source. In the sidebar, click Knowledge Base , then Add Document at the top right and upload the textbook PDF. The system parses, chunks, and indexes it automatically. TXT, Markdown, and DOCX are also supported; assemble photographed textbook pages into a PDF first.
Obtain the textbook PDF yourself online and then import it. HexClaw AI does not provide textbook downloads.
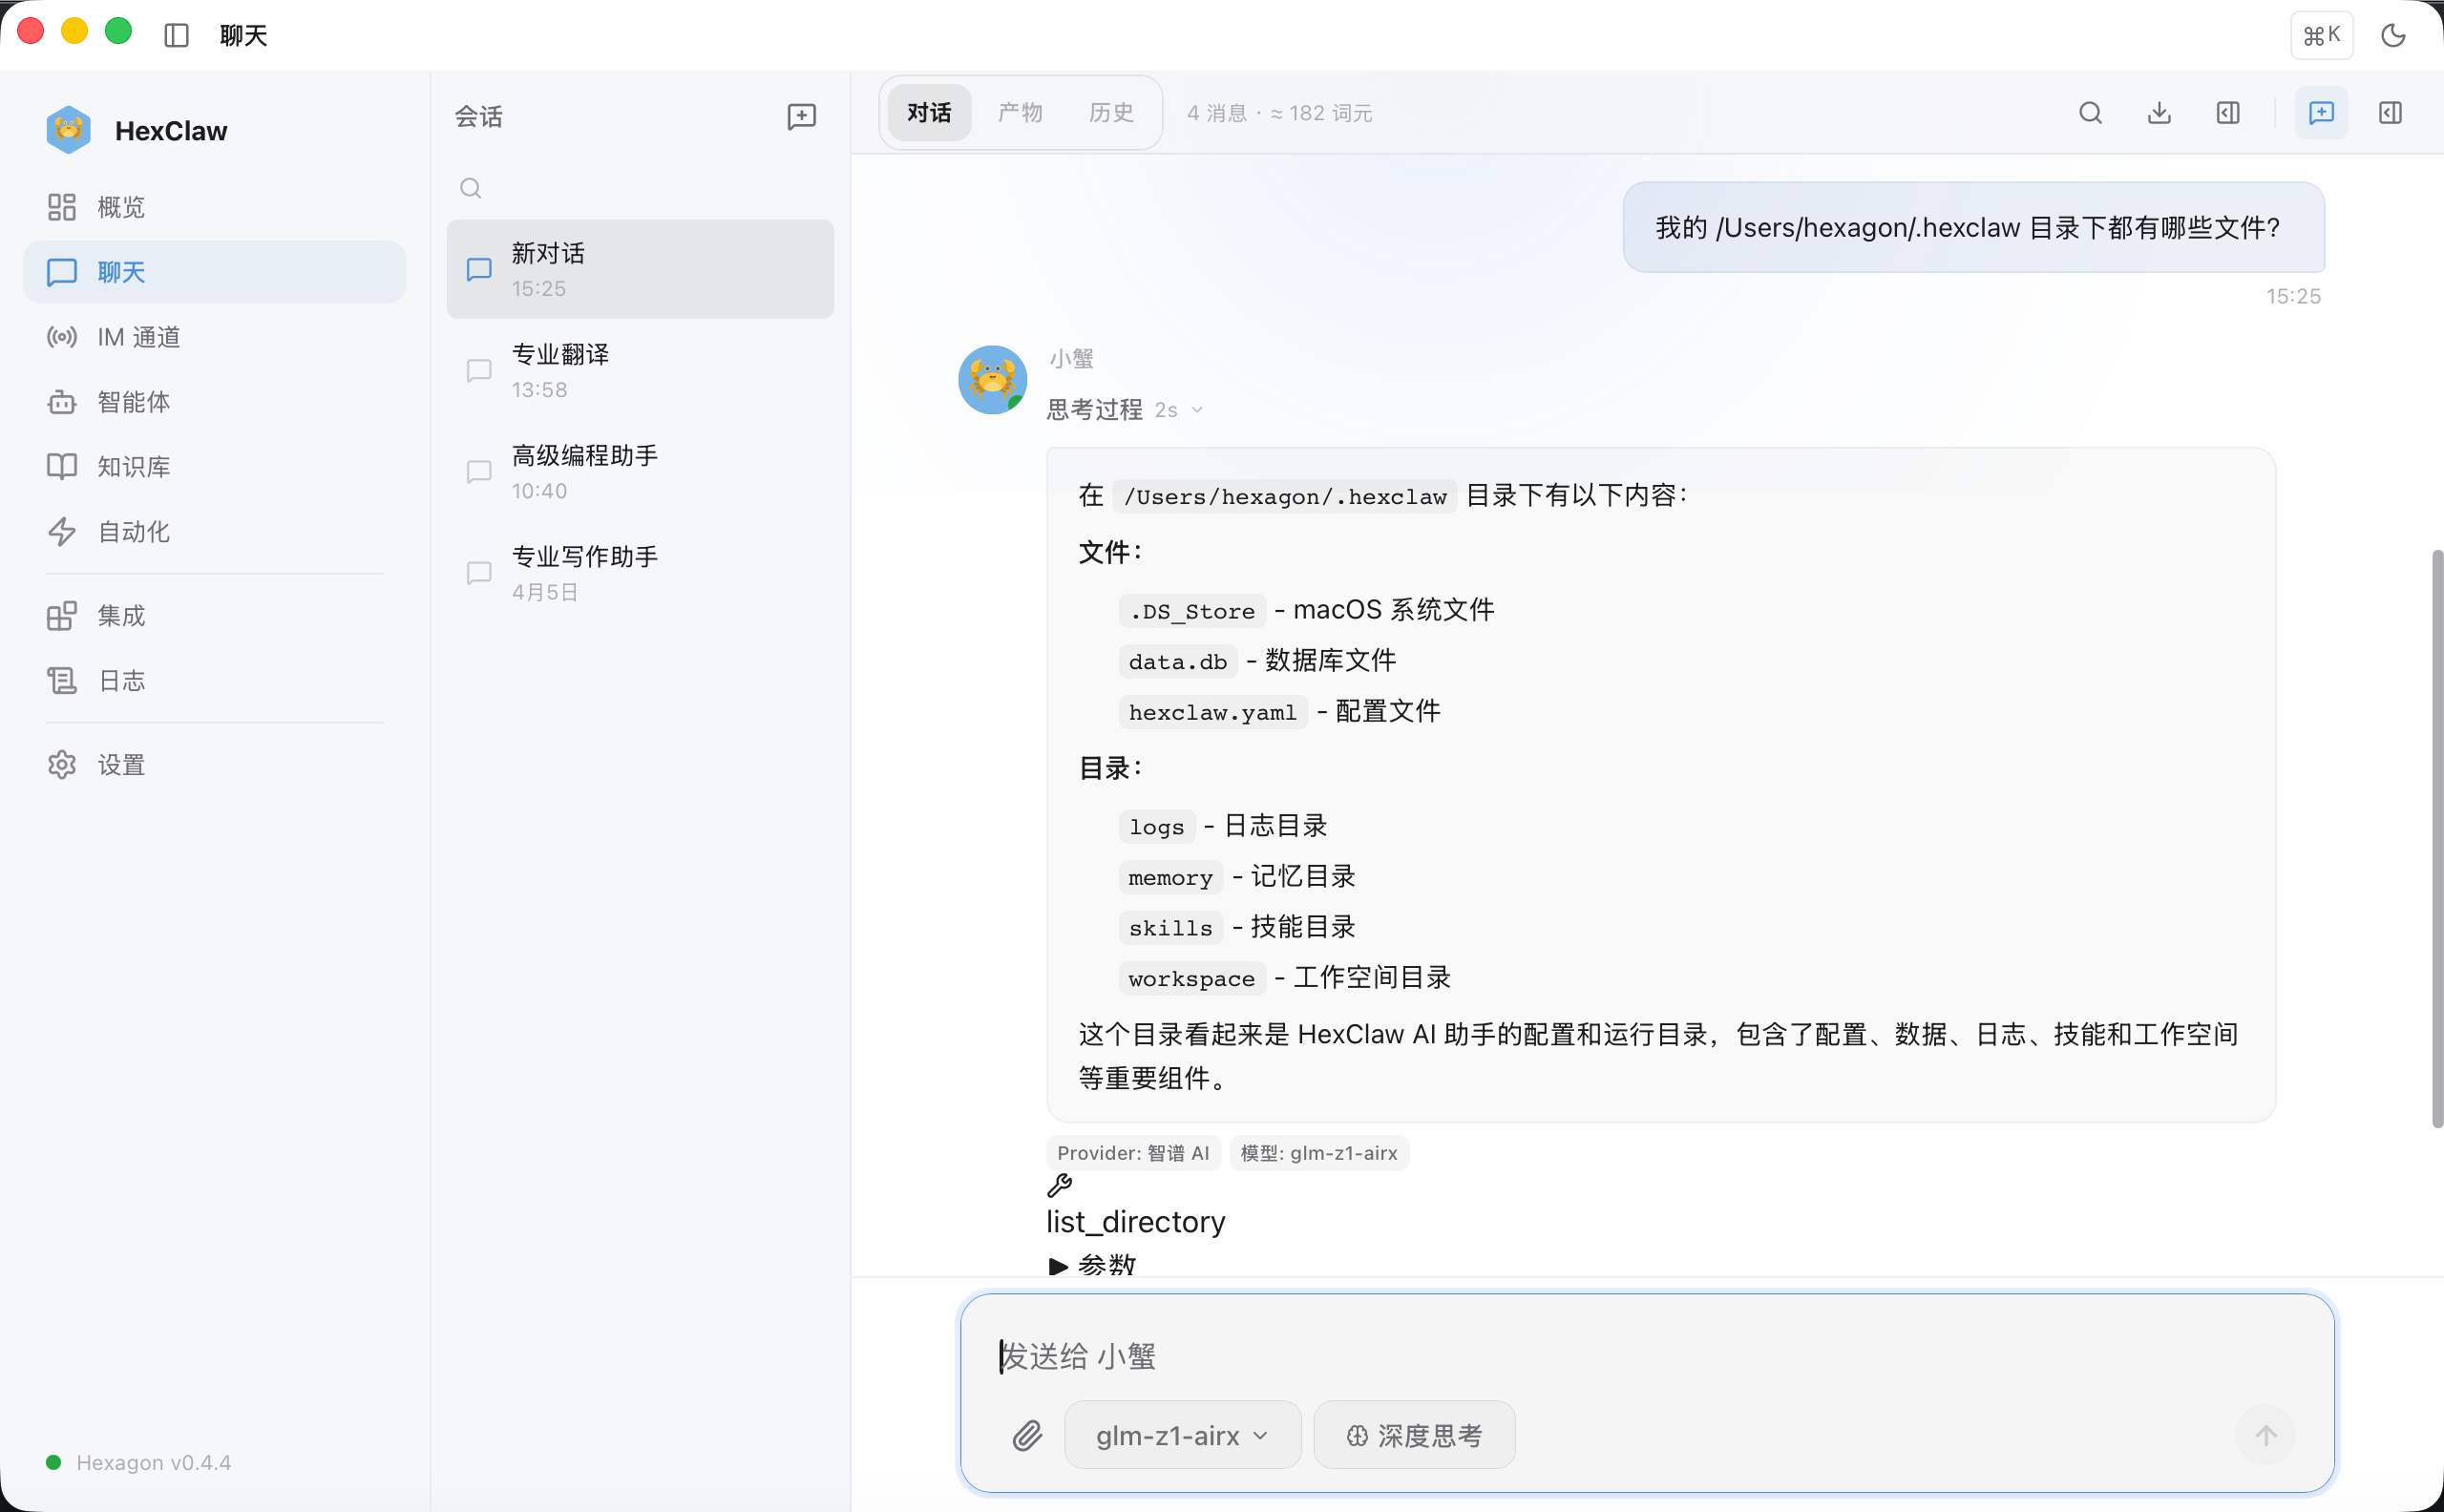
After uploading, open the knowledge base's Retrieval Test and try a phrase that actually appears in the book—for example, “deep friendship between Mongolian and Han people” from Grassland in the Grade 6 Chinese textbook—and see whether the matching passage is found.
The math textbook needs one more step: return to the tutor's Edit Profile → Math Textbook and Current Progress . Once its table of contents is ready, choose a confirmable Linked Textbook File, set the Current Unit, optionally add the lesson or page number, and click Save .
Being able to retrieve the textbook's text and having a table of contents ready to link learning progress are separate states; use the textbook processing status shown in the profile. After linking and saving, curriculum-aligned consolidation follows that progress. A “📖 Textbook-based” label is justified only when the textbook's actual text has been retrieved and used.
Step 3 · Enter tutoring and try a text problem first
Click Start Tutoring on the tutor card to enter the chat. At the top are three tabs: Tutoring / Learning Profile / Learning Overview . Try a text question first: “A book has 120 pages. On day one, a child reads 1/6 of it; on day two, they read 1/4 of the remainder. How many pages do they read on day two?”
Step 4 · Send a homework photo for automatic recognition and marking
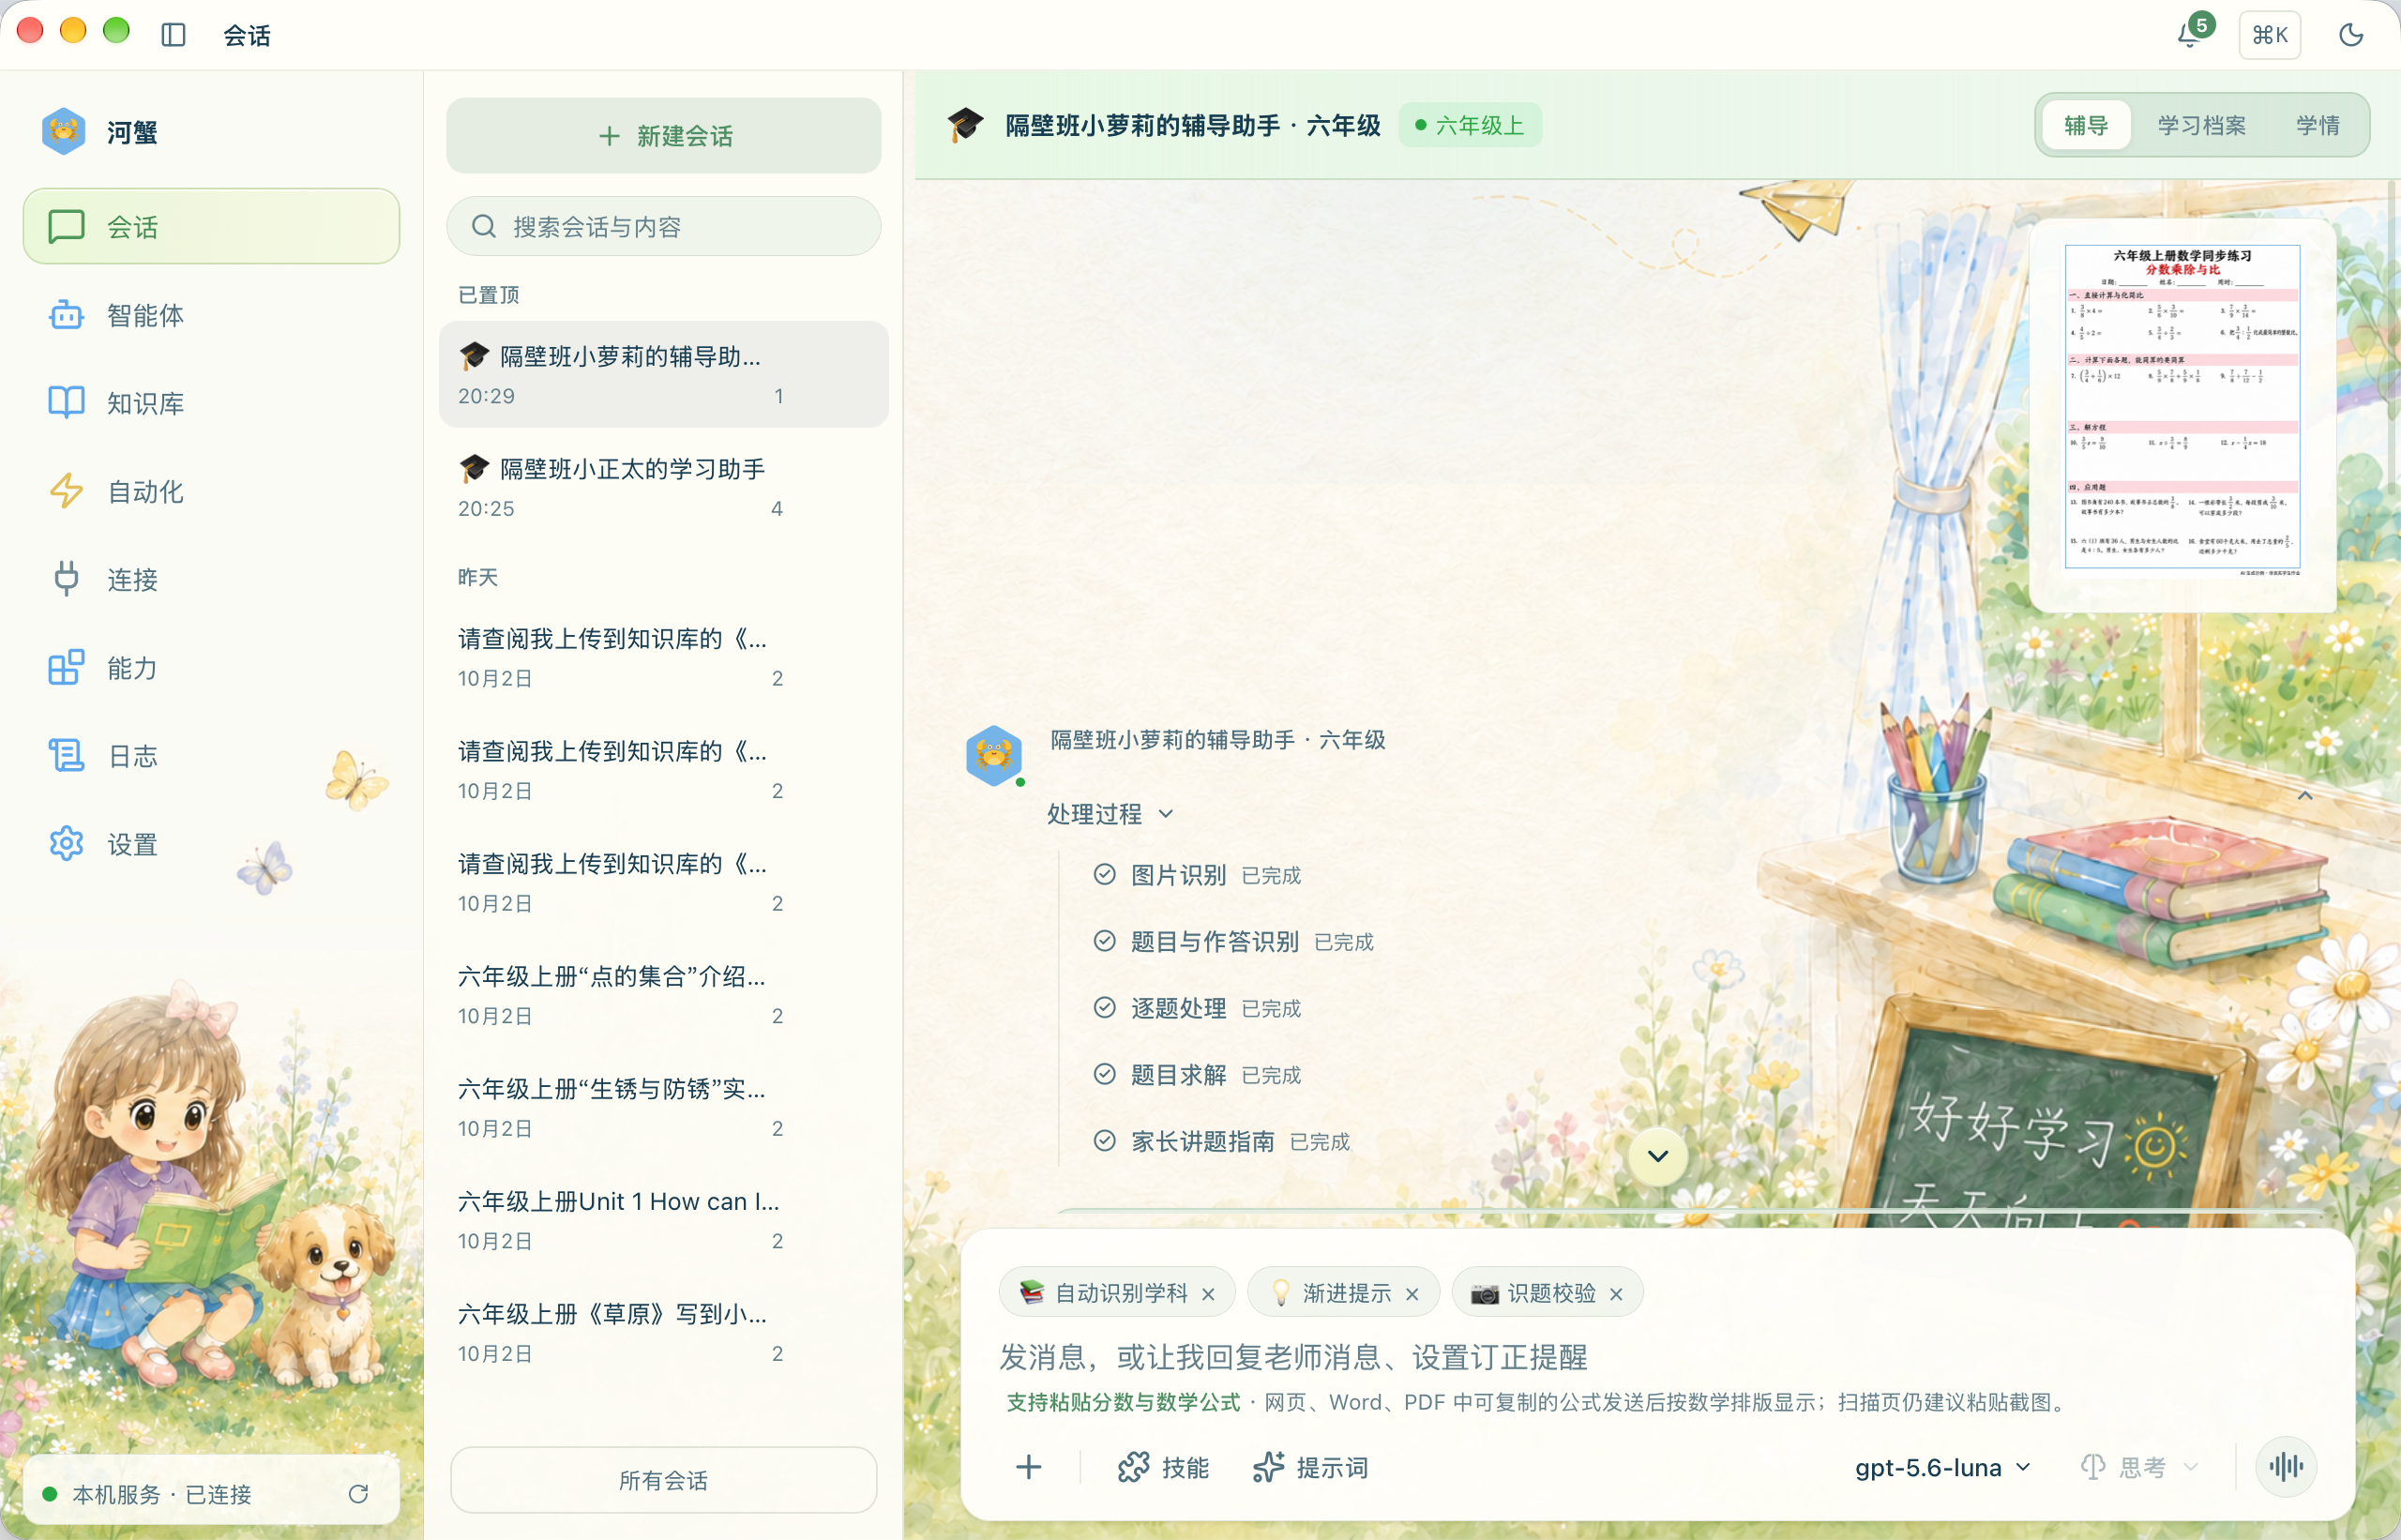
This is the most frequent action. In the tutoring view's regular input box , attach, drag in, or paste a homework photo and send it. The system identifies the subject and task type automatically: completed homework is marked, blank worksheets are solved, and essays or artwork receive feedback. Clear content is processed automatically, without choosing a subject or confirming every question first.
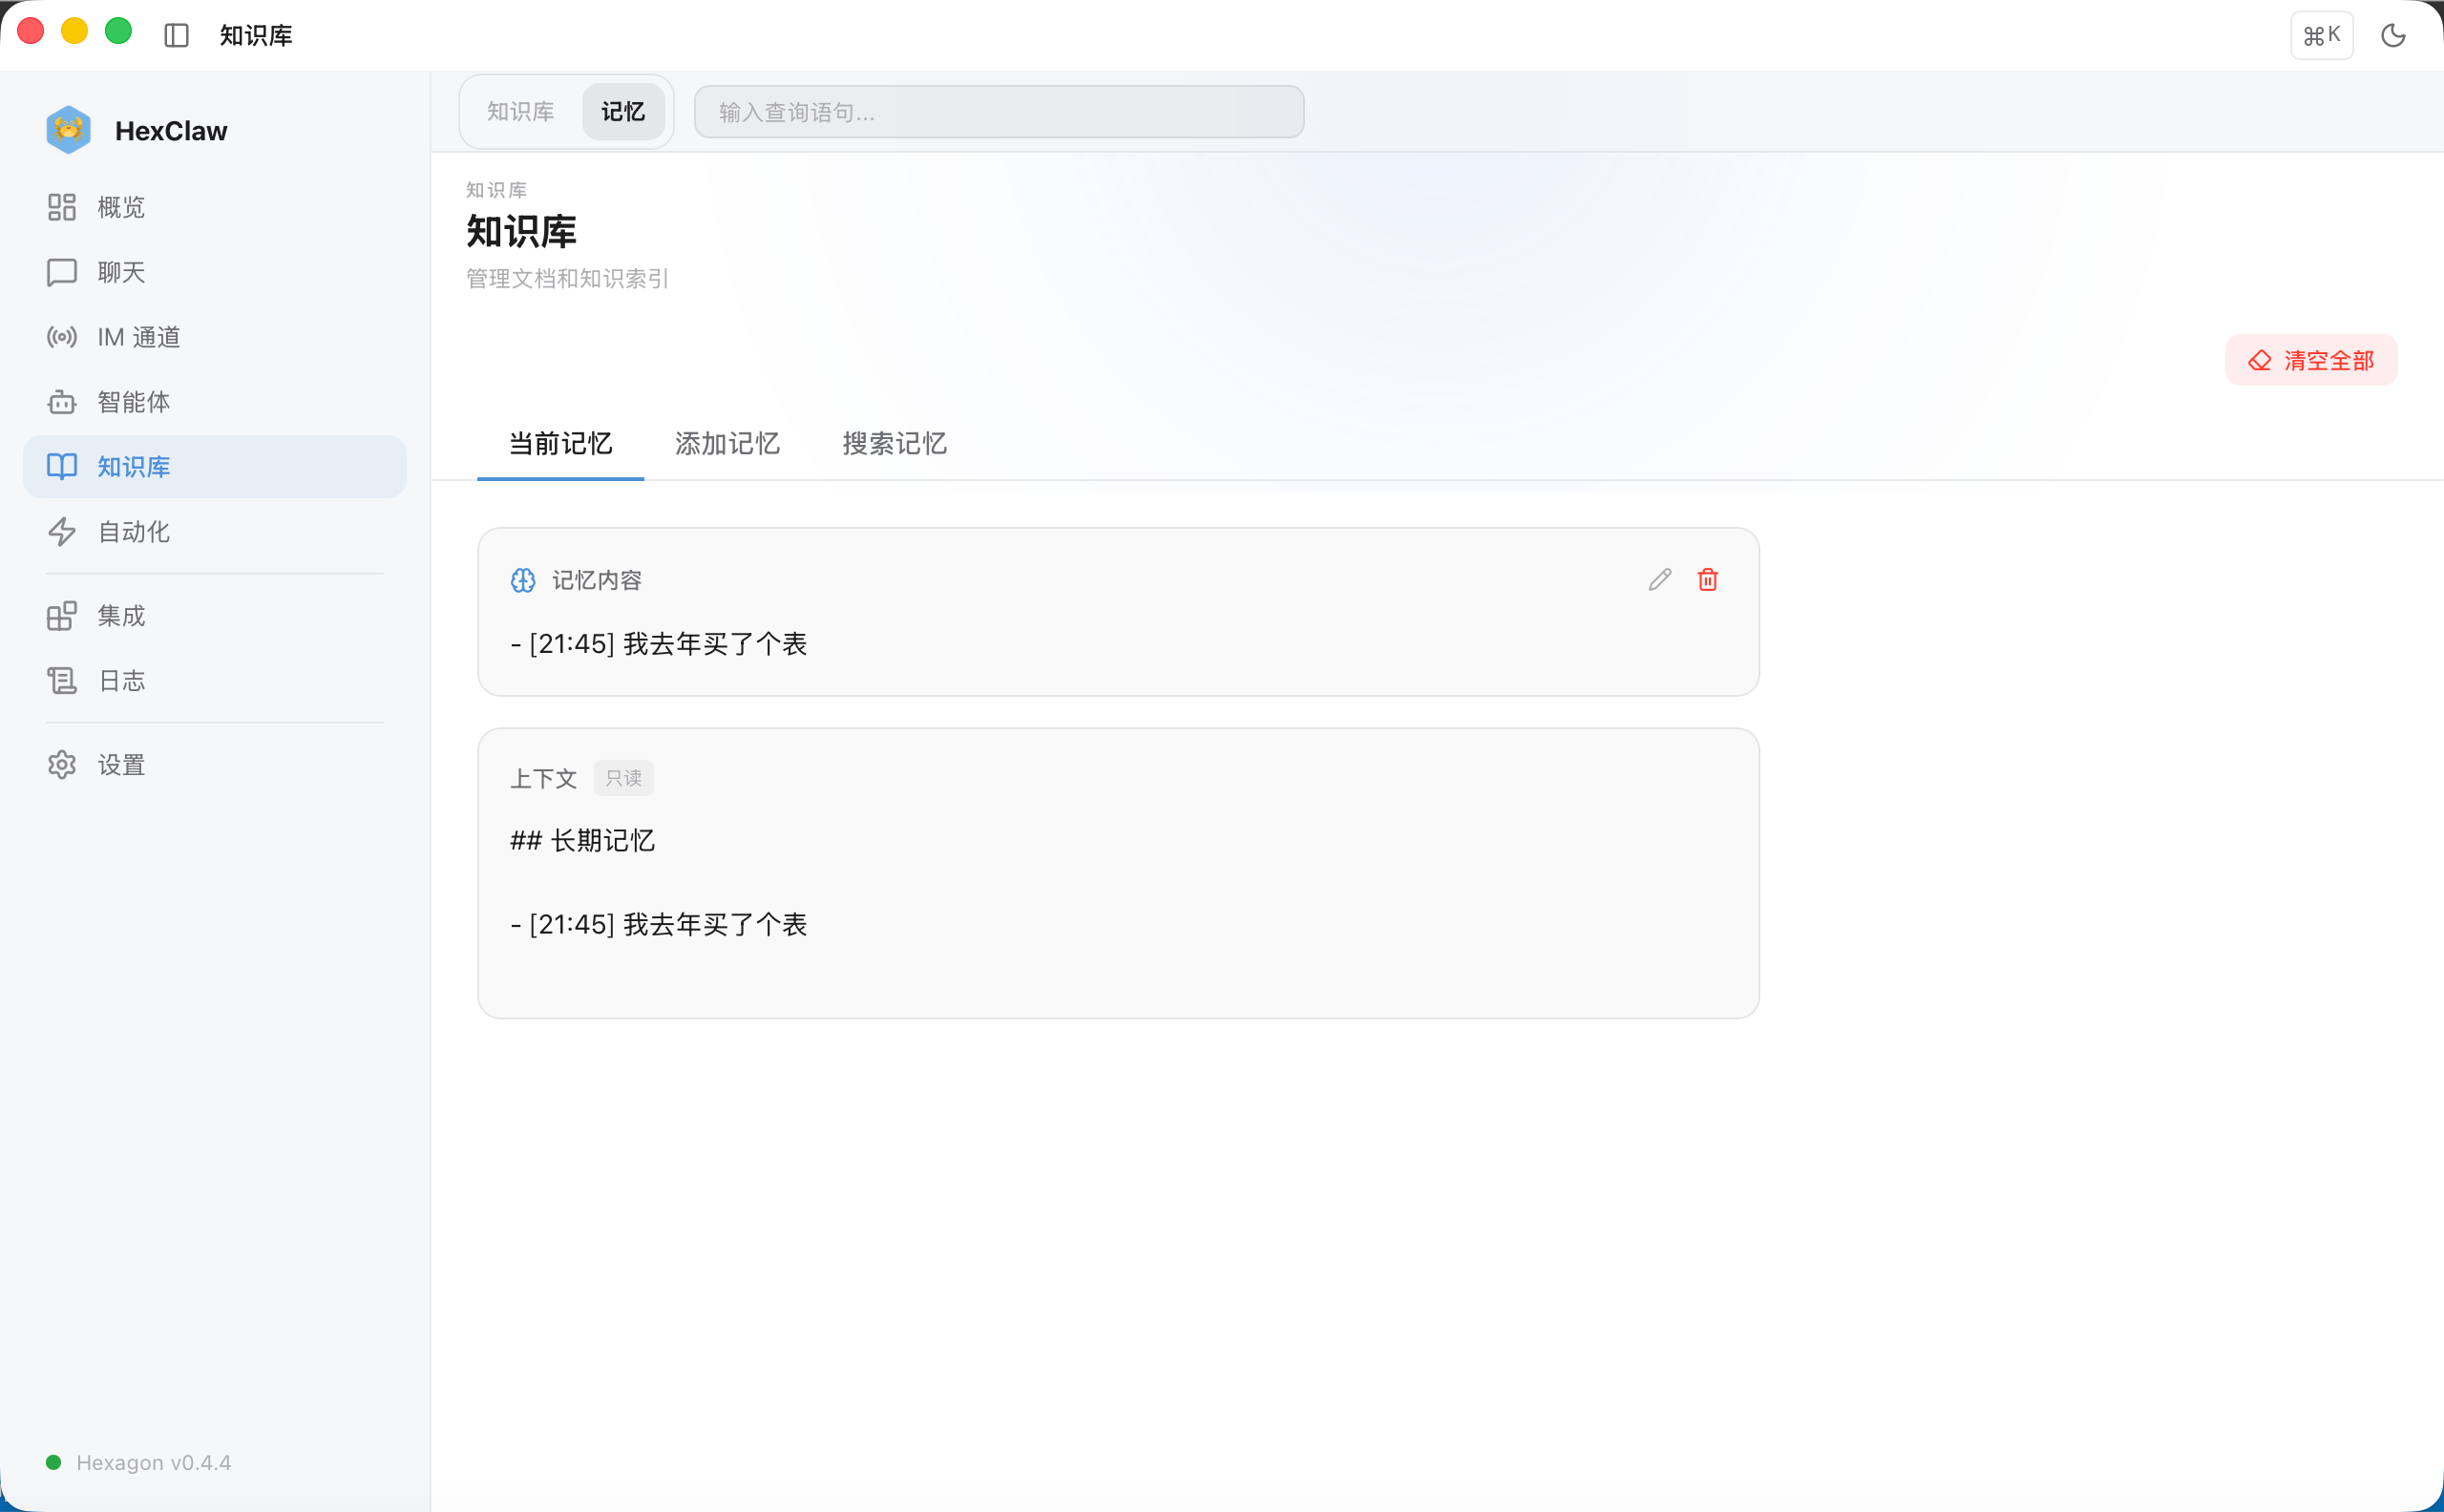
Expand Processing Steps to see the actual stages: image recognition, question and answer recognition, per-question processing, marking, parent explanation guide, and annotated-image generation. When marking a question-based assignment finishes, first read the annotated original and the page summary , then expand questions needing attention. Correct questions are grouped and collapsed; original answers, correct answers, causes of mistakes, and parent explanations sit with the corresponding question.
Questions that remain unreadable after automatic recognition are labeled Unrecognizable in the results. The system does not guess an answer, mark them wrong, or enter them into mistake or mastery conclusions; other readable questions complete normally. Send a clearer photo later if you wish. If you discover that a question or original answer was read incorrectly, use that question's source entry to check it again; correcting recognition does not count as another attempt by the child and does not overwrite later genuine attempts.
Tip : completed homework is marked against what the child actually wrote, and incorrect answers enter the mistake notebook automatically. Unanswered questions on an otherwise completed sheet are displayed separately. A wholly blank worksheet produces a parent explanation guide; it never invents a “student answer” and pretends to mark it.
Step 5 · Read the parent explanation guide, then inspect its evidence
Send a blank worksheet through the same tutoring input. After recognition, its task is labeled Blank Worksheet · Parent Explanation Guide . It recognizes and separates the questions, then solves them one by one:
Expand Processing Steps to see progress through image recognition, question and answer recognition, per-question processing, solving, and the parent explanation guide.
The completed Blank Worksheet · Parent Explanation Guide follows the original question order. Each question includes an answer, necessary steps, grade-appropriate methods, common pitfalls, how a parent can explain it, follow-up questions, and checks. Understand the explanation yourself before working through it with the child:
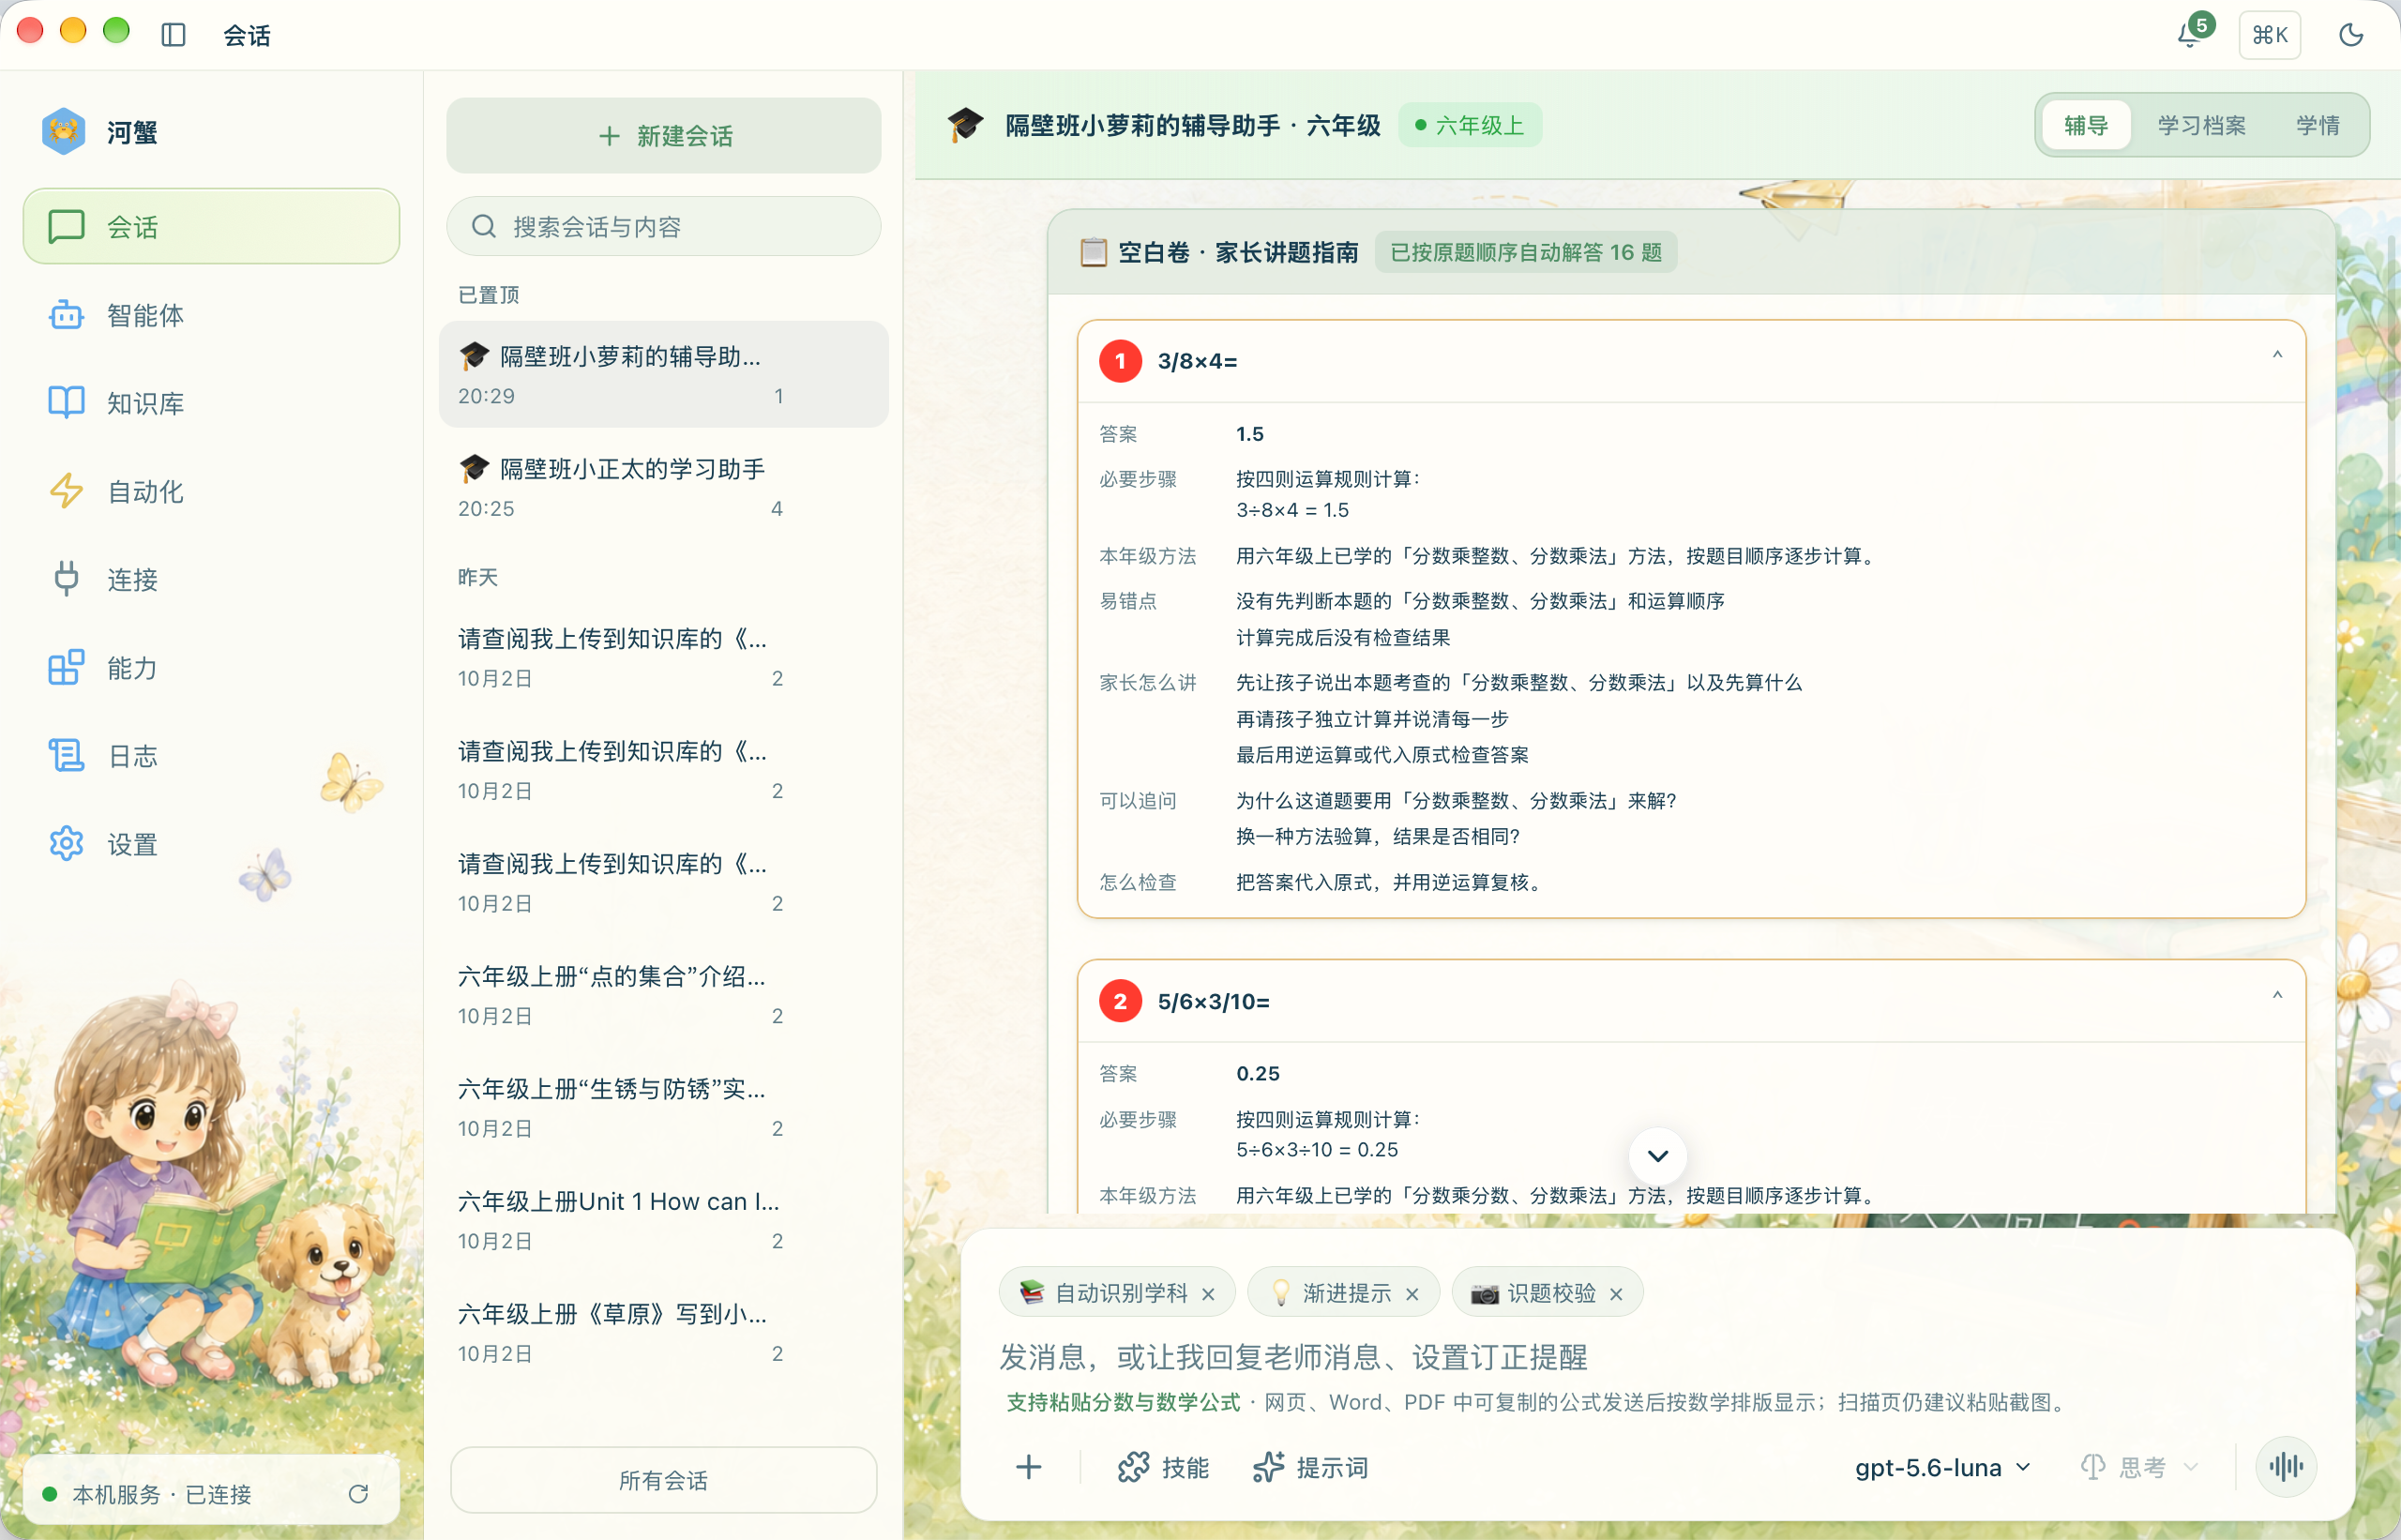
For completed homework, a correct answer with a problematic process is flagged separately and is not automatically treated as a mistake; Unrecognizable does not mean incorrect either. Also inspect the calculation and source labels in the result or tutoring notes: :
- 📖 Textbook-based —supported by actual retrieved text from the linked textbook;
- ✅ Programmatically checked —inspect the calculations and results actually covered for this question; a normal paragraph answer alone is not proof of a successful programmatic check;
- 🧠 Learning signal —drawn from this child's own mistakes or learning records;
- 🤖 AI synthesis · For reference —the AI's own summary; double-check it yourself when you see this label .
Remember: check what the verification covers, and give 🤖-marked material another look. If the original question was misread, even a beautifully presented solution must first be checked against the question itself.
Step 6 · The mistake notebook collects incorrect answers automatically
Switch to the Learning Profile tab at the top right. Questions marked incorrect appear automatically; no manual copying is needed. There are five smaller tabs: Due This Week / All Mistakes / Practice Sets / Collection / Work ; Learning Overview is a separate tab at the top.
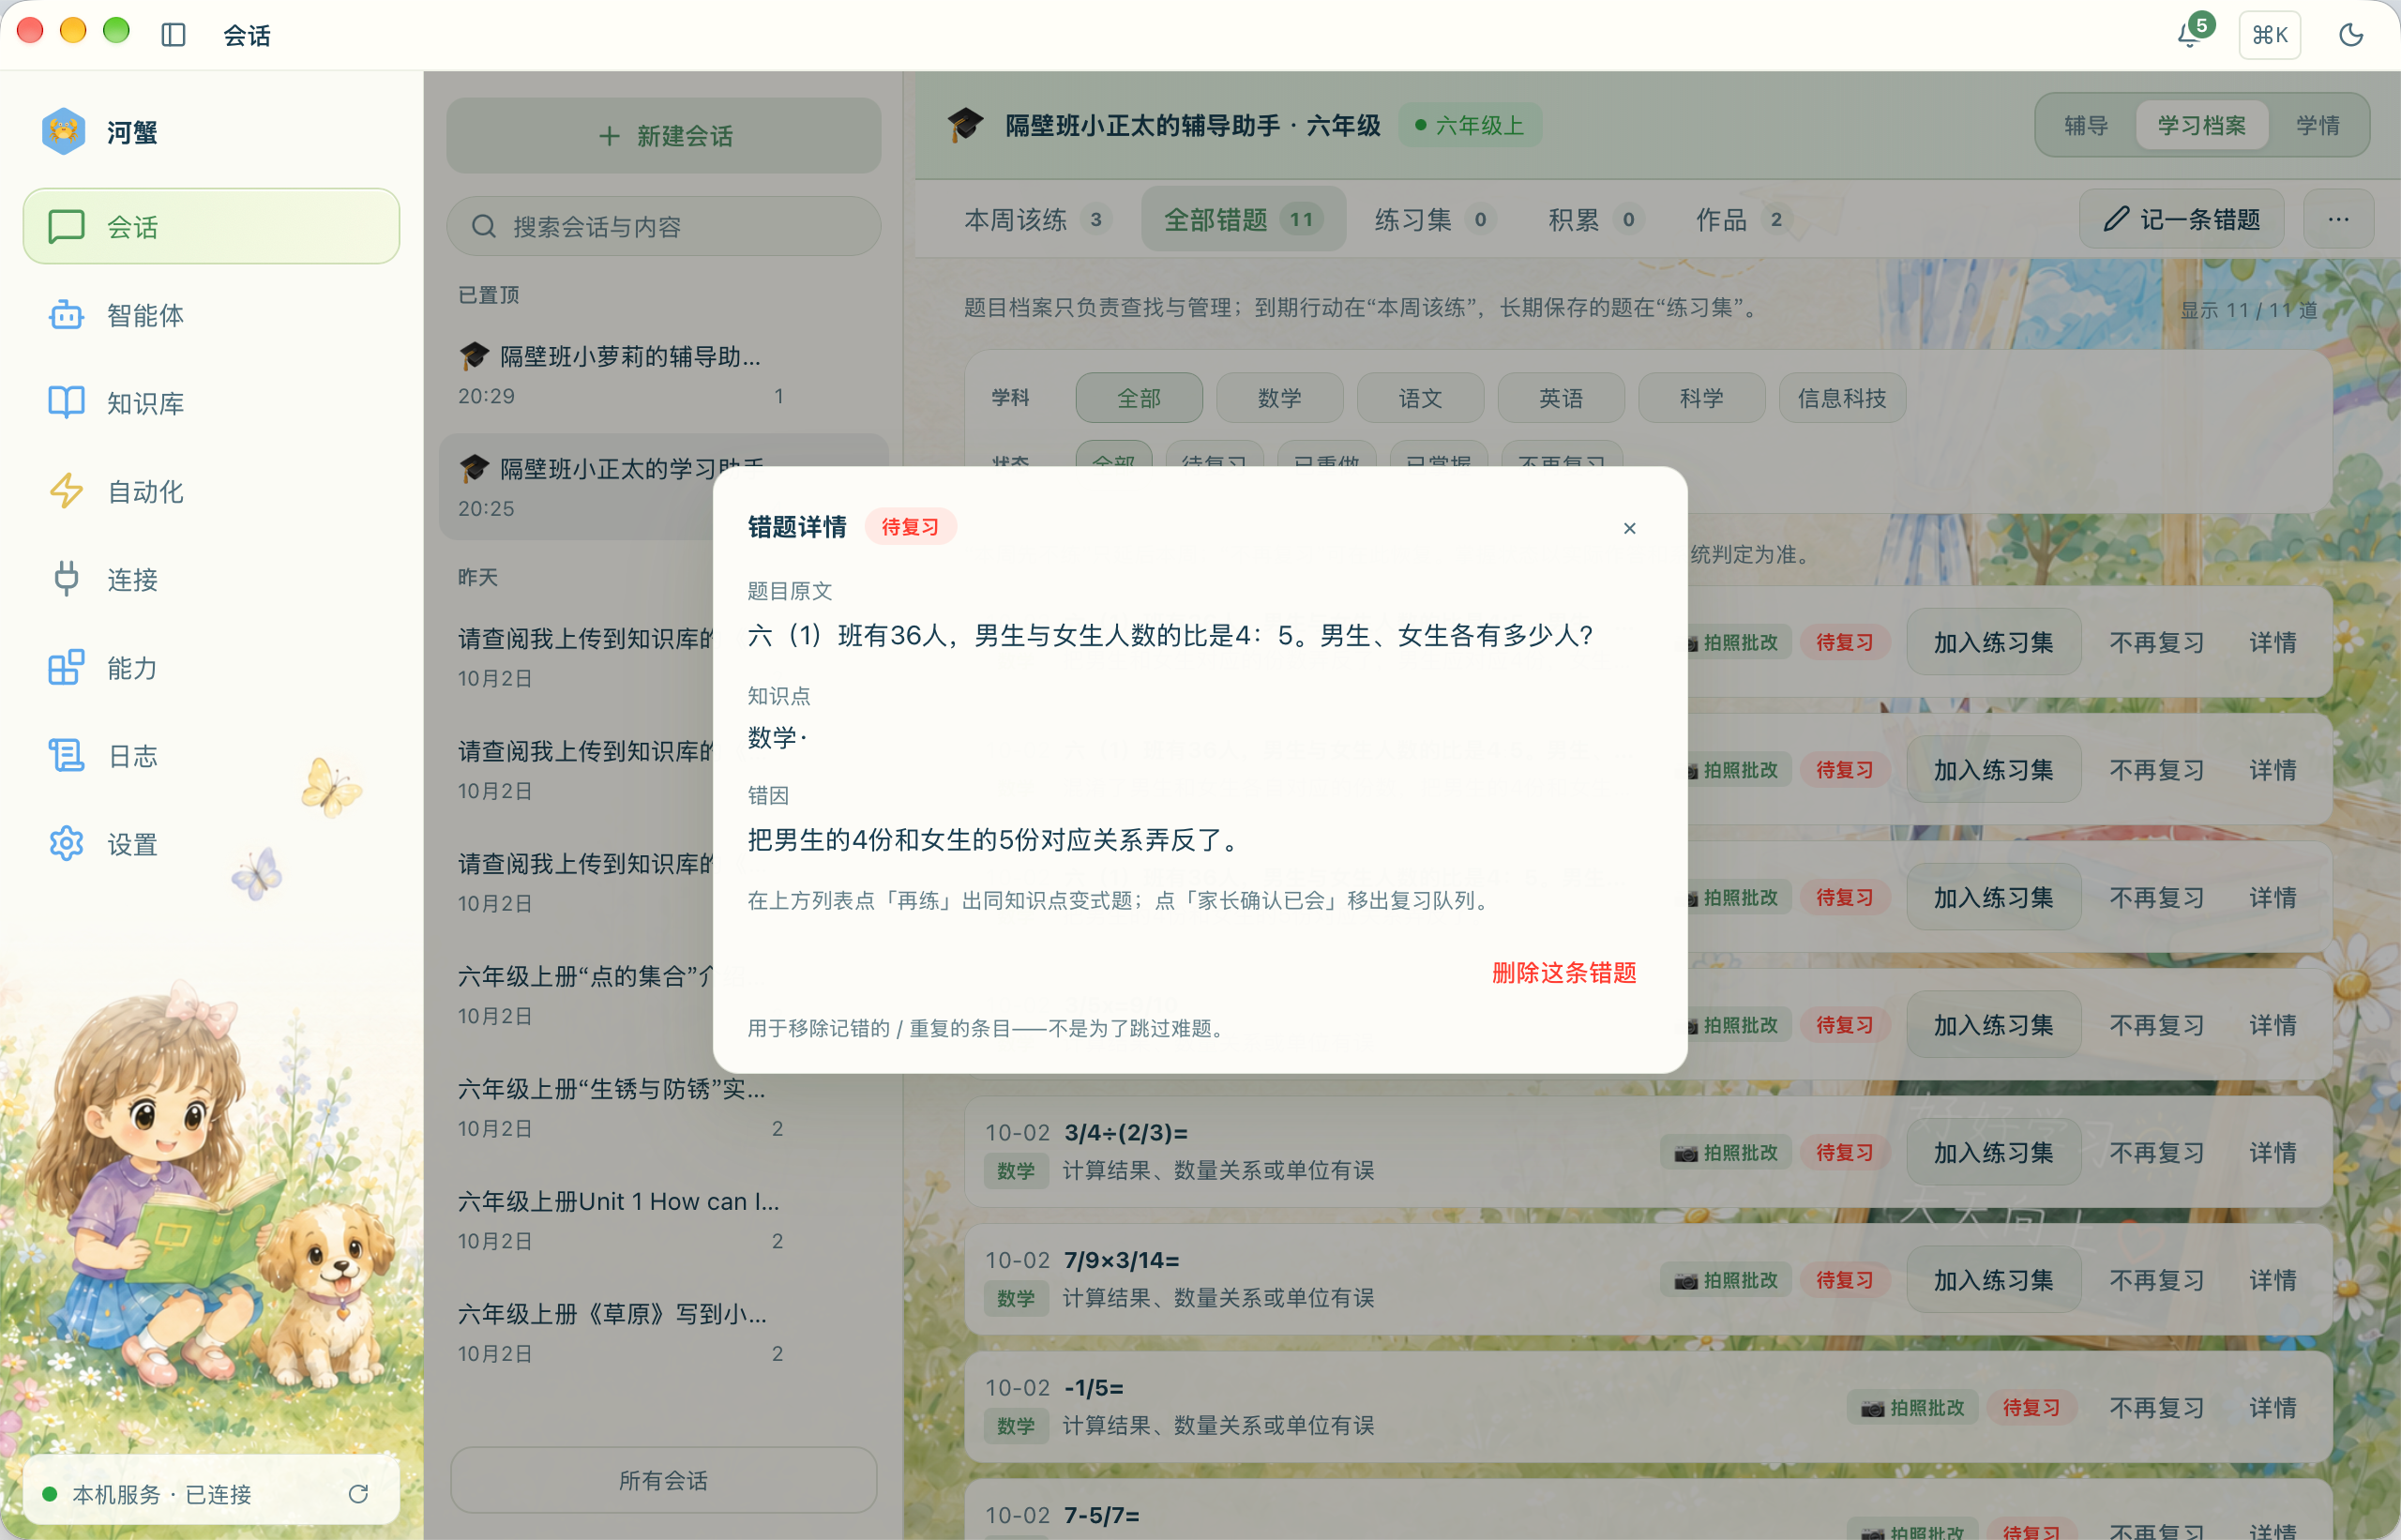
Here is what the buttons do:
- Due This Week —queues mistakes whose reviews are due; curriculum-aligned consolidation and mental-arithmetic warmups can also be prepared as needed;
- Add to Practice Set —prepares review questions for this mistake and, after validation, adds them to the practice set for the child (see the next step);
- Skip This Week / Stop Reviewing —the former postpones only this week's review, while the latter removes it from automatic review and can be reversed later. Neither means the child has mastered it;
- Details —revisit the question, answer, and cause of the mistake;
- Record a Mistake (top right)—manually add questions that were not marked from a photo: a teacher's spoken feedback, a workbook question, or something the child says they did not understand. Enter the question and answer to put it in the review queue.
Click Details to revisit the original question, concept, and mistake cause first. Understand the issue, then return to the list to prepare practice.
The adjacent Collection tab is for Chinese and English—save vocabulary, useful sentences, or classical poems without putting them in the mistake-review queue. Enter the content and let the system classify it; to test recall, click Generate Dictation Questions and Add to Practice Set .
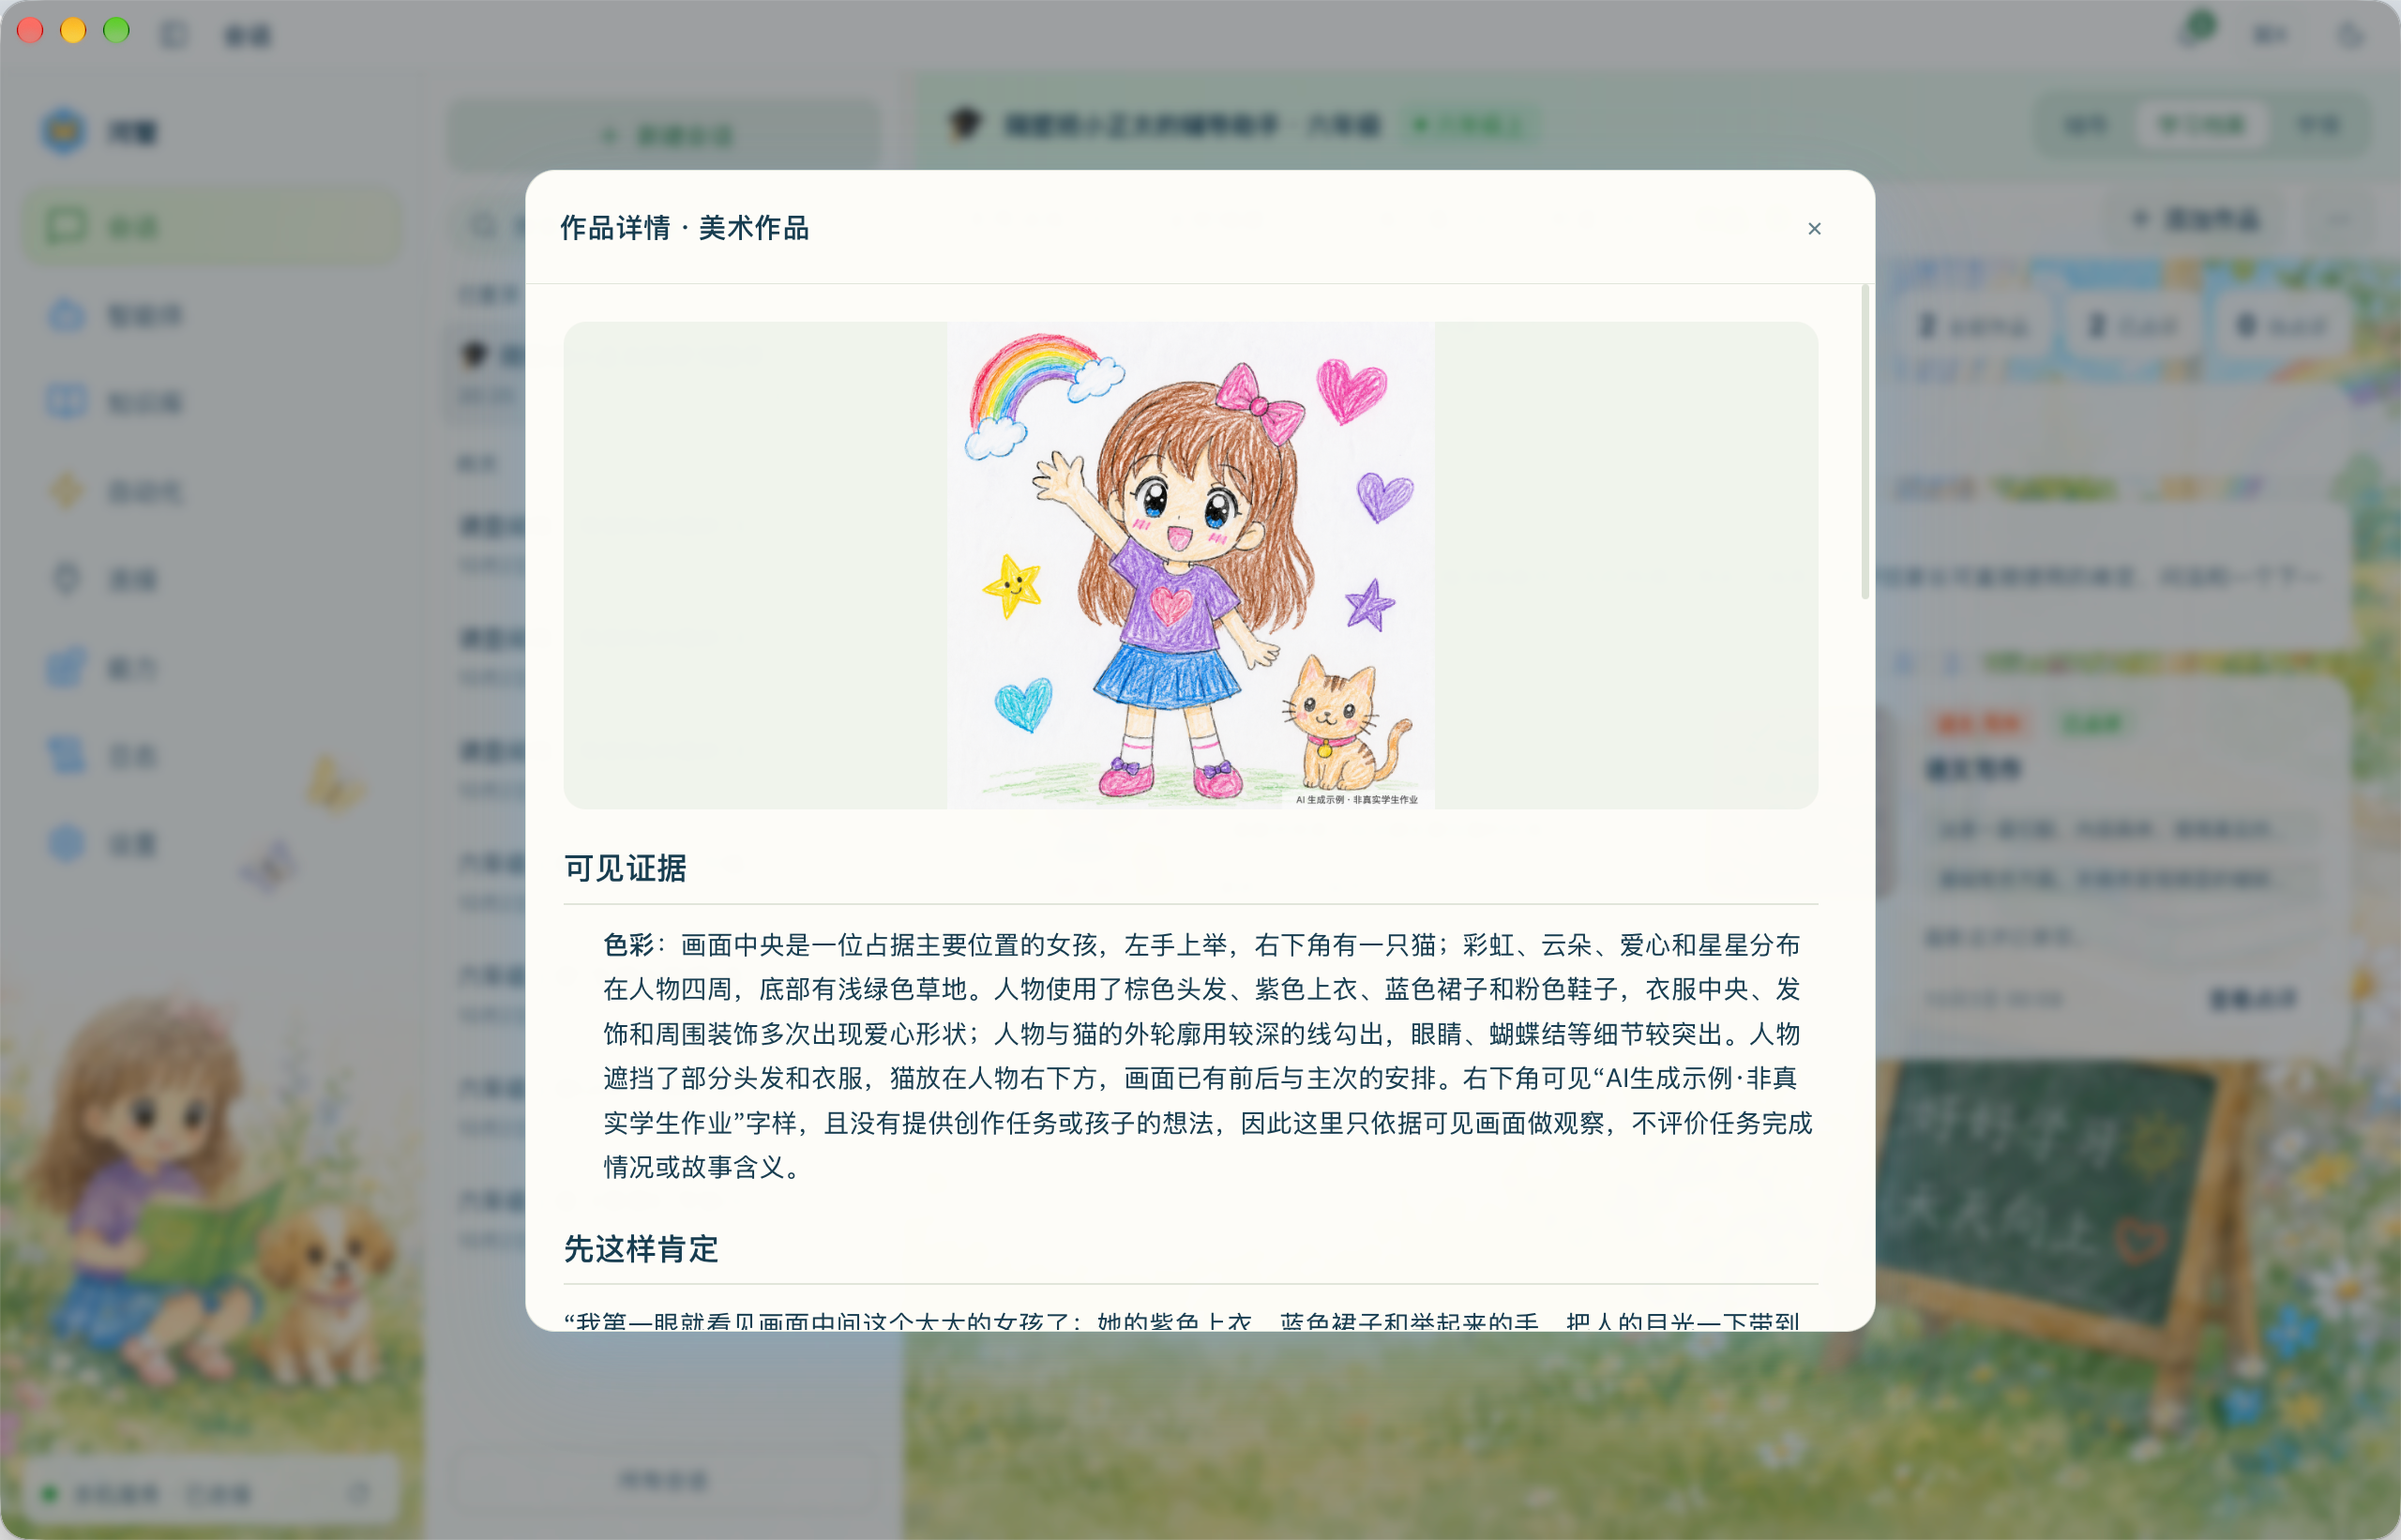
Essays and artwork can also be sent through the tutoring input. They are recognized and reviewed automatically, and can be revisited in Work . Feedback follows Visible Evidence / Start with This Encouragement / What Parents Can Ask or Explain / Try Just One Thing Next Time to give you a teaching approach. Essays can include revision demonstrations and reference drafts while preserving the child's original separately; art feedback follows visible evidence in the image.
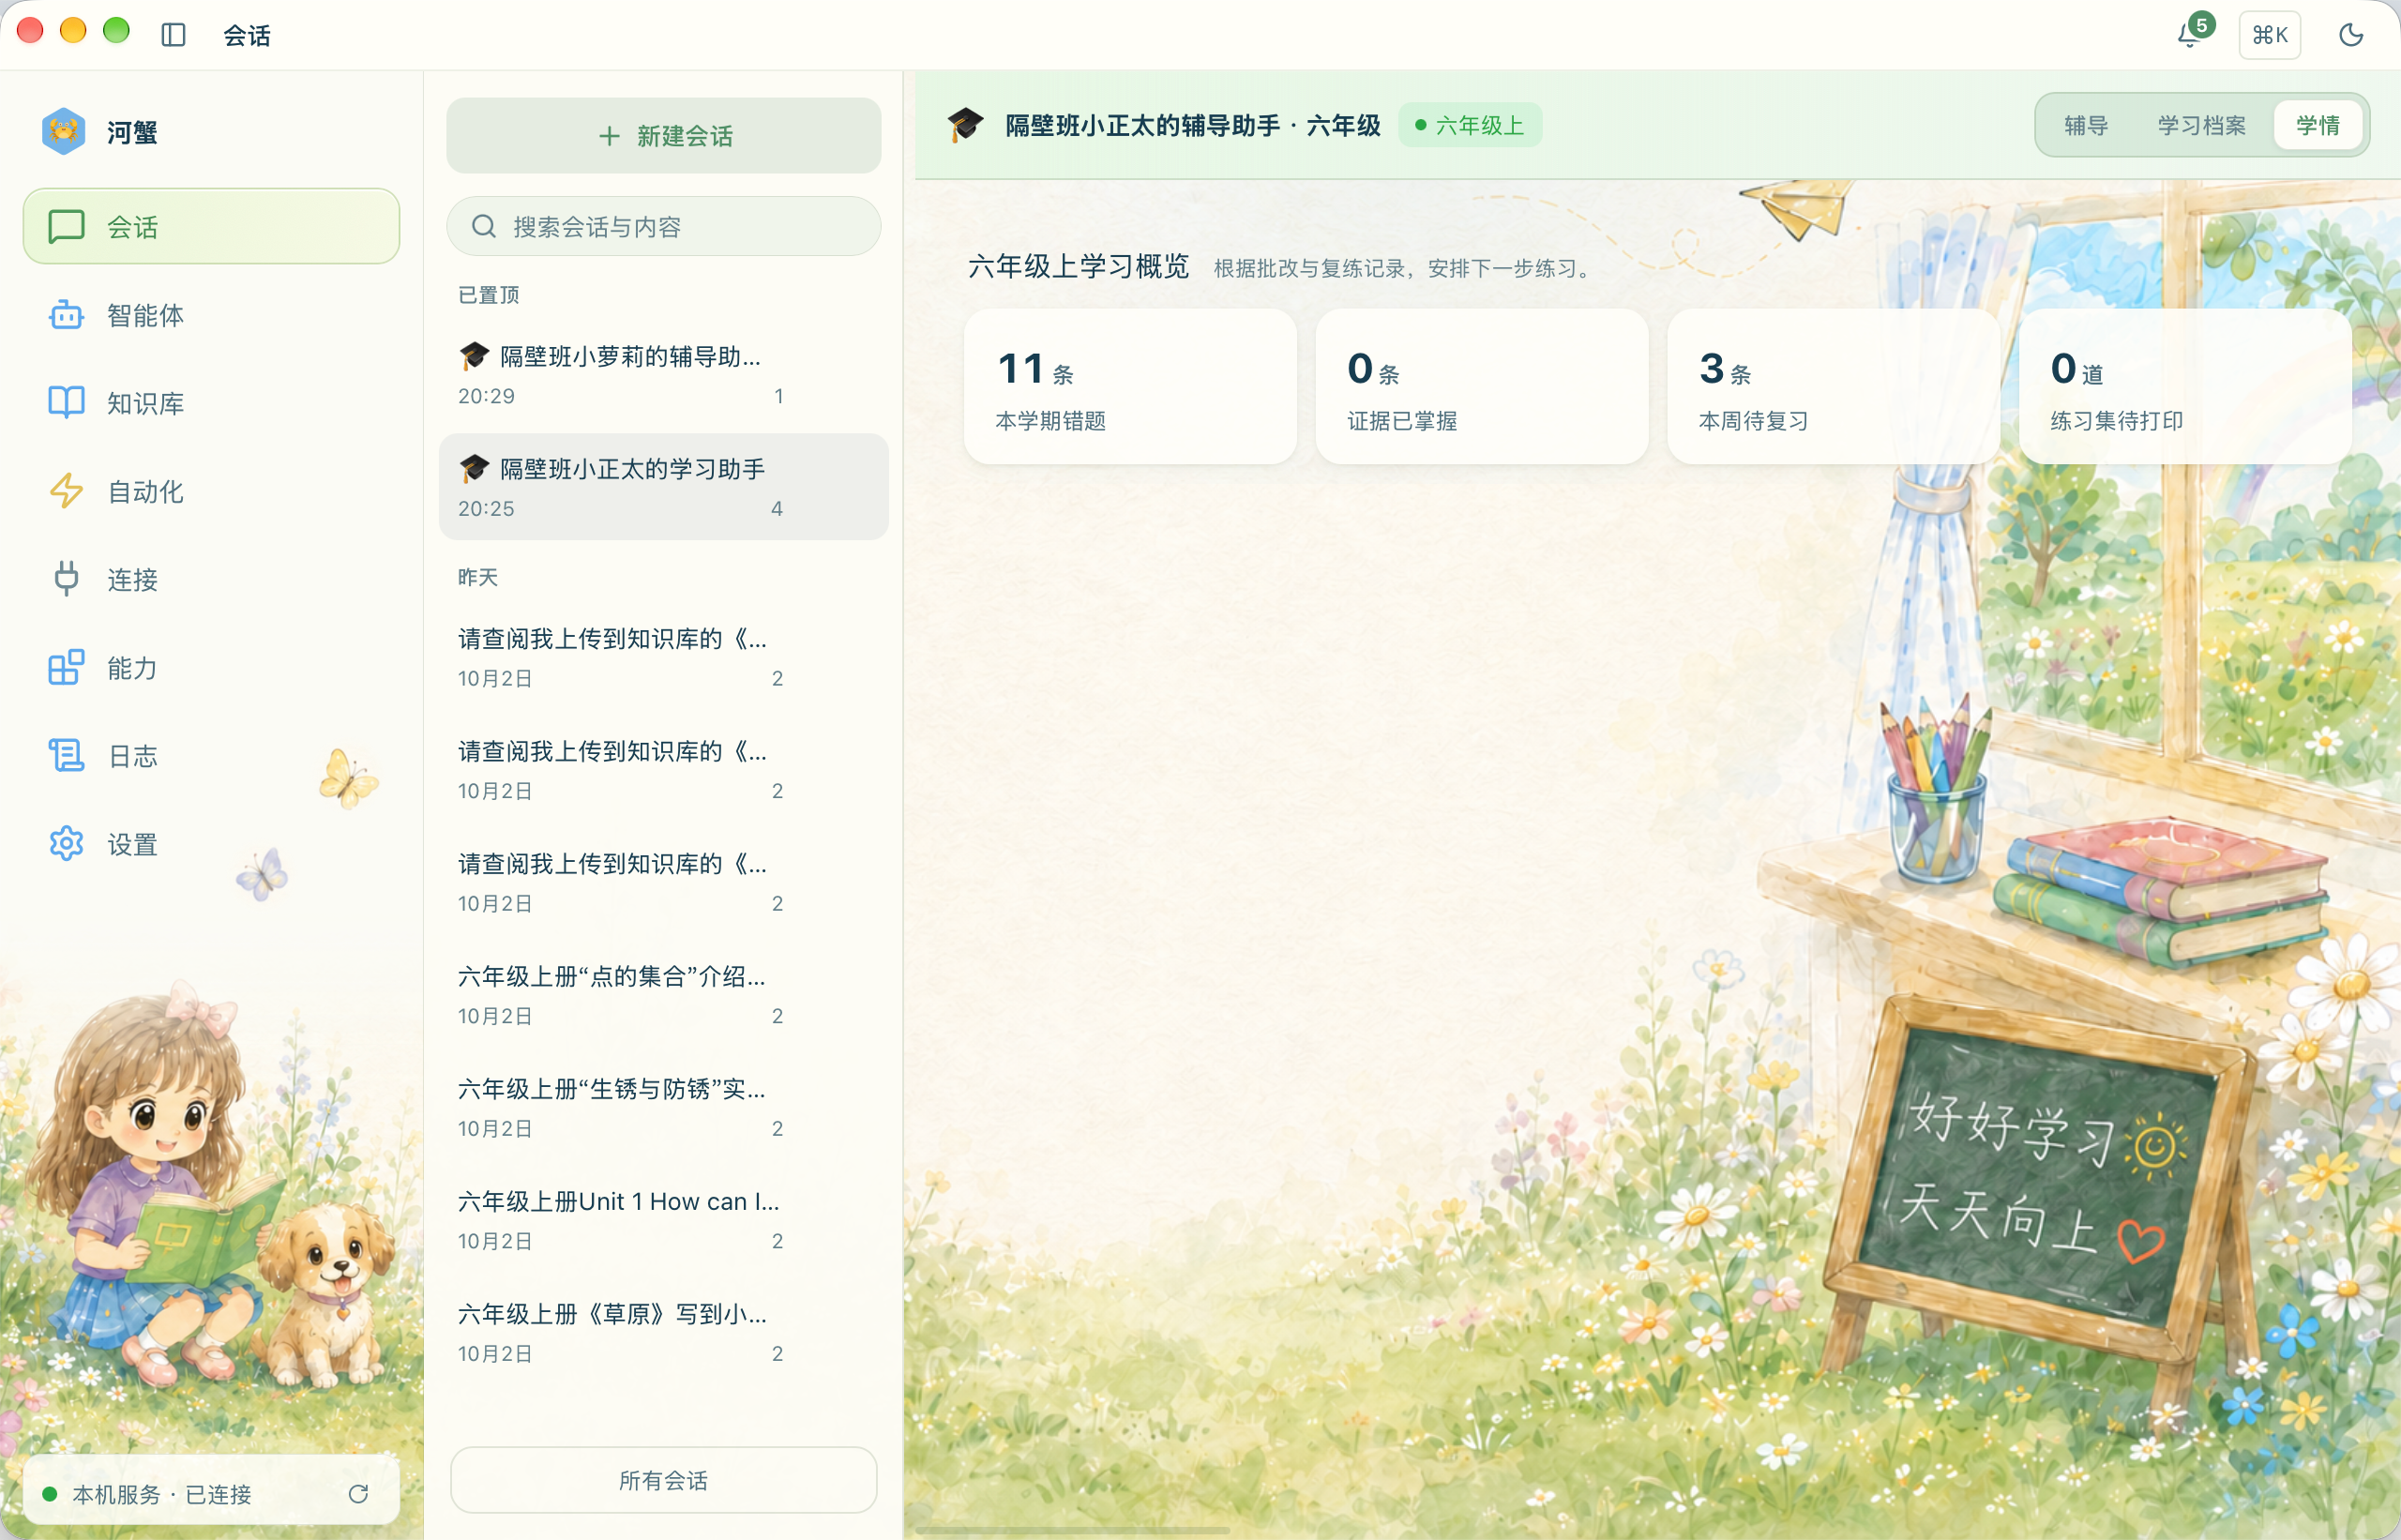
Learning Overview summarizes this child's learning and updates through marking, review, and other records. Manually recording a result or removing a question from the review queue does not mean the system has confirmed mastery:
To keep a copy of learning records, open the menu at the top right of Learning Profile → All Mistakes: “…” it offers PDF, Word, and Markdown exports, plus Backup / Restore. Print worksheets for the child from Practice Sets, described below.
Step 7 · Prepare review, then photograph and return the completed work
Beside a mistake not yet in a set, click Add to Practice Set to prepare its review questions. Math problems keep the concept while changing numbers and situations so the child learns the method; Chinese and English dictation keeps the original words.
New questions must pass validation before entering the practice set . Failures remain in place with a message. Only genuine answers, system re-marking, and evidence accumulated over review intervals can lead to Mastered.
Printing · Give the worksheet to the child and keep the answers
In Learning Profile, click Practice Sets → Print Worksheet . Added questions are arranged into a worksheet. Check the preview, then open the system print dialog. To keep a file, the preview offers Save as PDF… . Give the question sheet to the child and keep the answer sheet for yourself ; do not hand over the answer copy as well.
To send it to your phone, click Send to… . It is sent to every currently active private-chat target bound to this tutor, without choosing recipients. Successful printing or creation of a send task freezes the questions as a historical worksheet; canceling printing does not clear questions awaiting printing .
When the child finishes, send an answer photo directly through the Tutoring input or the bound DingTalk private chat . The system recognizes the questions and compares them with this child's historical mistakes and practice sheets. You do not need to choose “new homework or review” or locate the worksheet first. Keeping the sheet number and question numbers visible helps matching.
Only real answers that can be reliably matched update review records. Unmatched work is still marked as a new assignment; it does not guess updates to an old sheet's status . A partly completed sheet can be supplemented later. On the same practice sheet, repeated identical re-marking conclusions for already assessed questions do not advance review records again. Historical sheets also keep a Return Answers entry. If a photo is inconvenient, Record Result Manually saves a parent's note, but Evidence-backed Mastery still depends on real answers and system re-marking.
Let it work automatically · A review list every Friday at 7 p.m.
The last obstacle is often that parents forget to open the app. Creating a tutor automatically registers four scheduled tasks for that child, handling due review and answer-return reminders at the scheduled times:
| Task | When | What you receive |
|---|---|---|
| Mistake review list | Every Friday, 19:00 | Original text of mistakes due for review, without answers |
| Answer-return reminder | Every day, 20:00 | Worksheets printed or sent the day before whose answers are still incomplete; one reminder per sheet |
| Spring term confirmation | March 1, 09:00 | A reminder that the term should change; the profile updates after confirmation |
| Autumn term confirmation | September 1, 09:00 | A prompt to decide whether the profile should advance to the next term |
If creation reports Automatic reminders were not fully registered , open Automation → Scheduled Tasks and check these four tasks. Then open the child's tutor's Edit Profile and save once to retry missing tasks; existing tasks remain intact.
These tasks stay quiet when there is nothing to send —on a Friday with no due mistakes, you do not get an empty “No mistakes this week!” message. Friday's message is a text list of the original questions due for review ; it does not automatically generate a PDF or add new questions to Practice Sets. To prepare variants and print them, add each question from Due This Week. At term changes it also asks whether to update the profile; the update follows the parent's confirmation .
Use it on your phone · Bind DingTalk and message the tutor privately
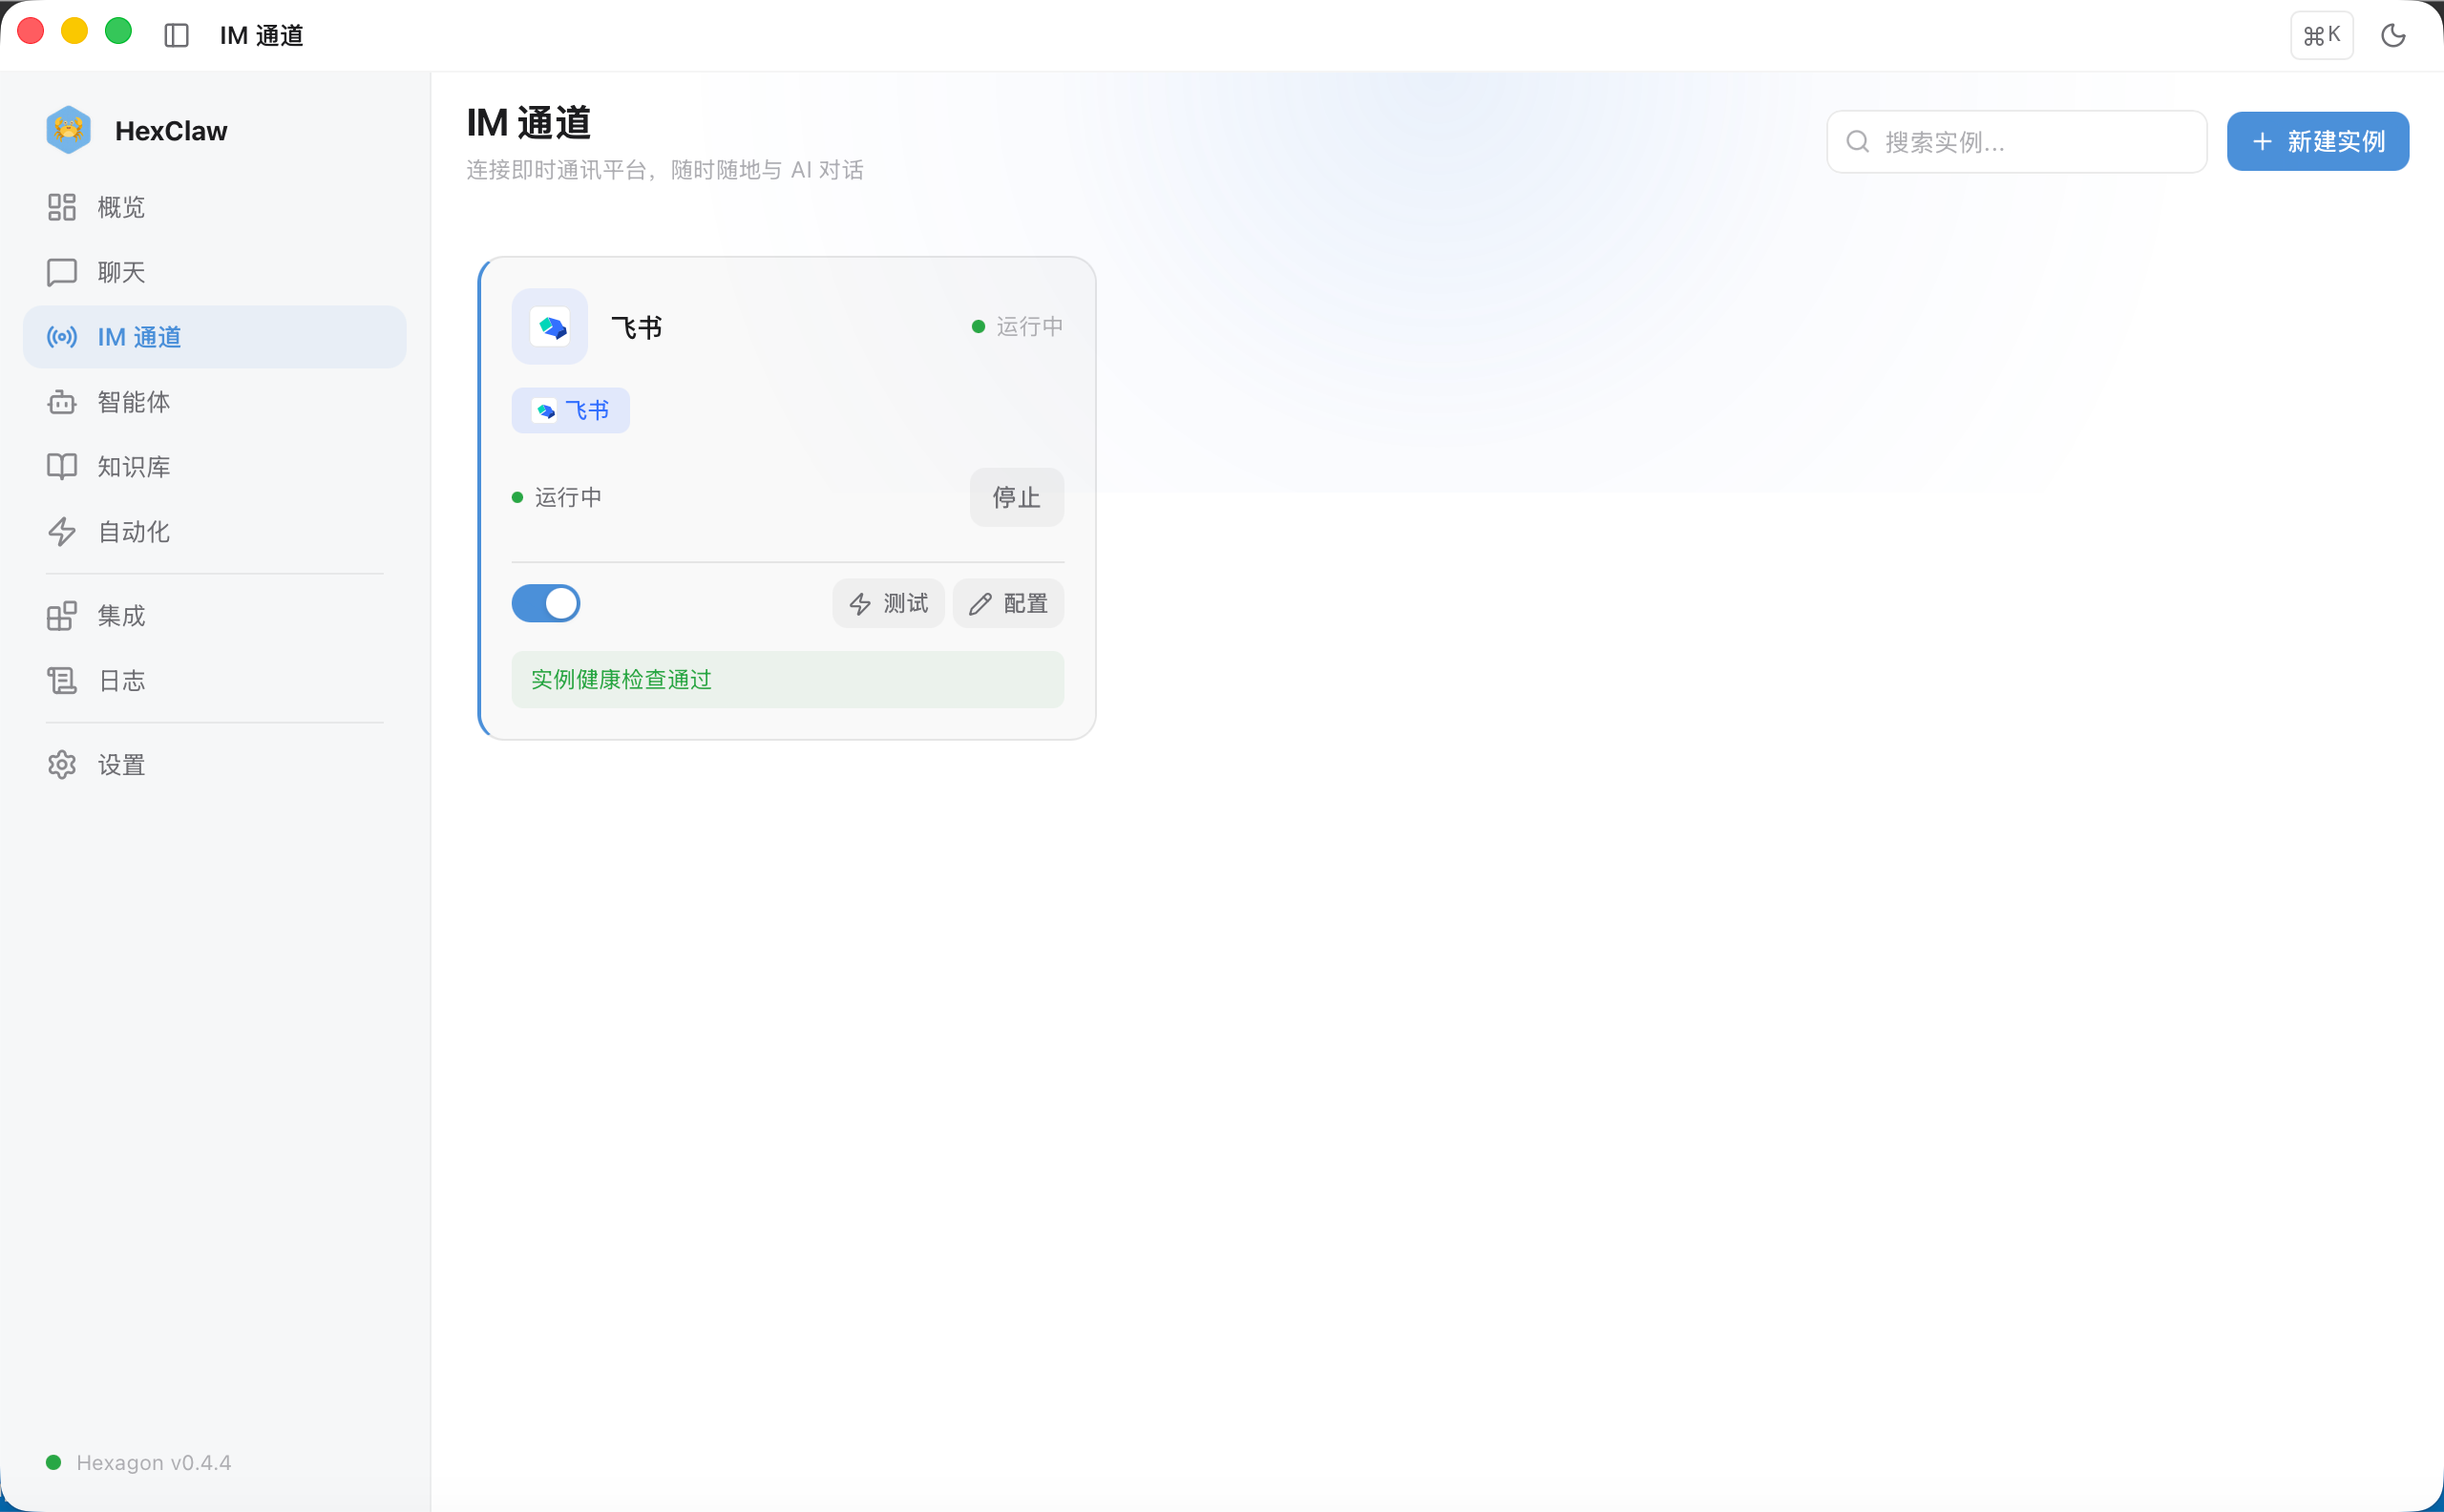
Prefer not to sit at the computer every time? Bind the tutor to DingTalk to message the bot privately and send homework photos from your phone while HexClaw keeps running on the computer. This is the most technical step because you need to create a bot in DingTalk's own developer console . Follow the sequence below. This version's K12 mobile channel supports only one-to-one DingTalk private chats .
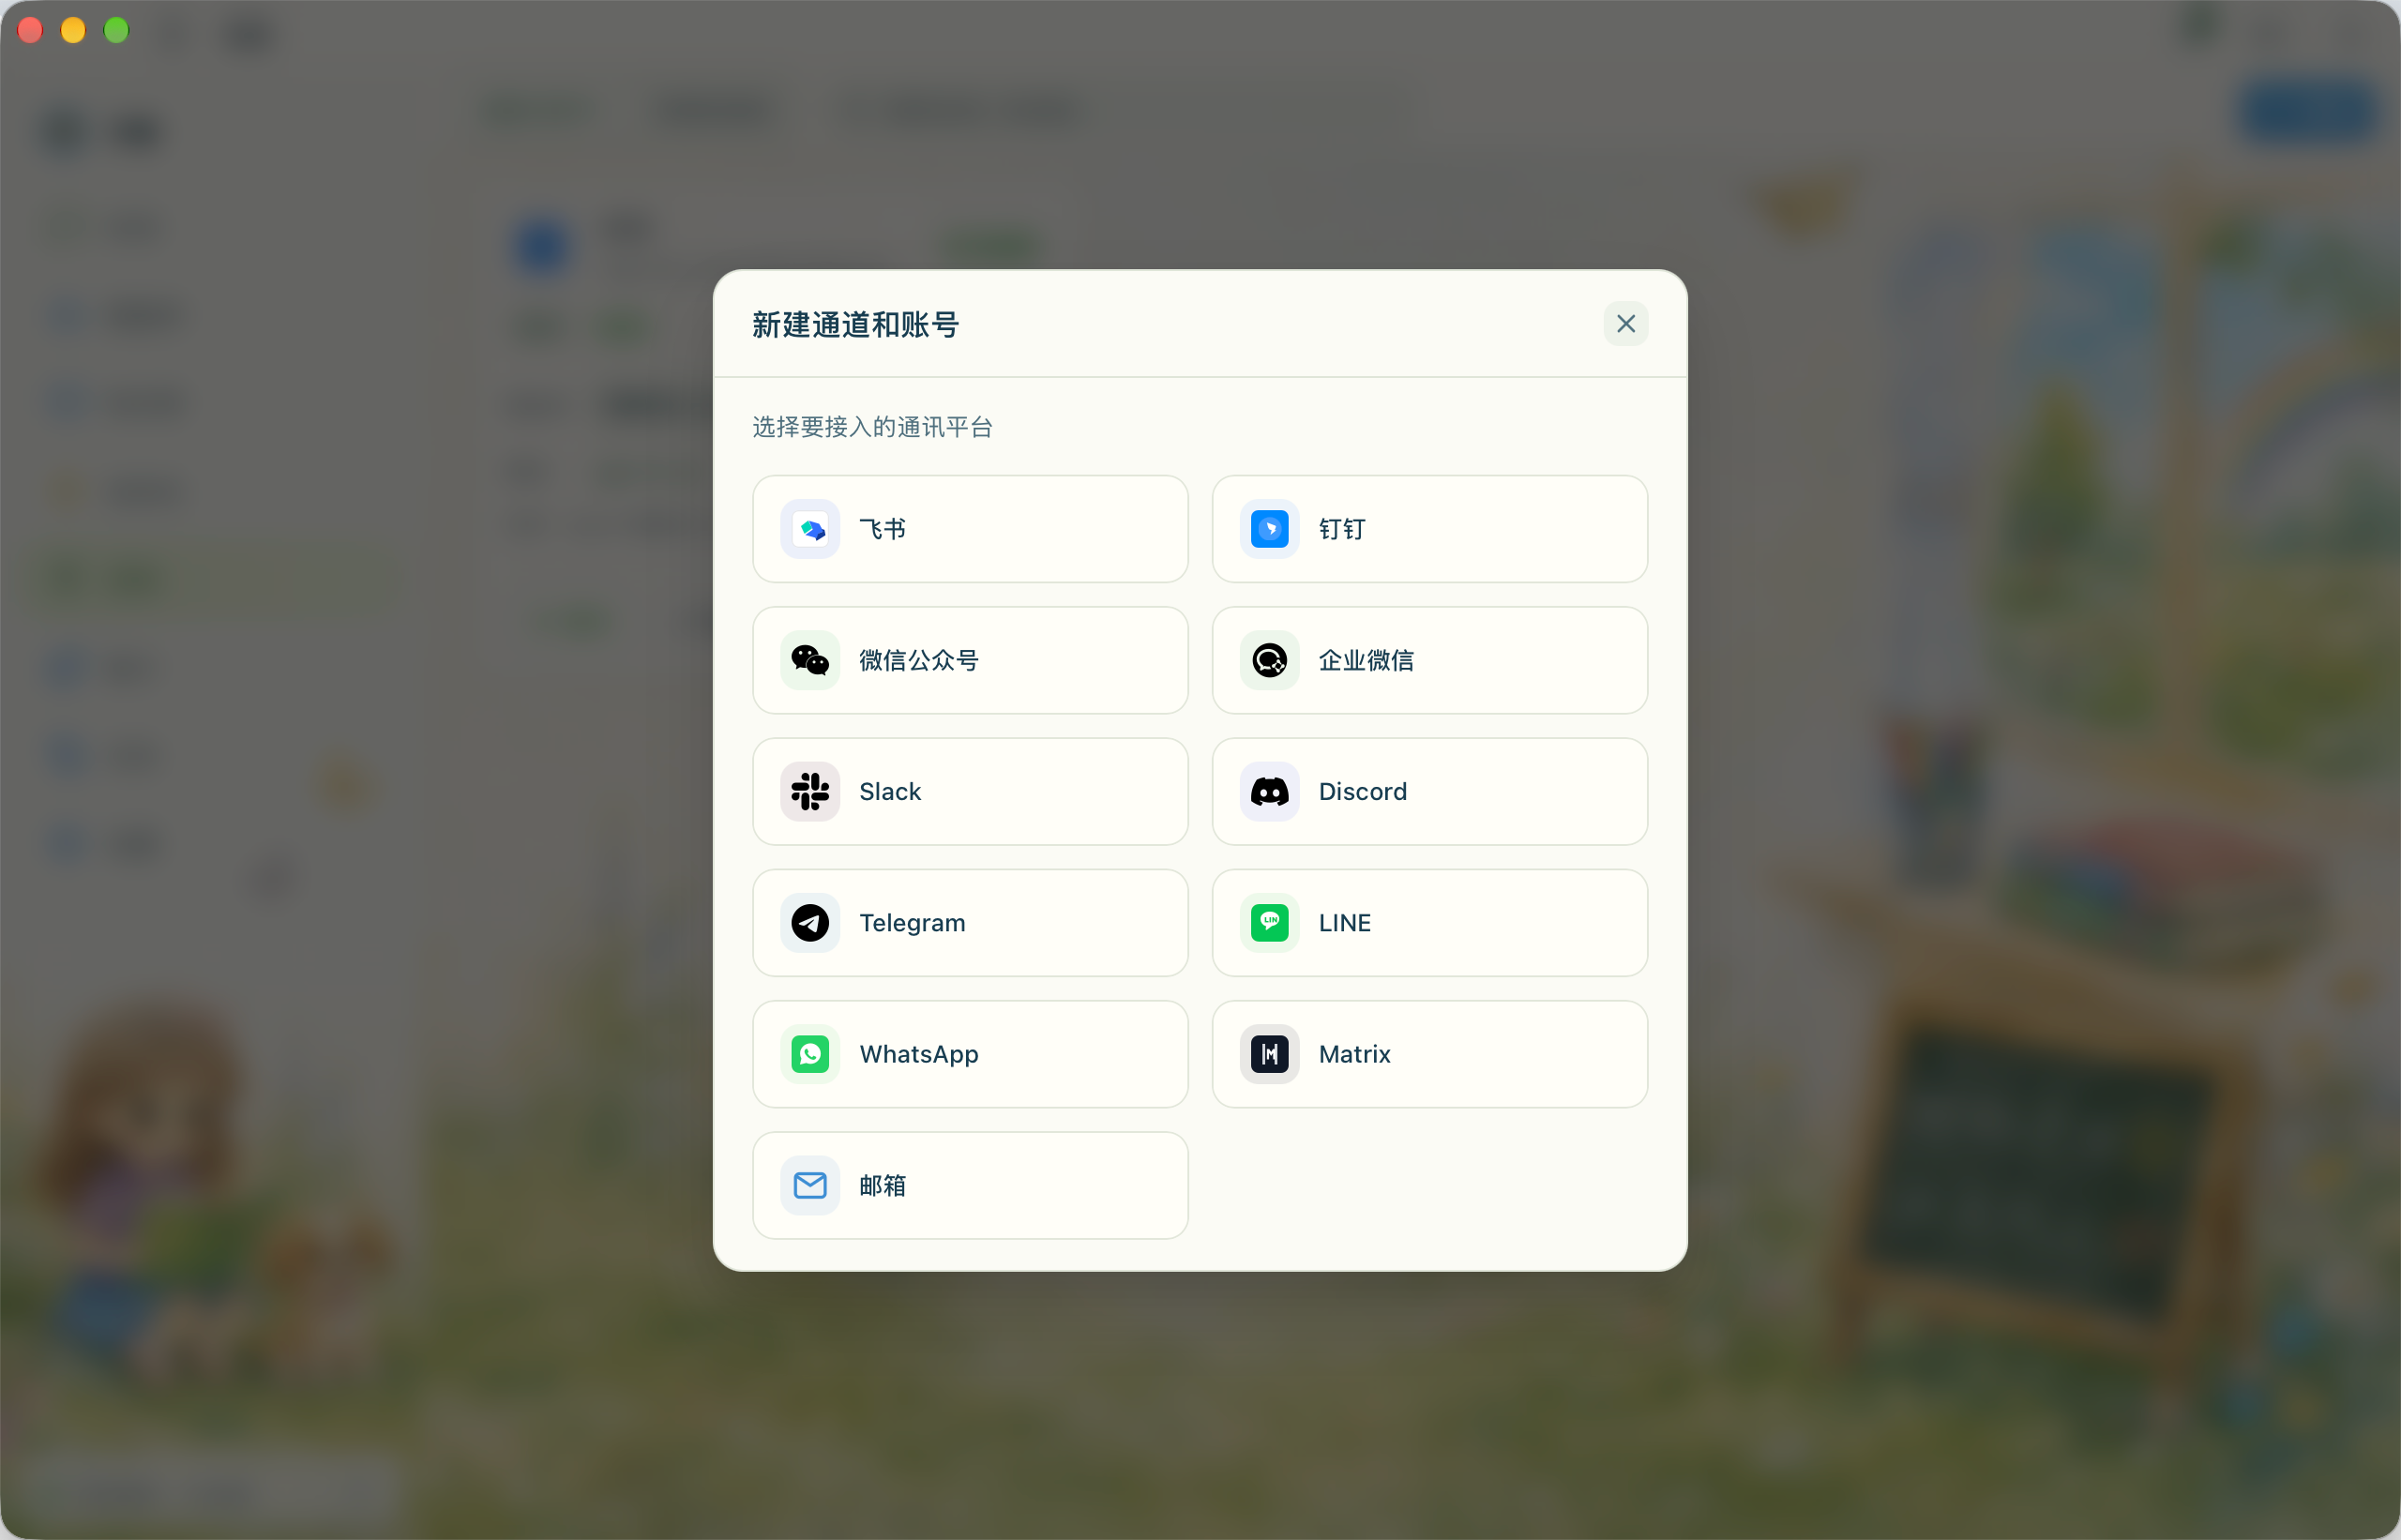
① Start in HexClaw : click Connections → Add in the left sidebar. In New Channel and Account, choose DingTalk .
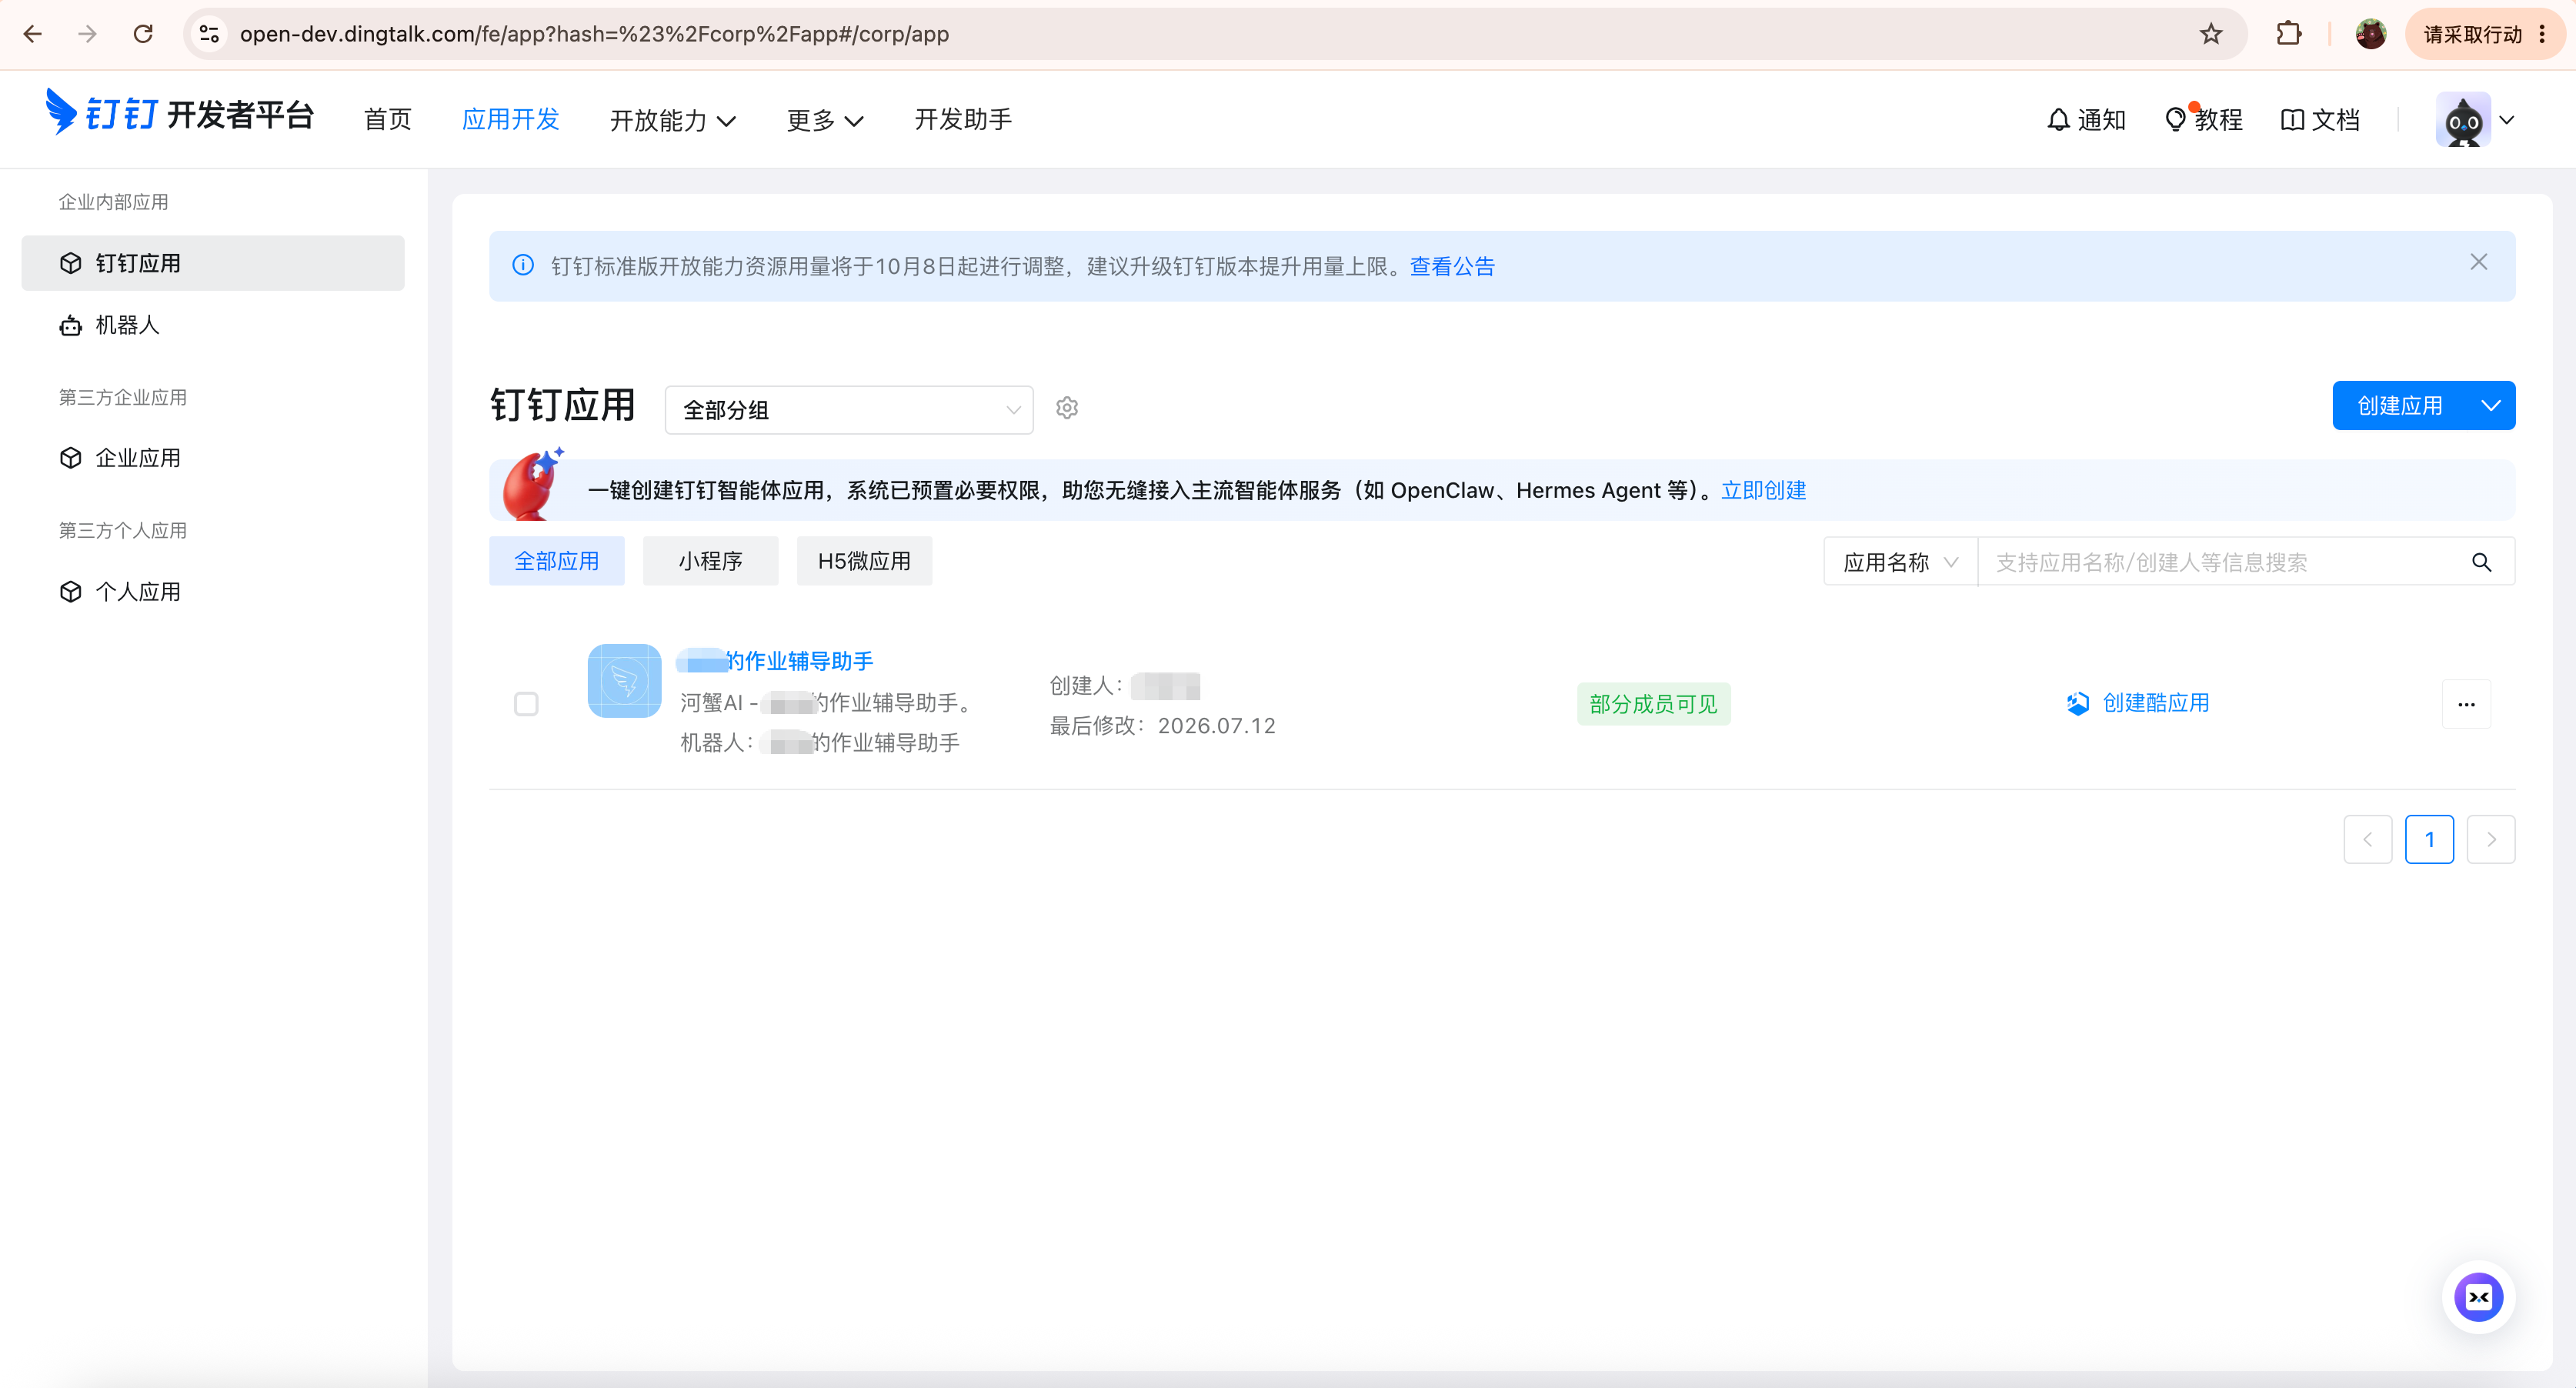
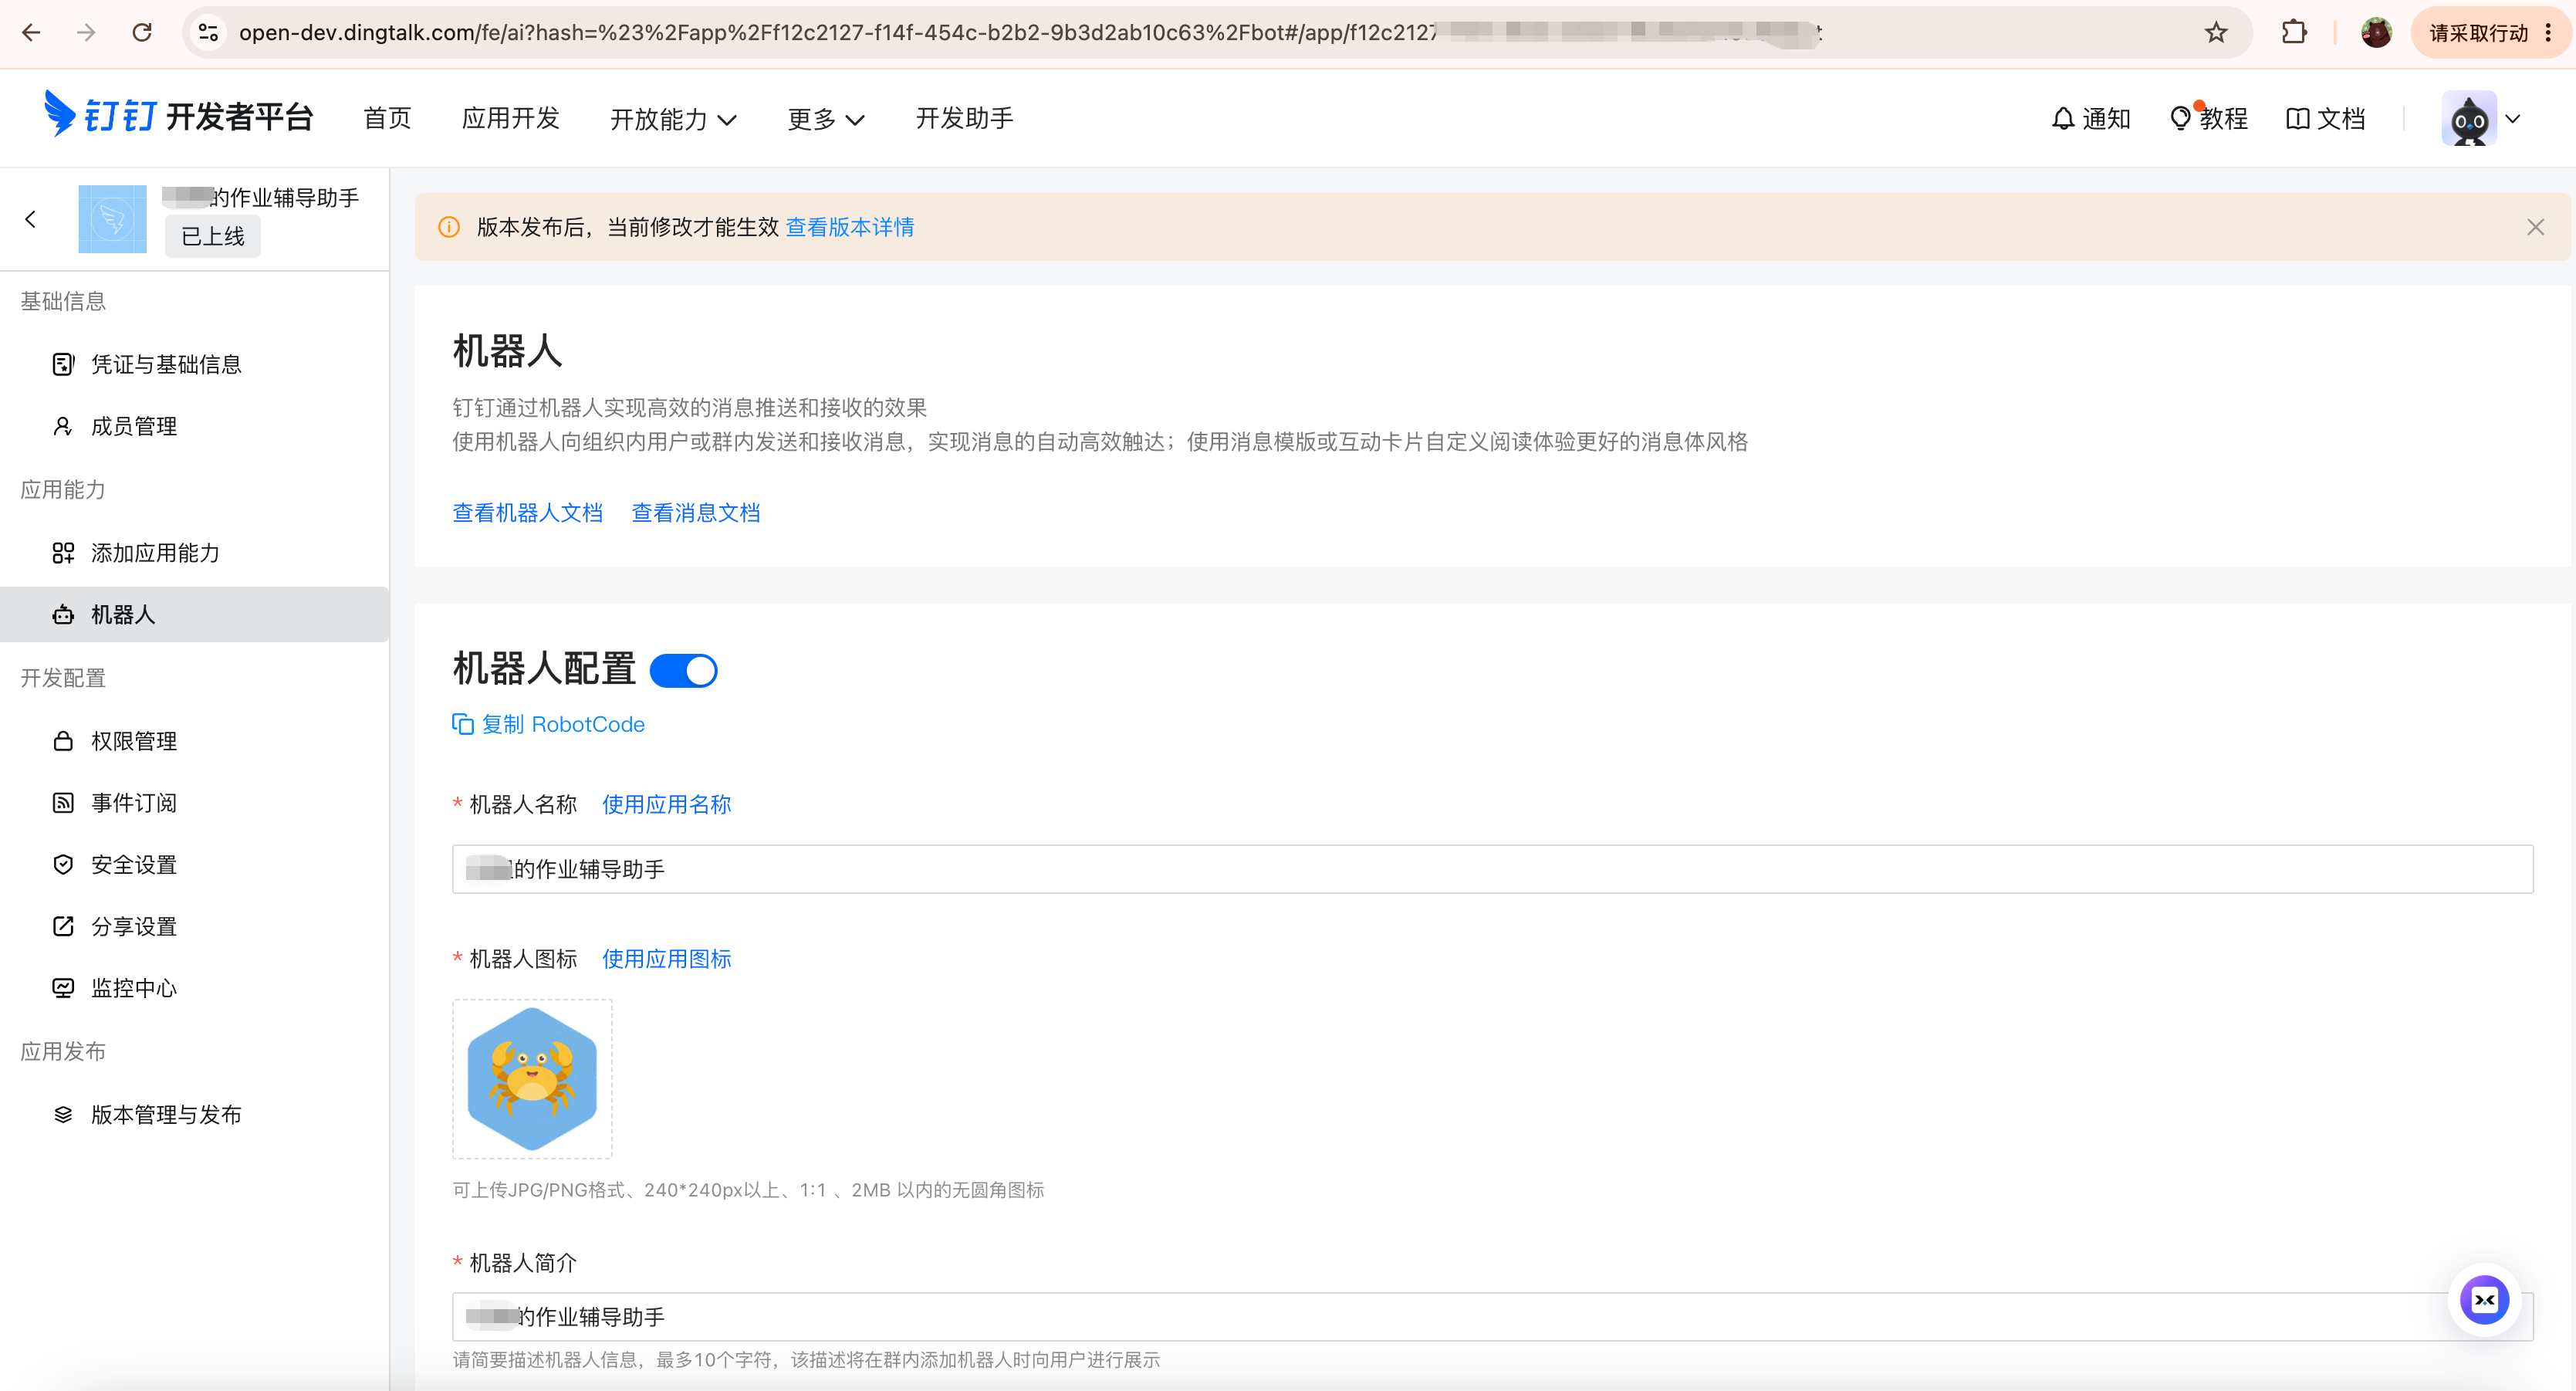
② Create a bot in DingTalk's developer console : DingTalk requires bot credentials. Follow the form's Development Documentation to create an Internal Enterprise App. Give it a name such as “Xiaohong's Homework Tutor,” enable the bot, and use Stream mode for receiving messages. You do not need to configure a public callback URL.
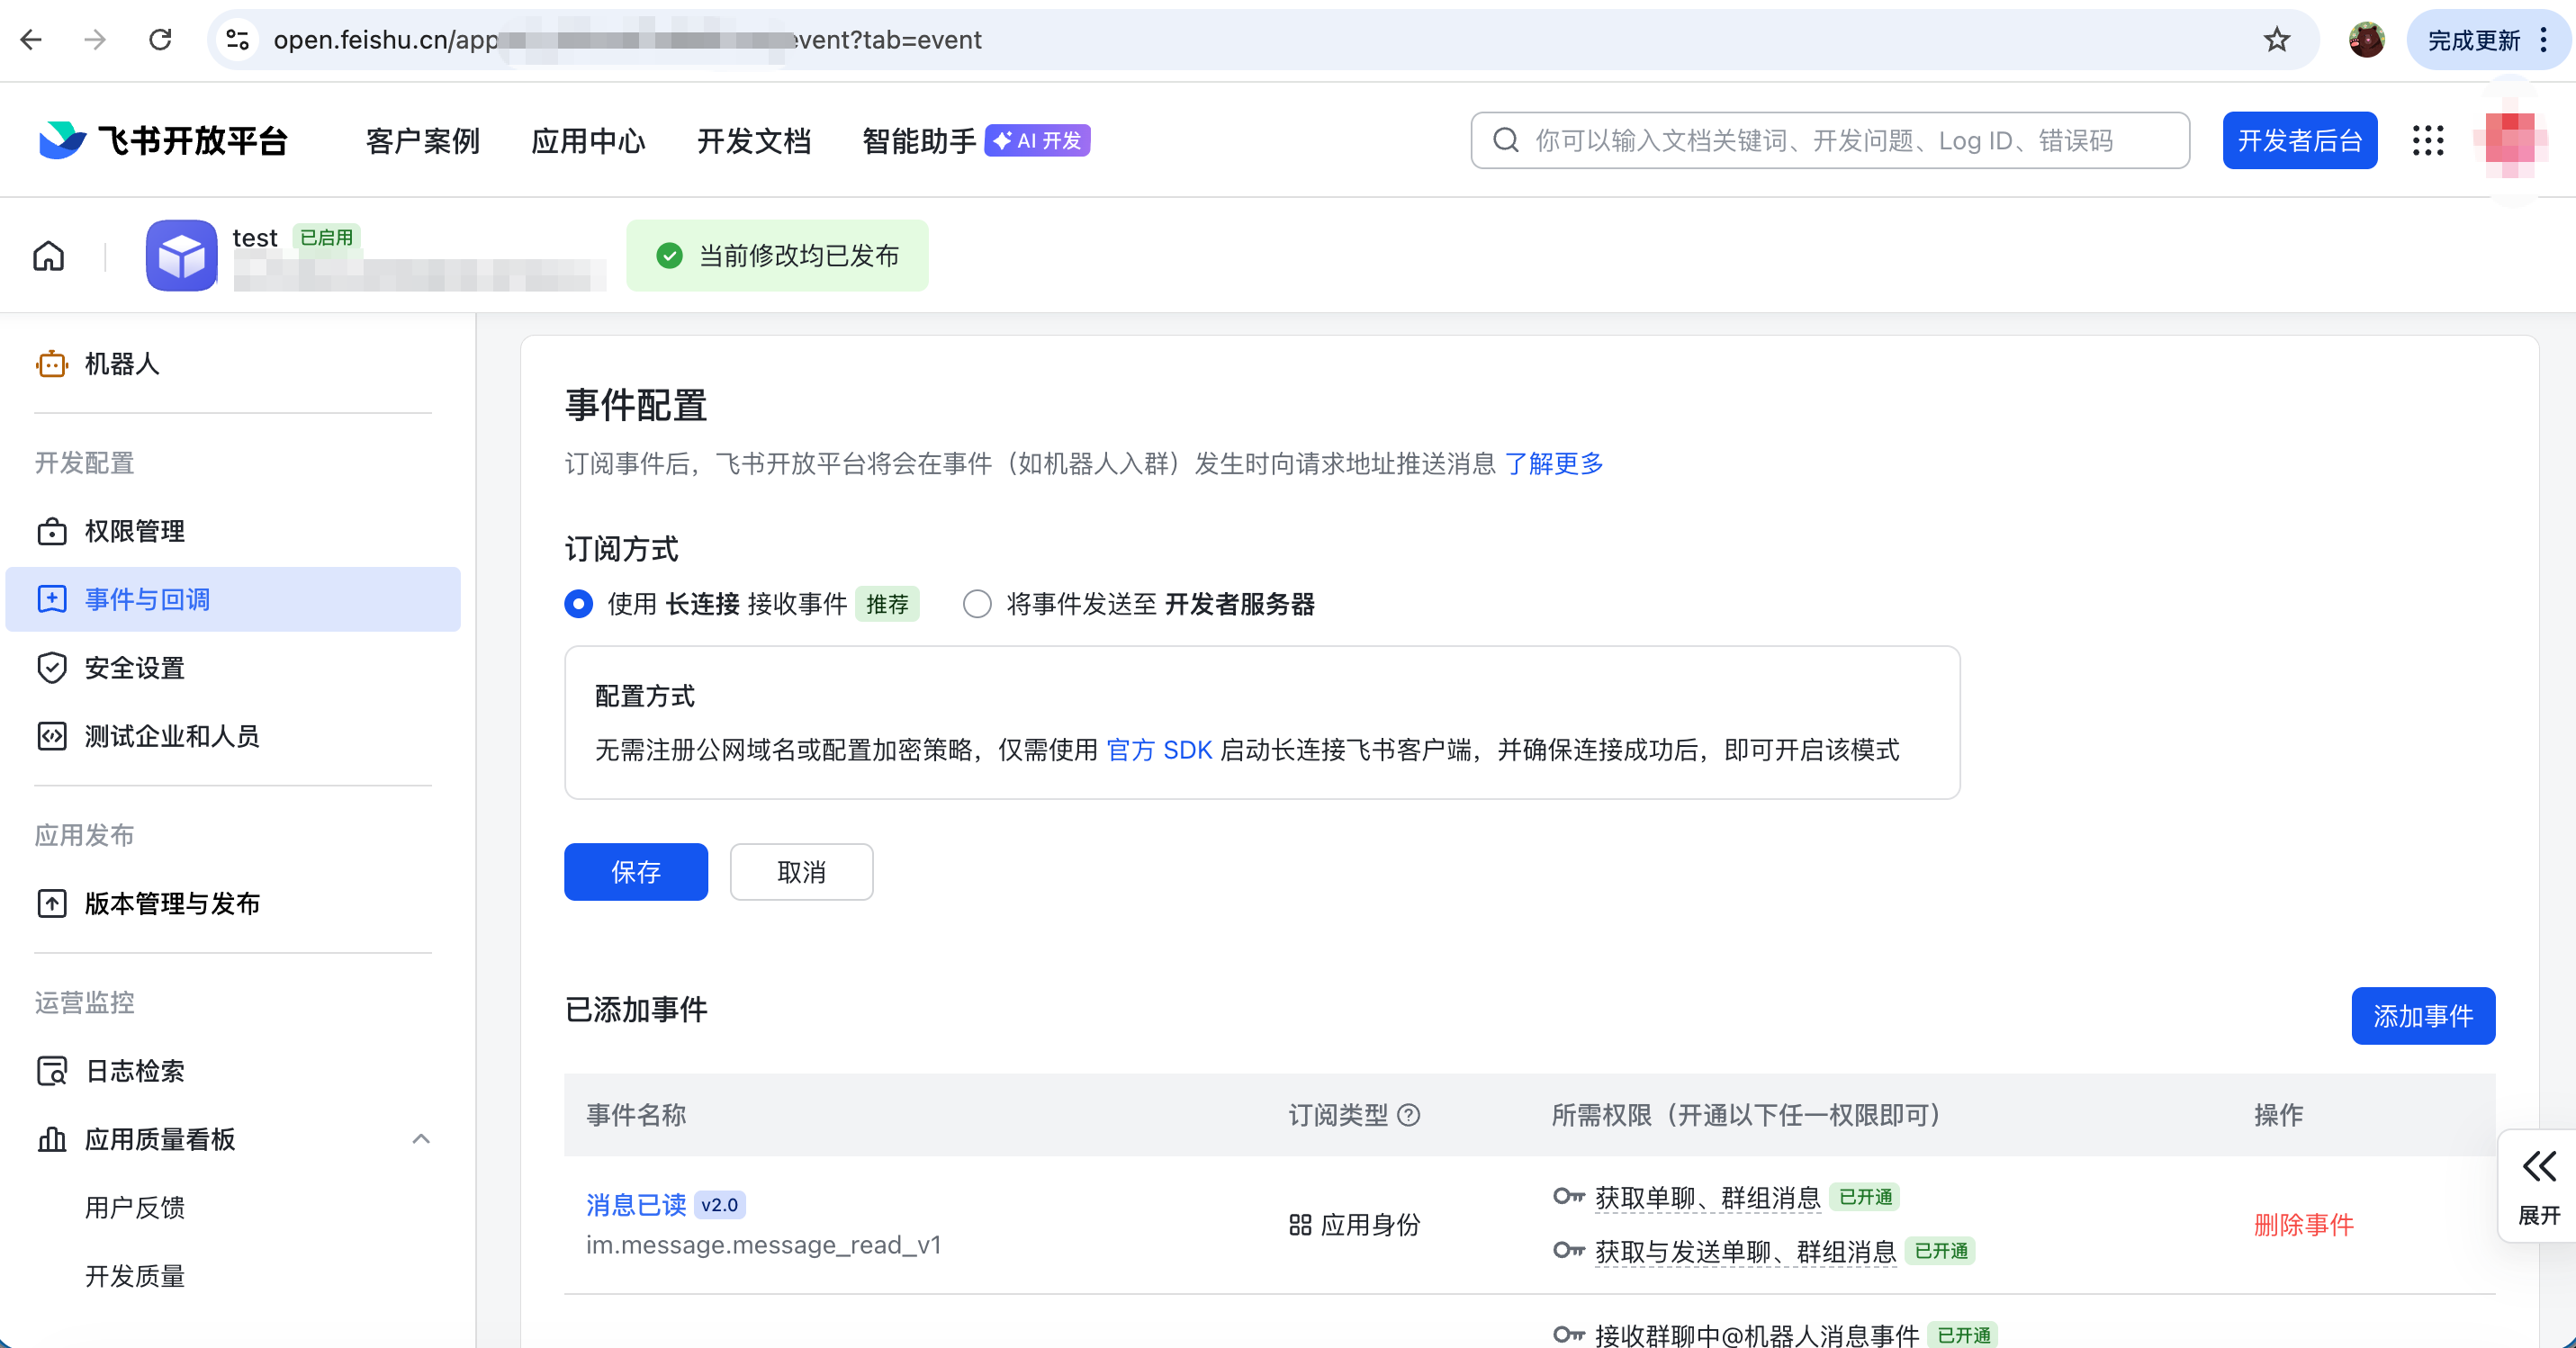
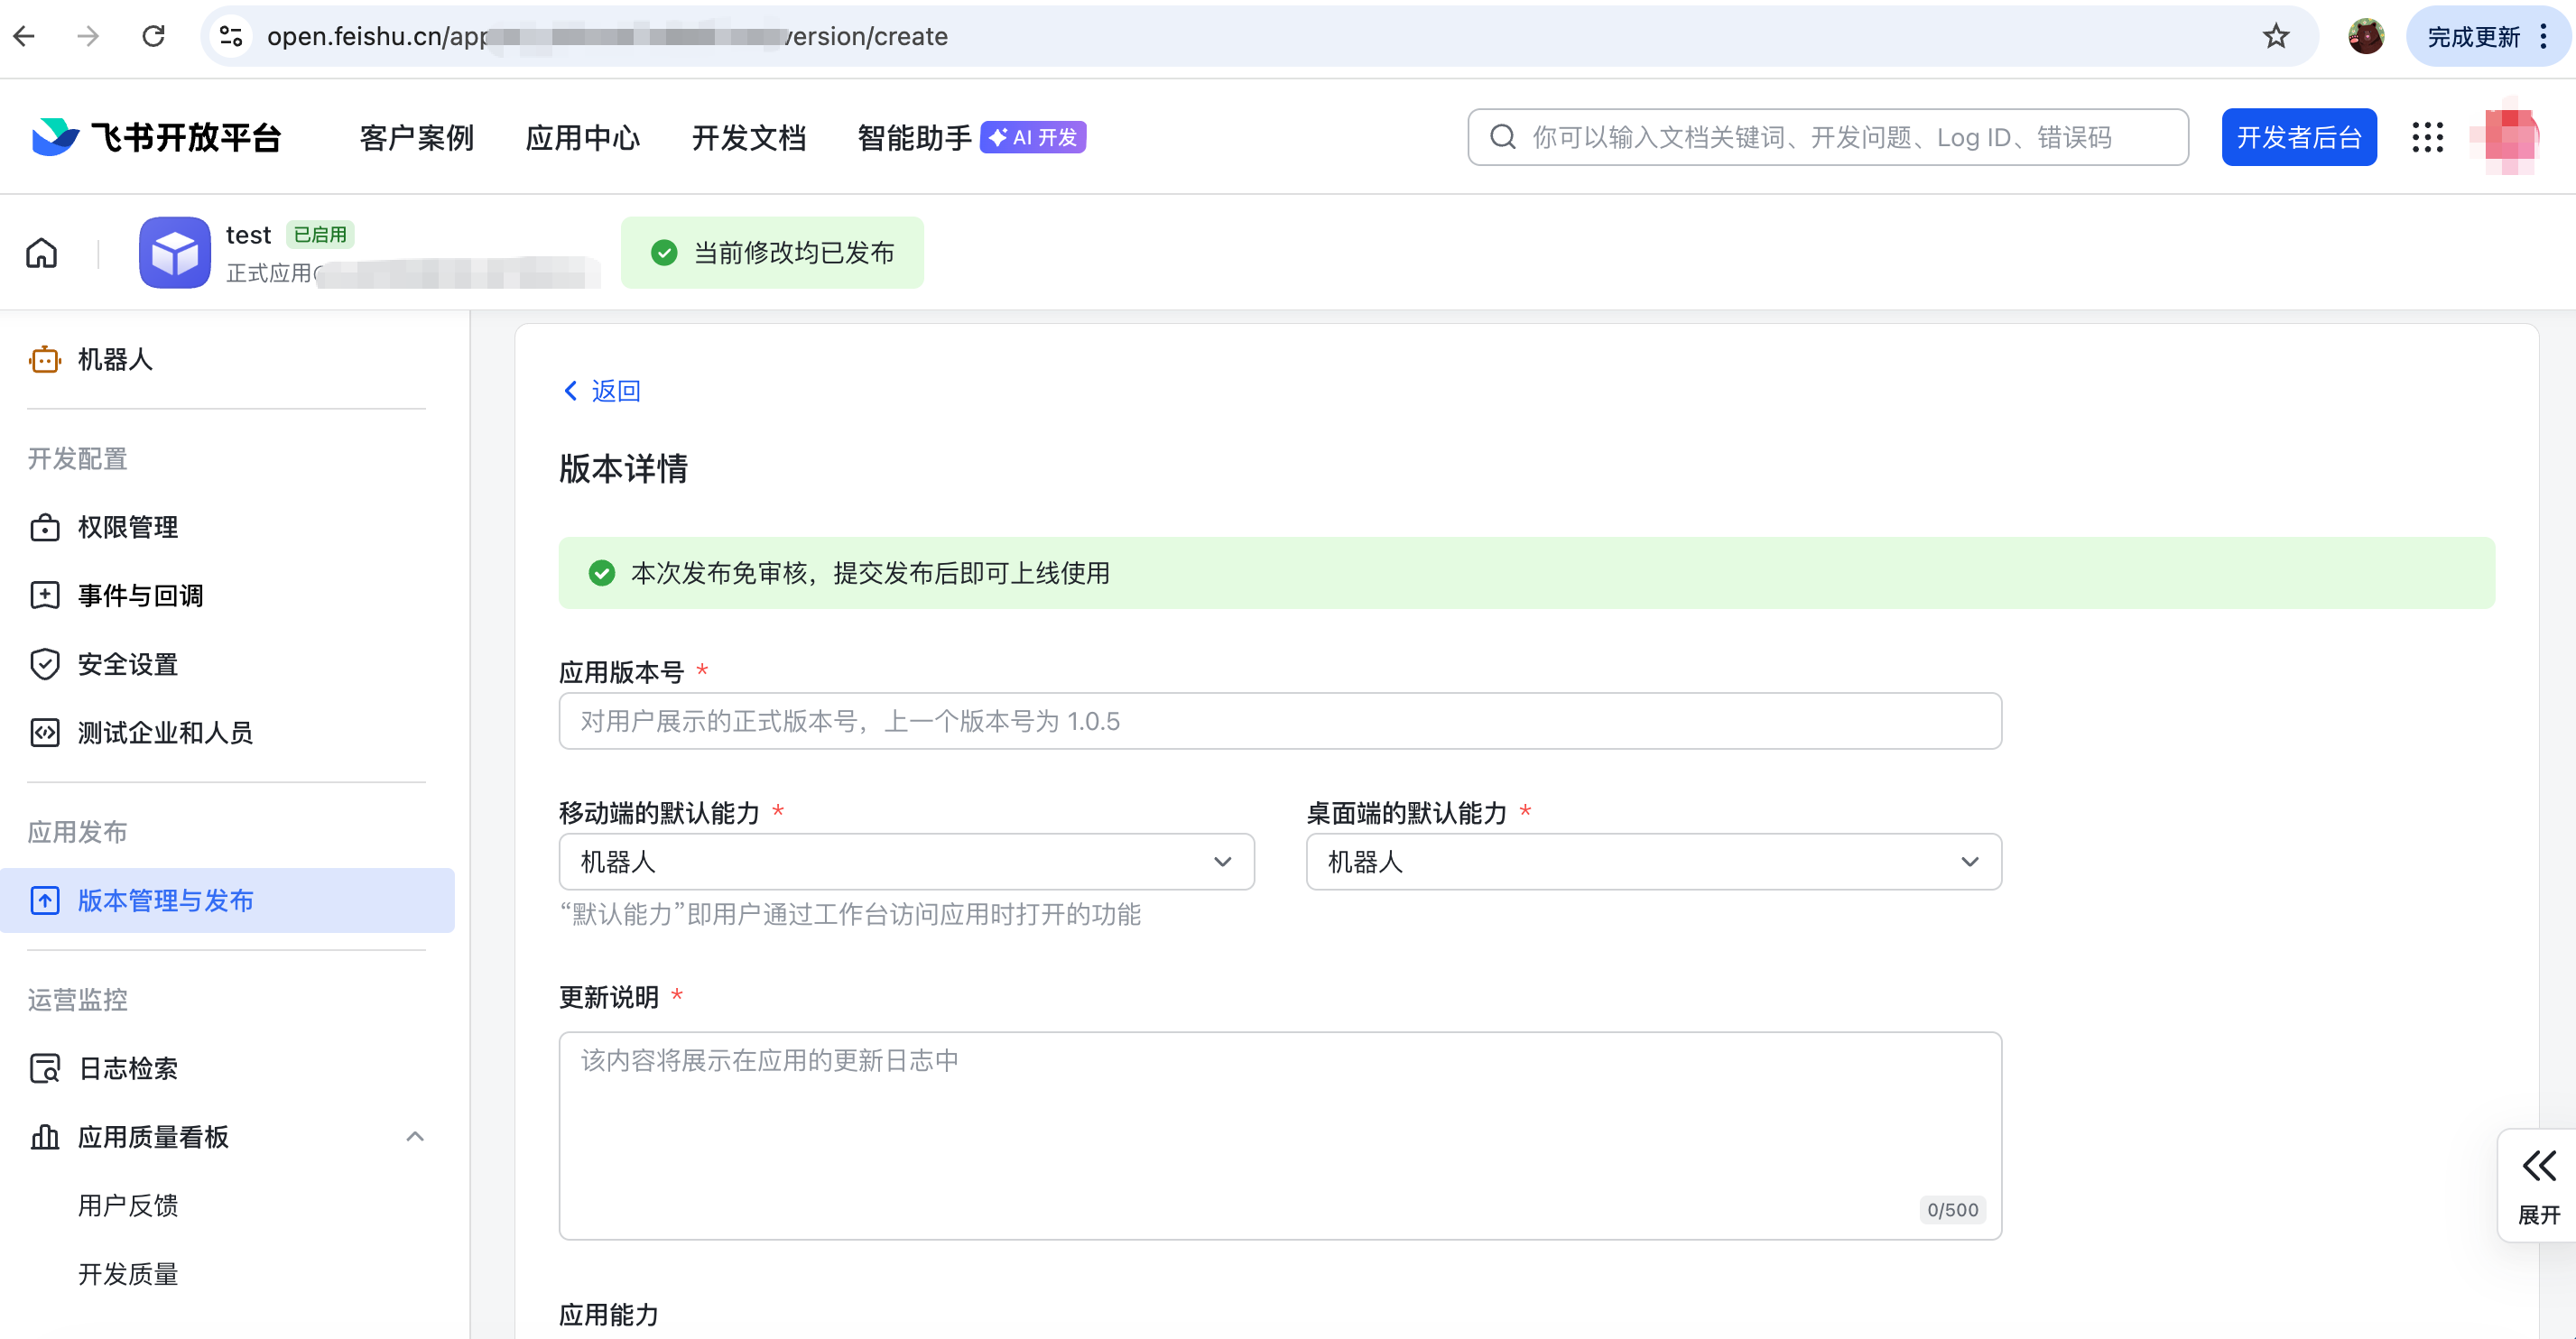
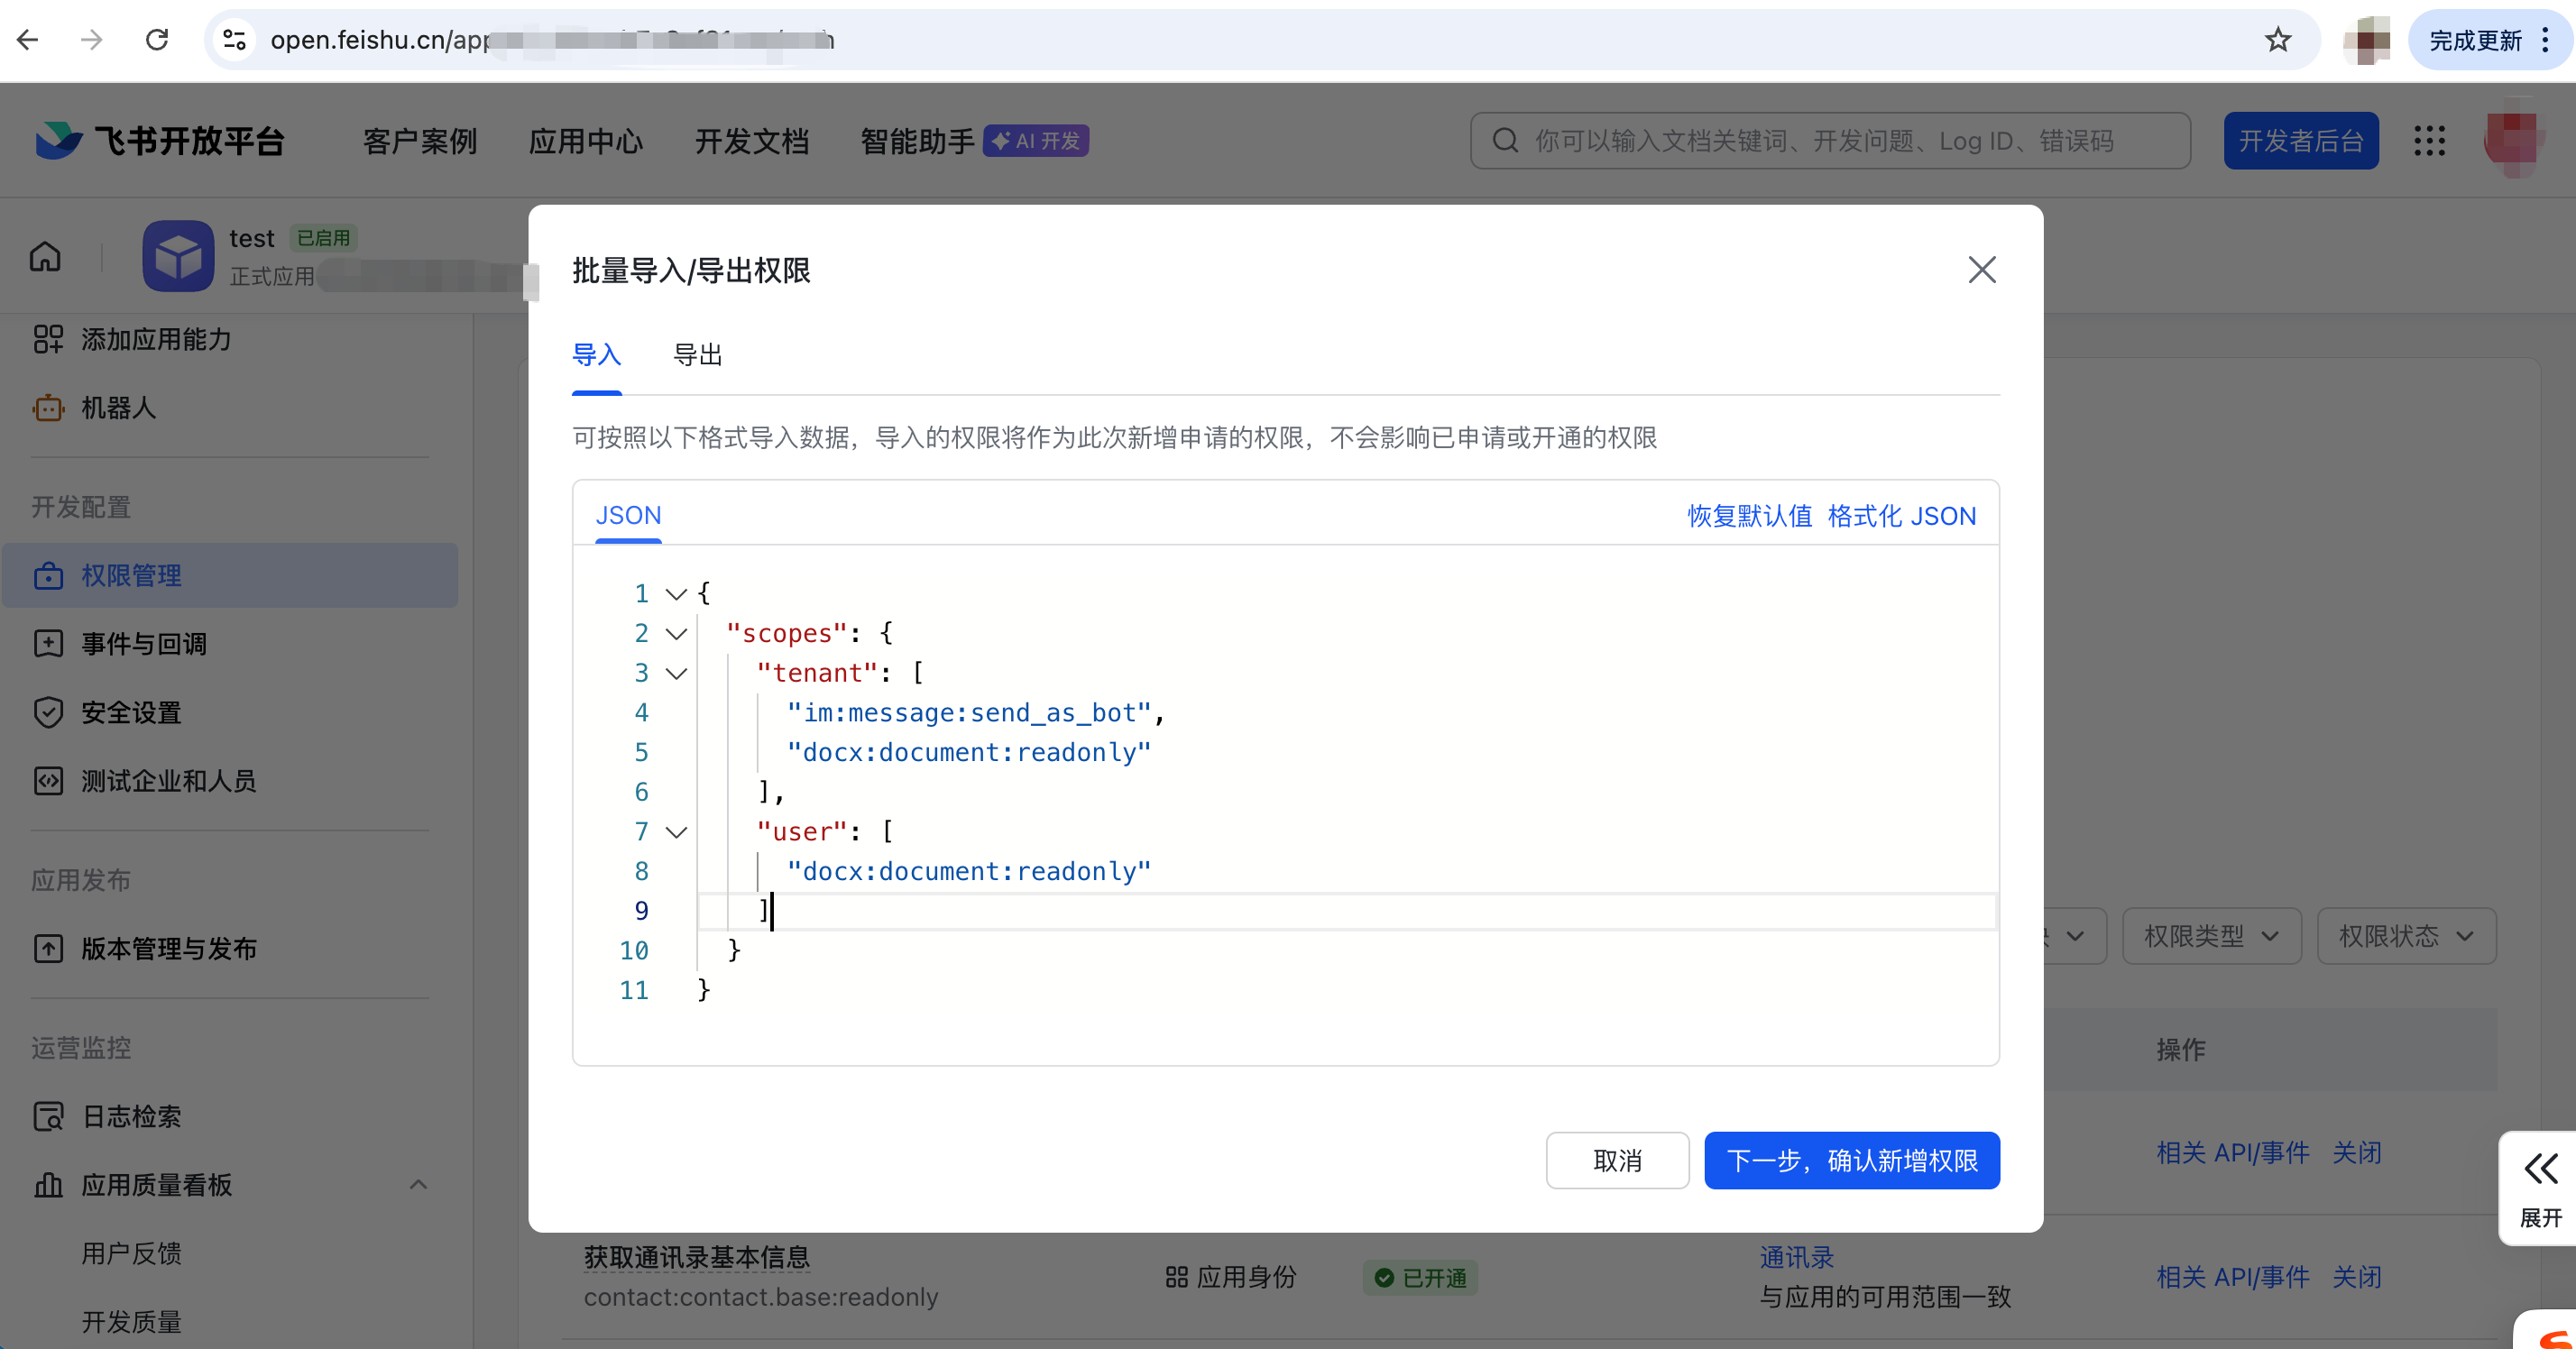
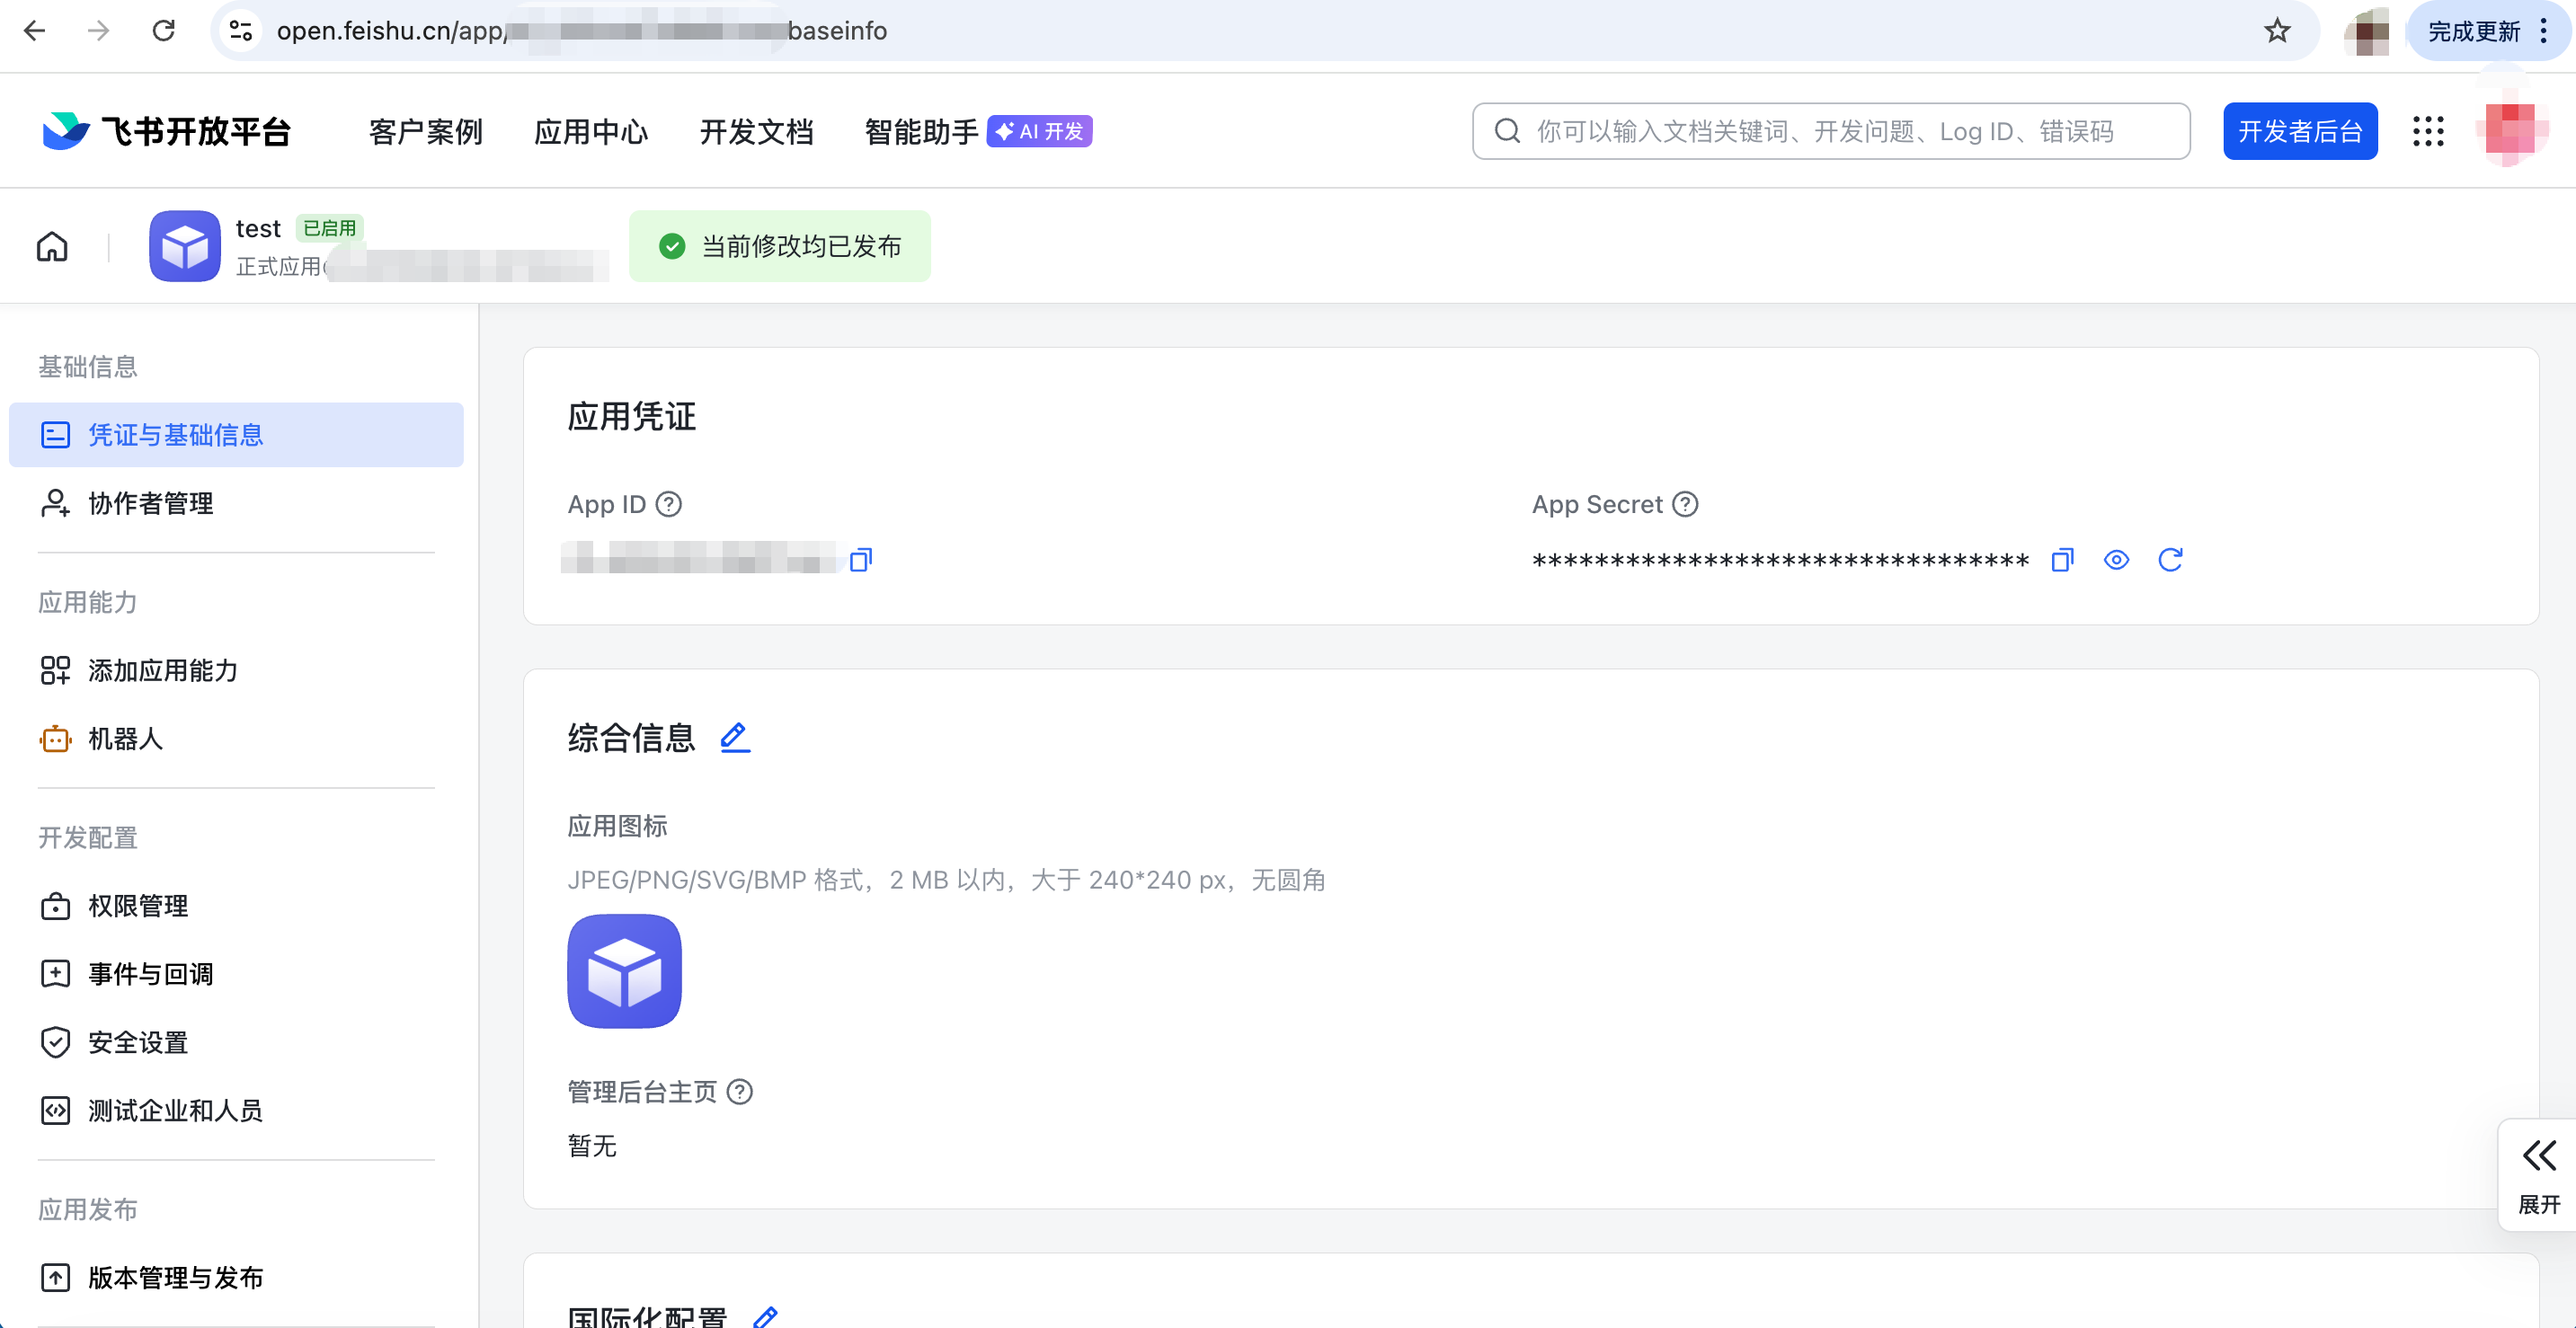
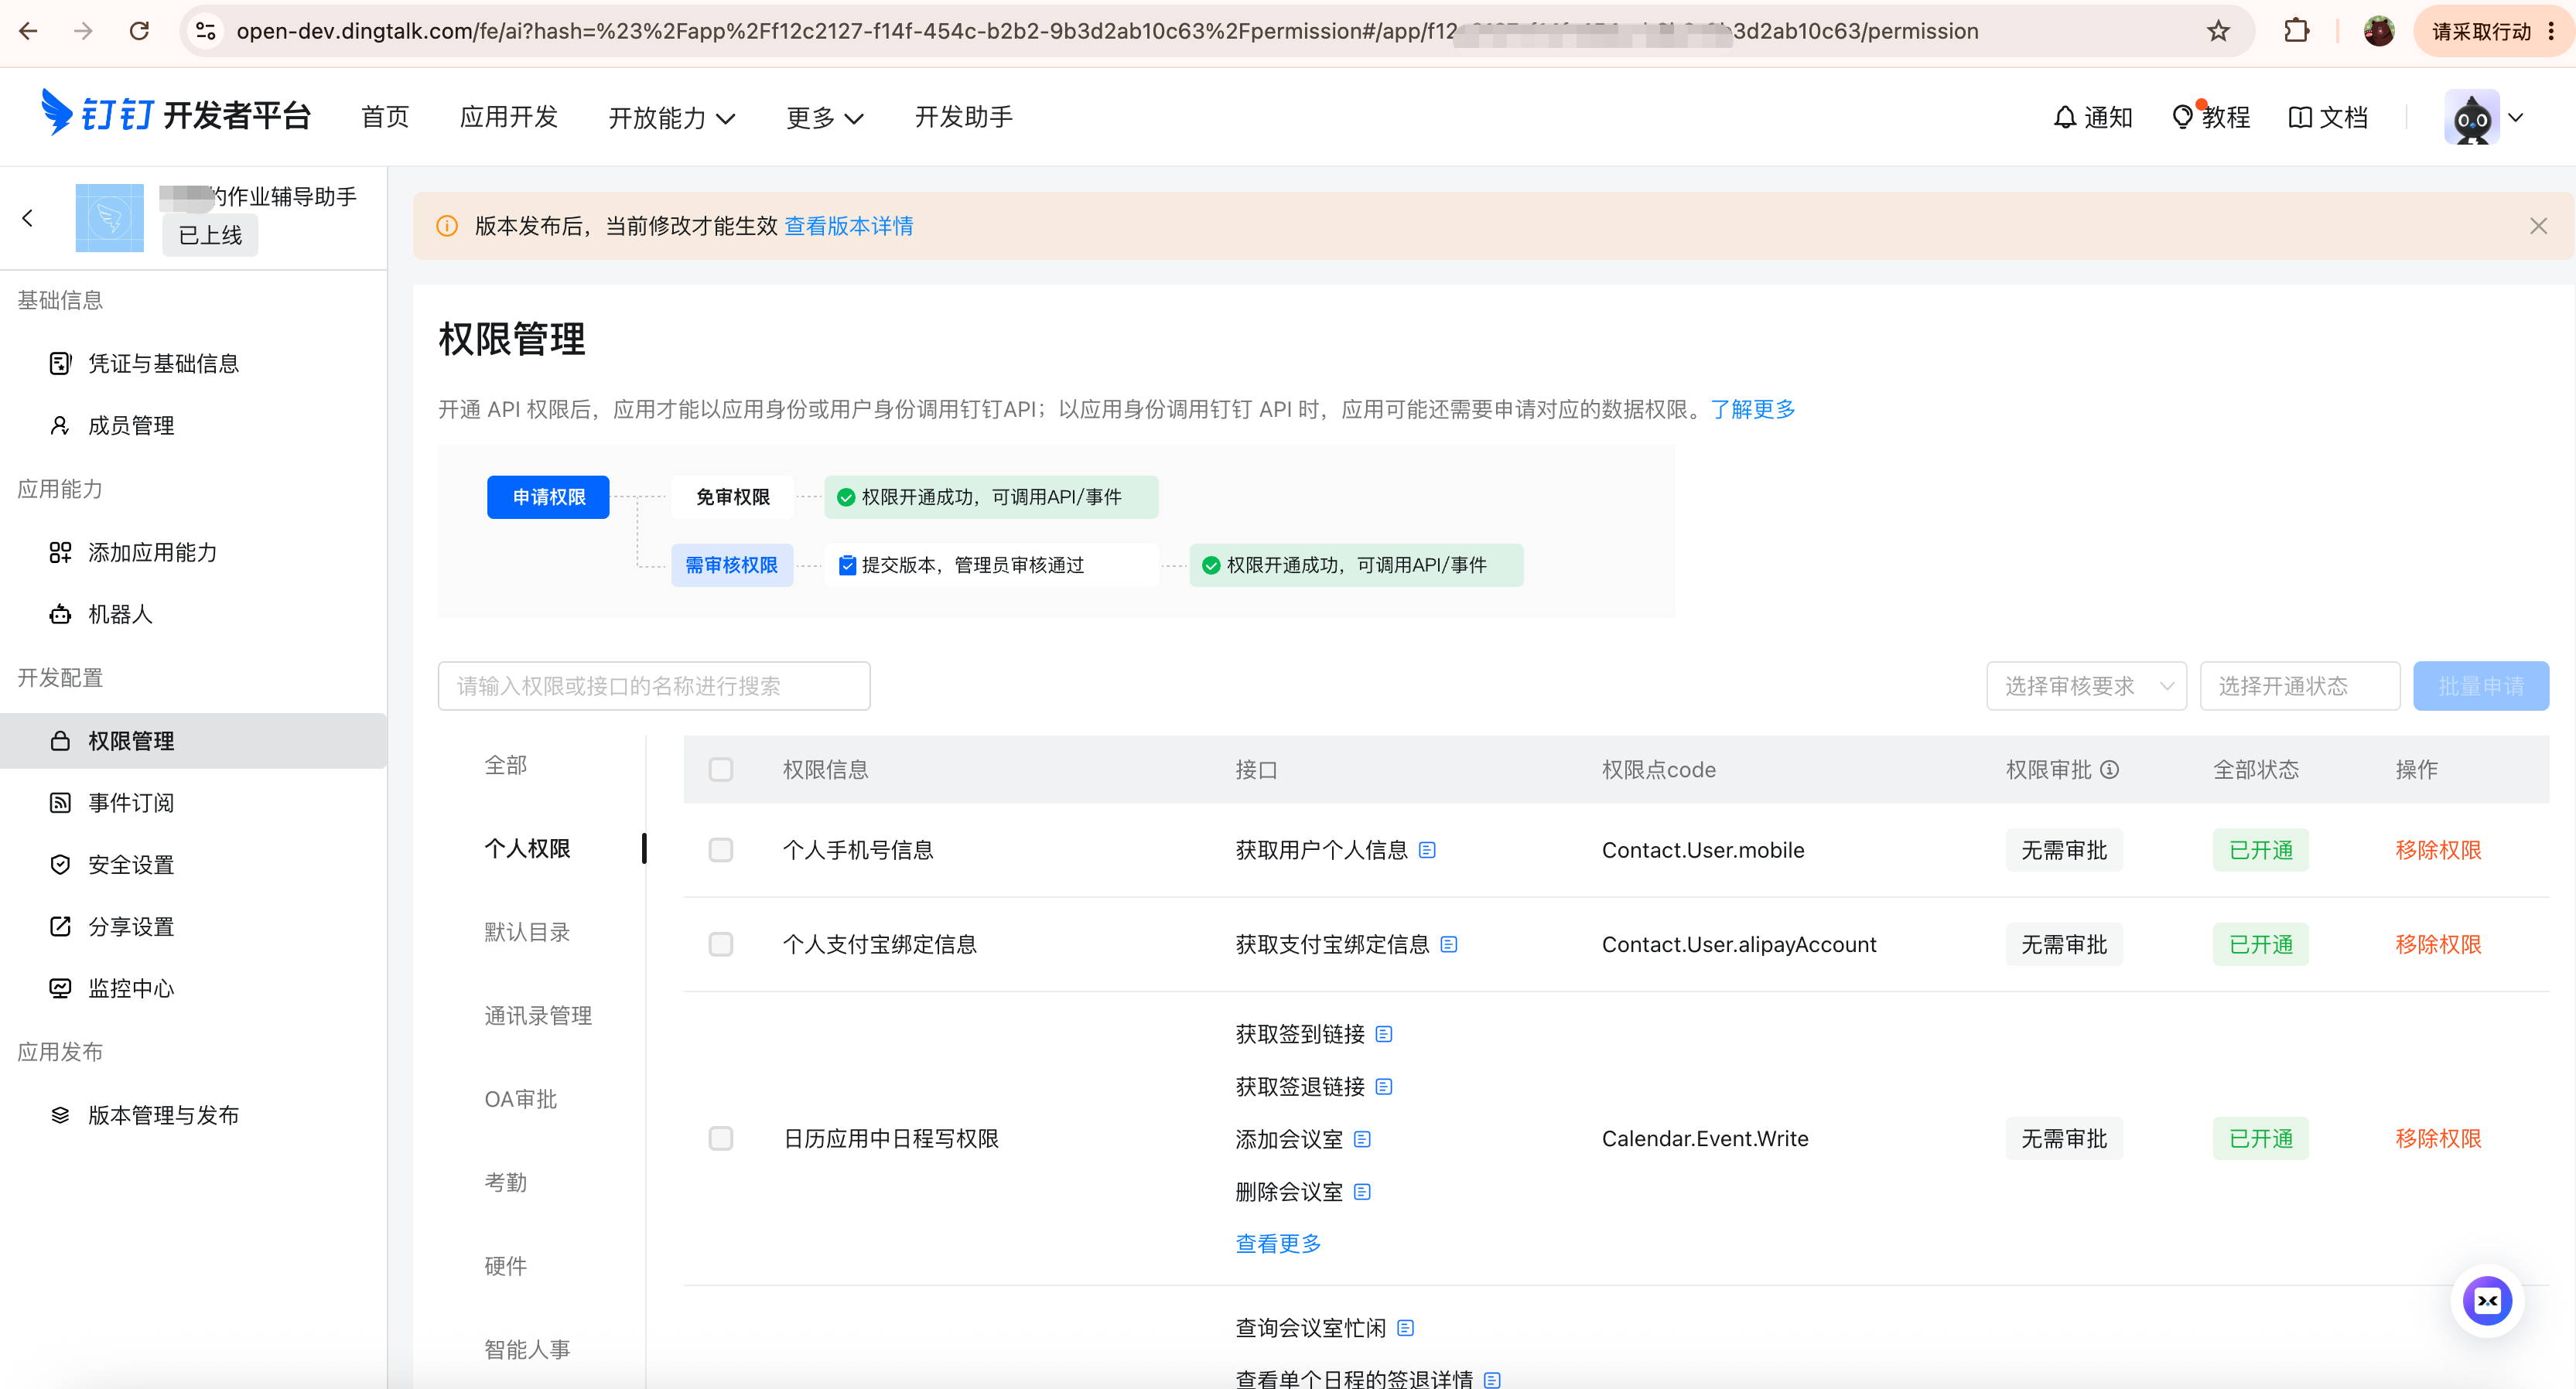
Open the app's Permission Management and use the relevant bot integration documentation to check permissions for messaging, images, and files. The screenshot below only locates the page; its enabled items are not this tutorial's permission checklist.
After configuring permissions, publish an app version and make sure the parent's own DingTalk account is within its availability scope .
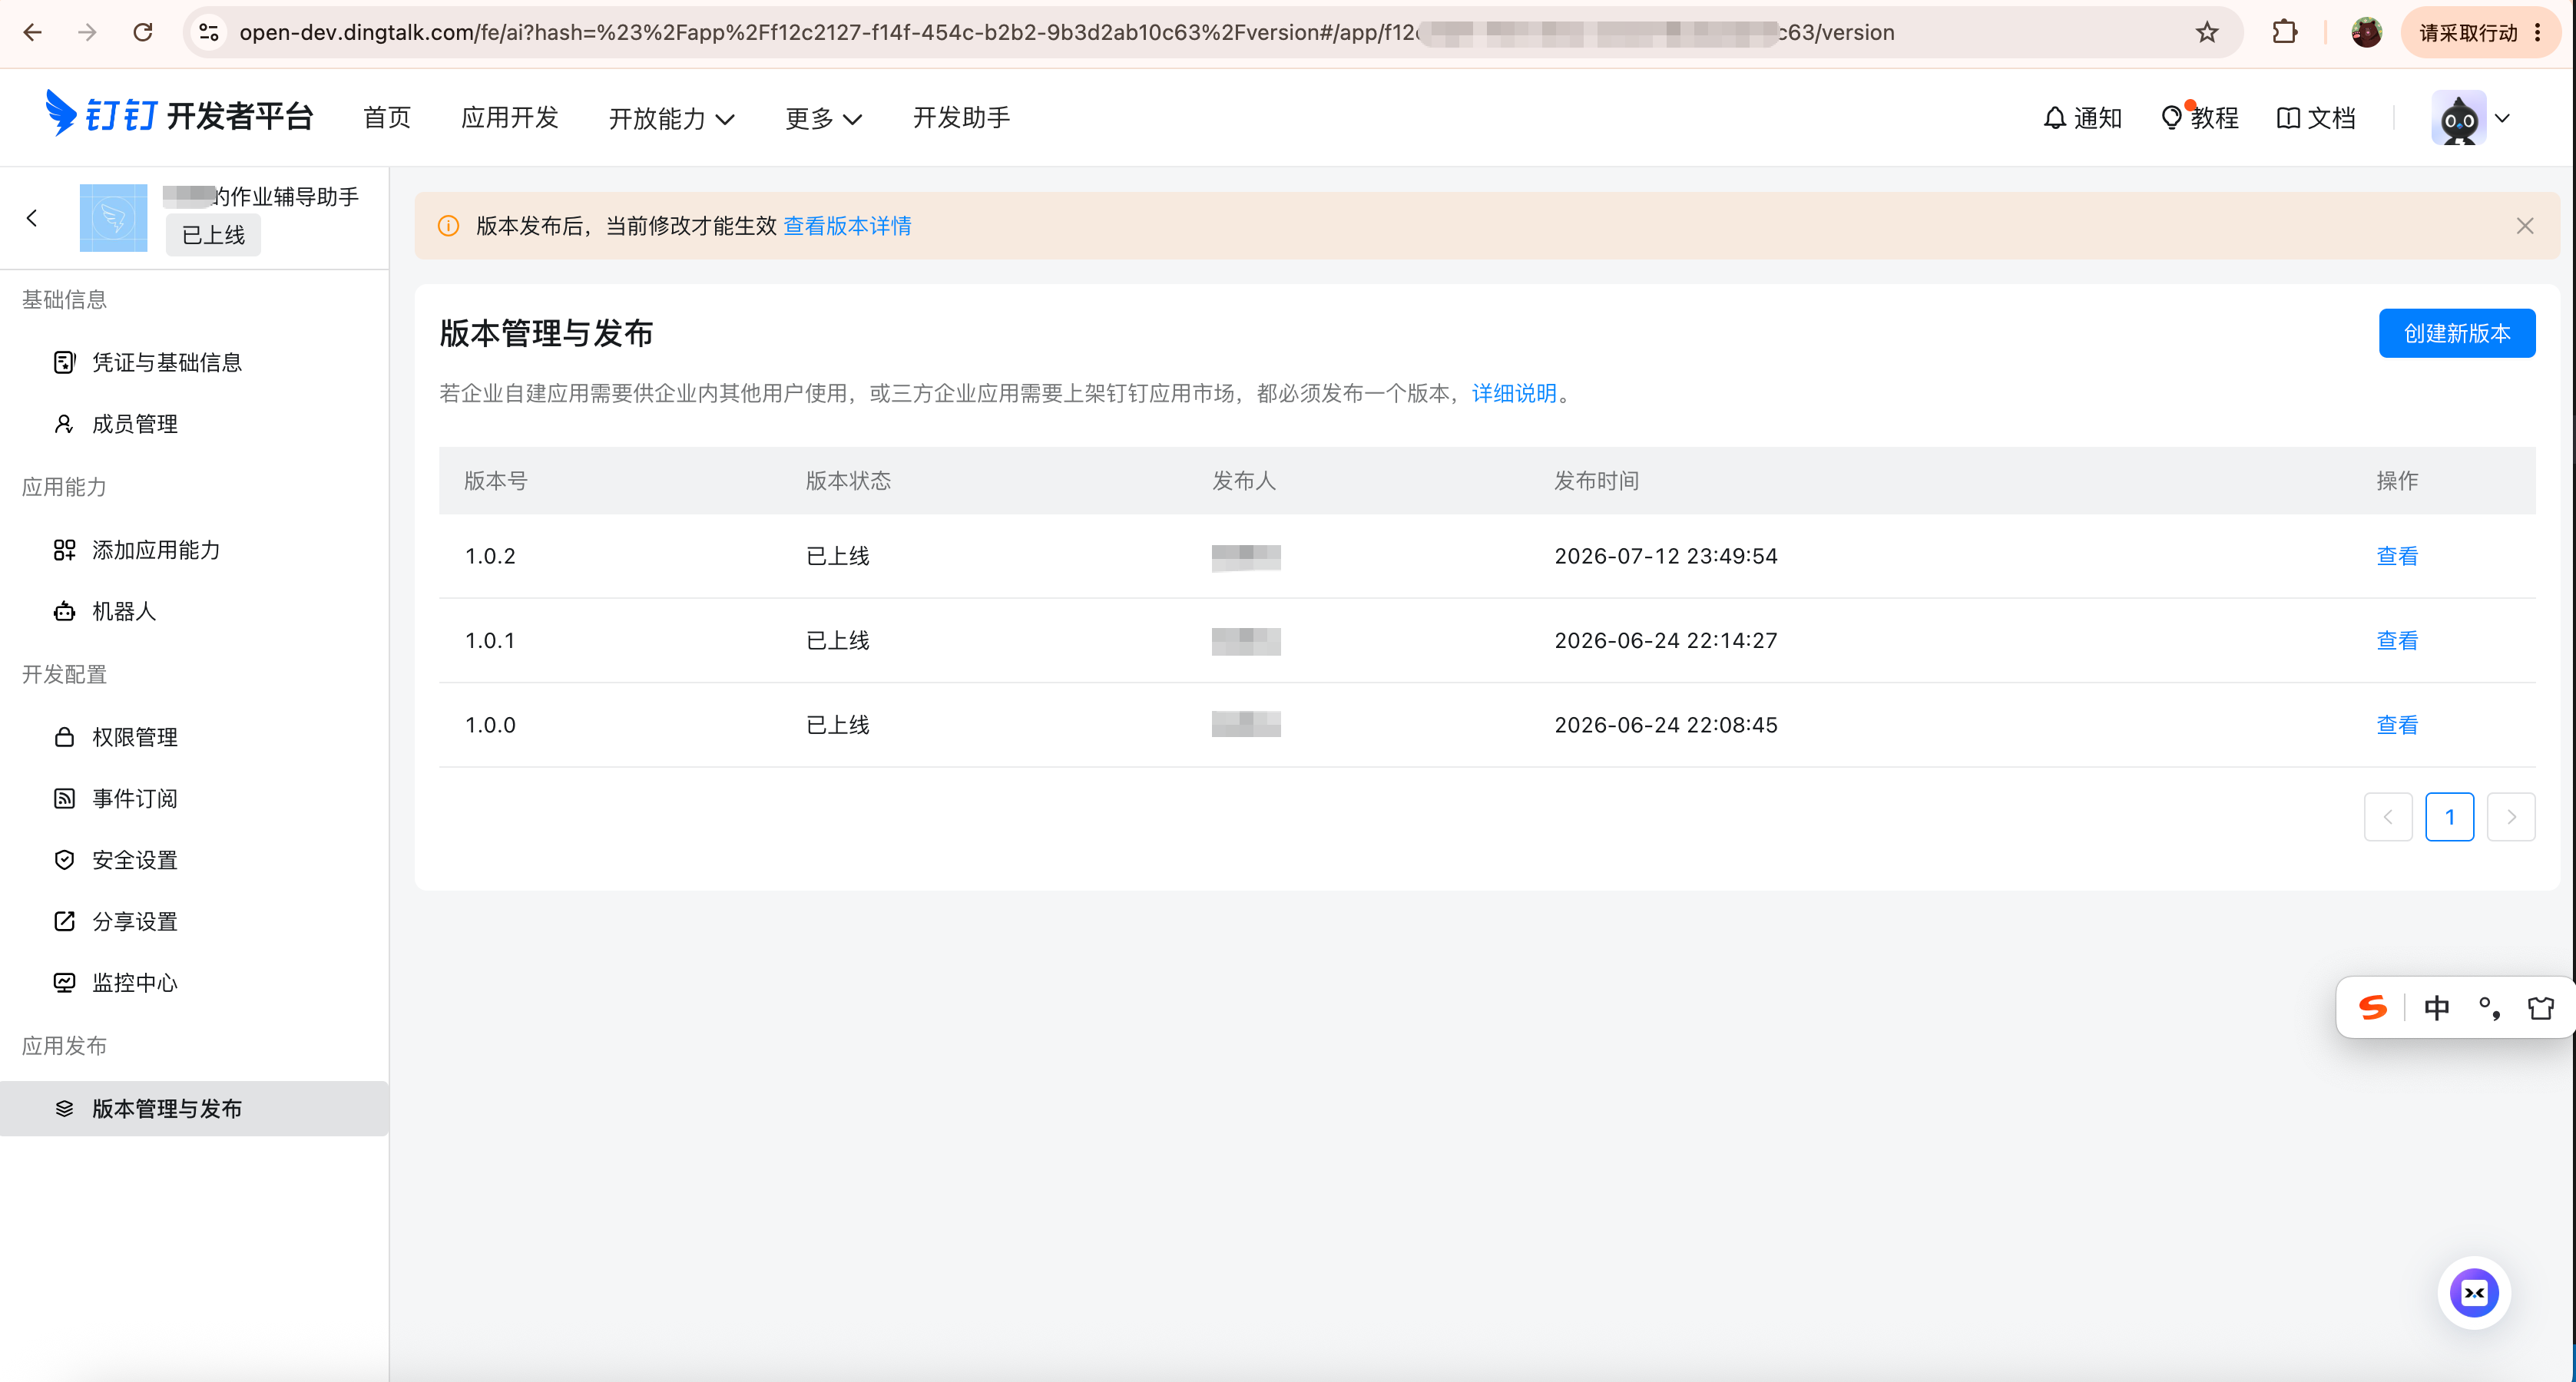
③ Return to HexClaw, enter credentials, and bind the agent : paste AppKey / AppSecret / RobotCode into Connections and create the connection. On that connection card, use Agent to select your child's tutor. Even after DingTalk shows Connected, one step remains: use the parent's own phone to send the bot a private message first , establishing this real private chat as a receiving target for the tutor.
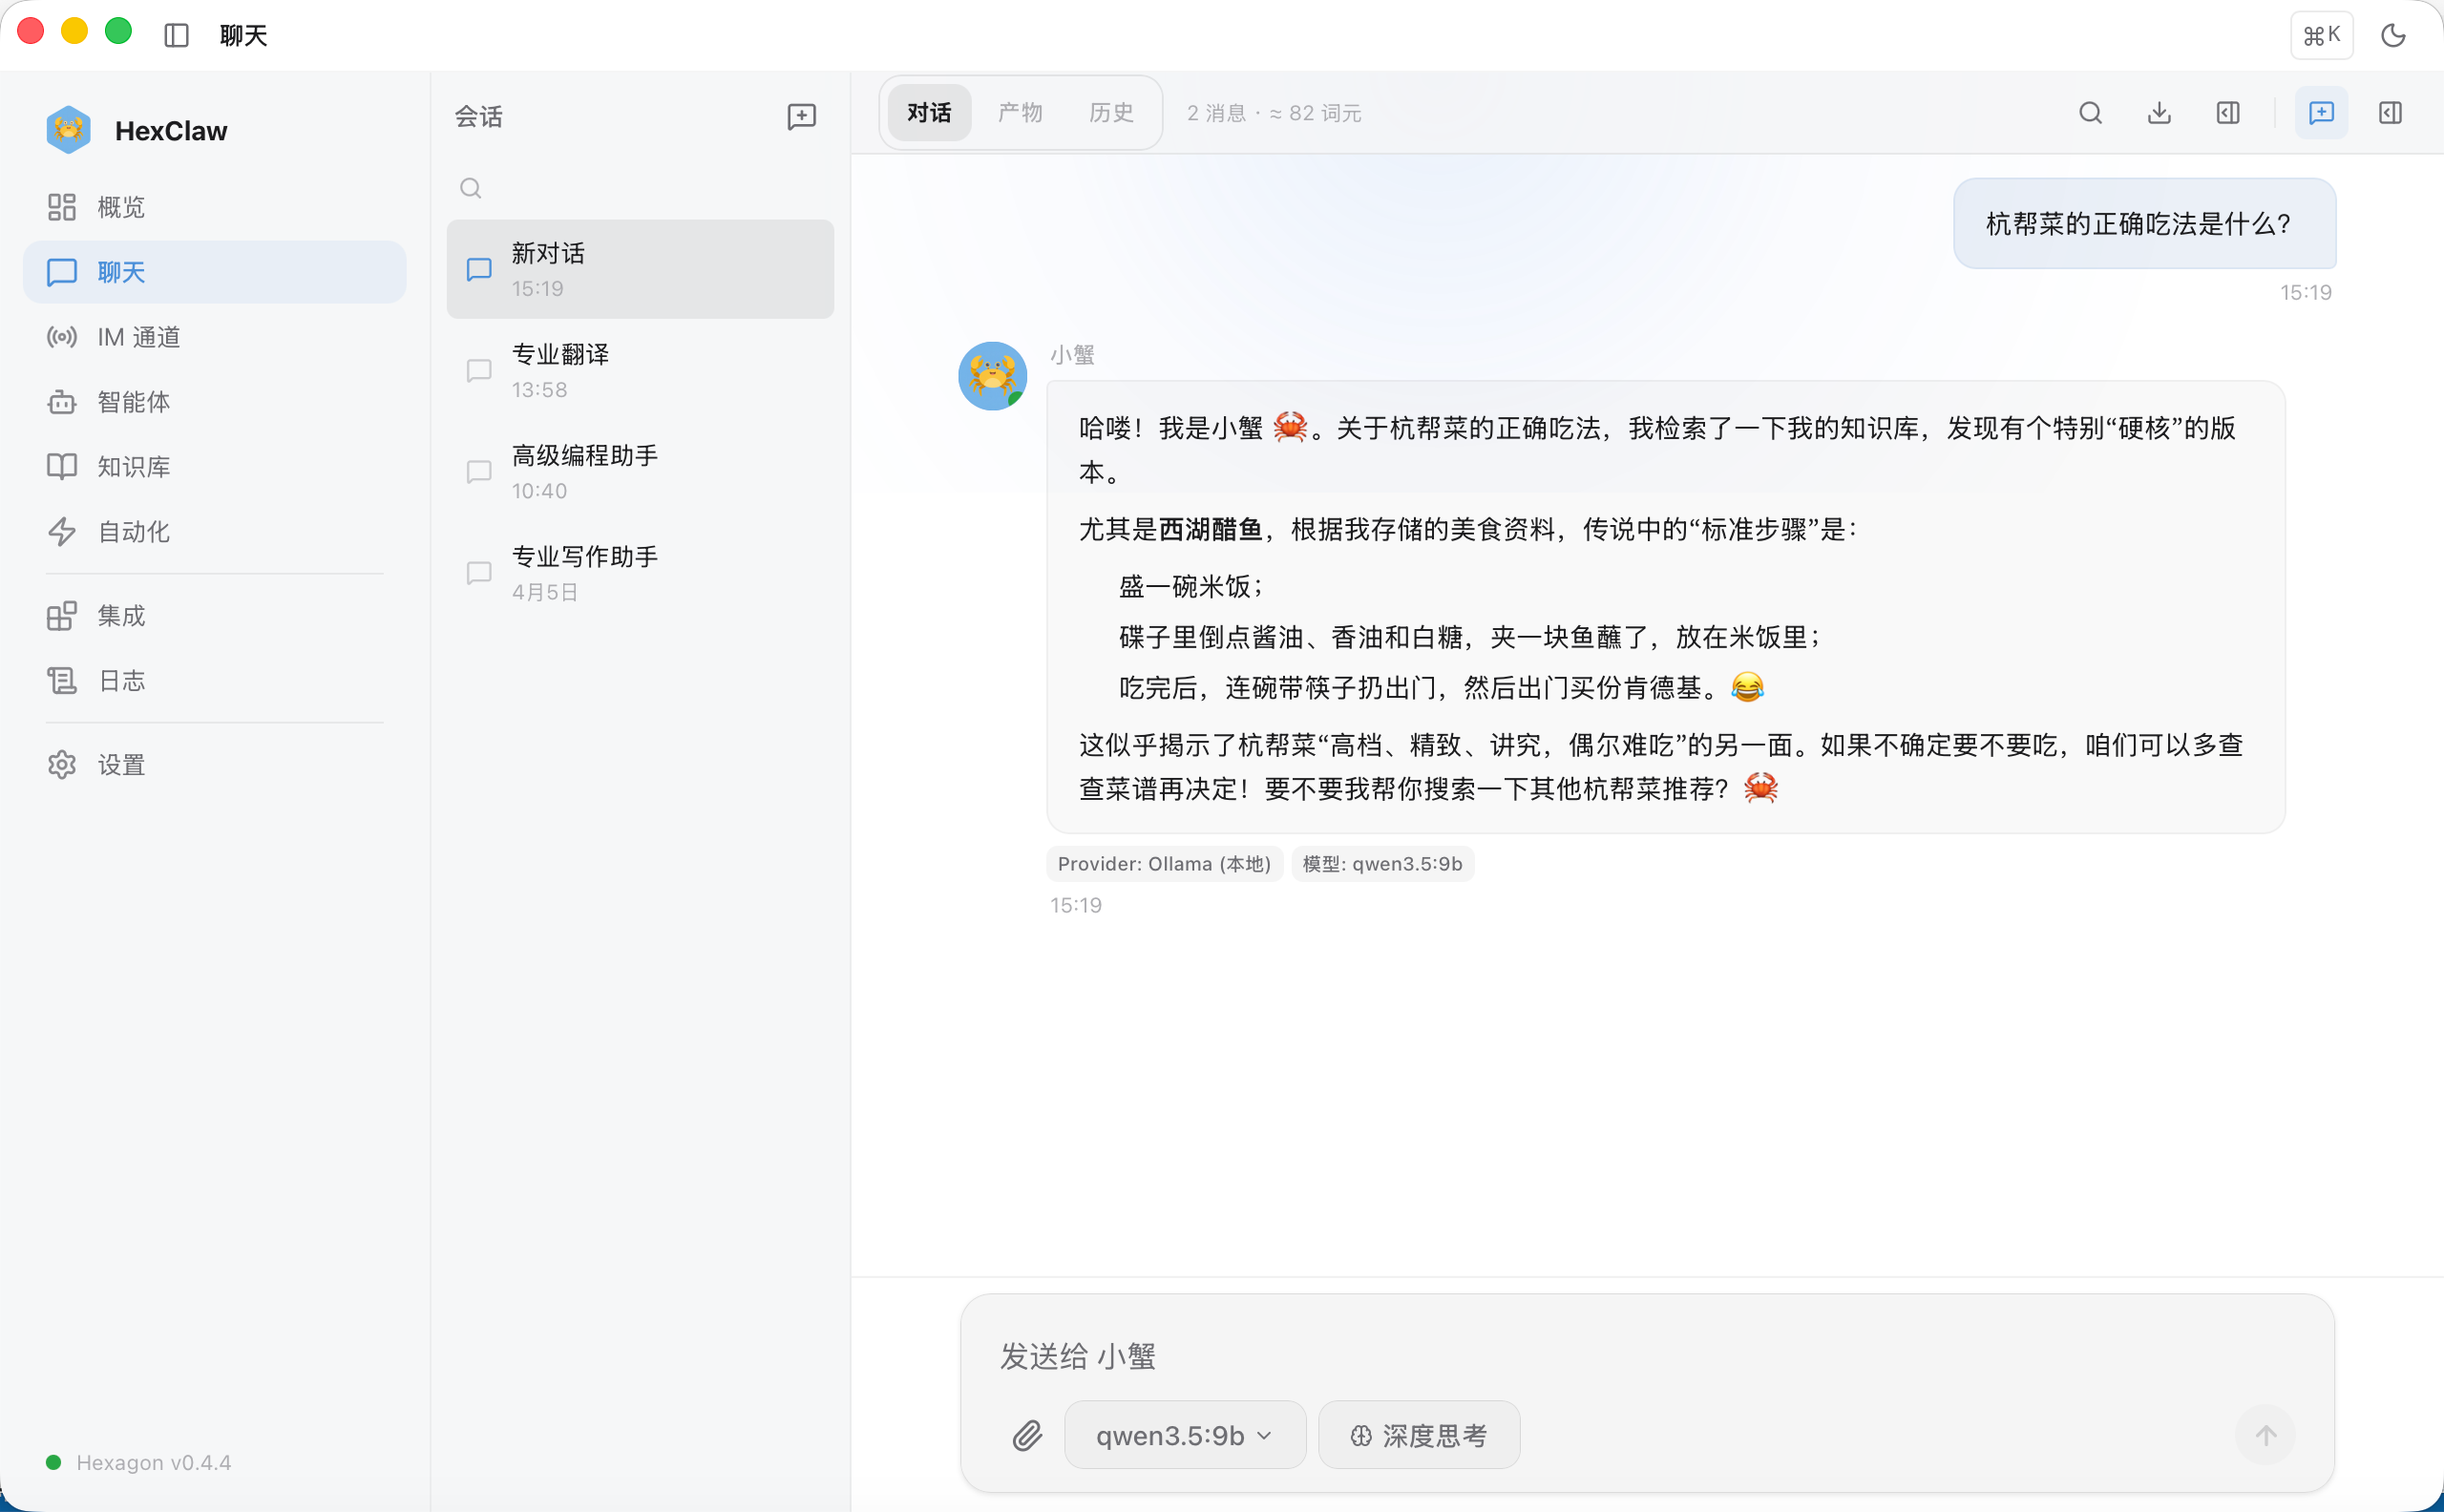
After the first private exchange, send a homework photo and check the automatically returned result in that same private chat : completed question-based work returns marking text and an annotated image; blank questions return answers and explanations; essays and drawings return feedback text.
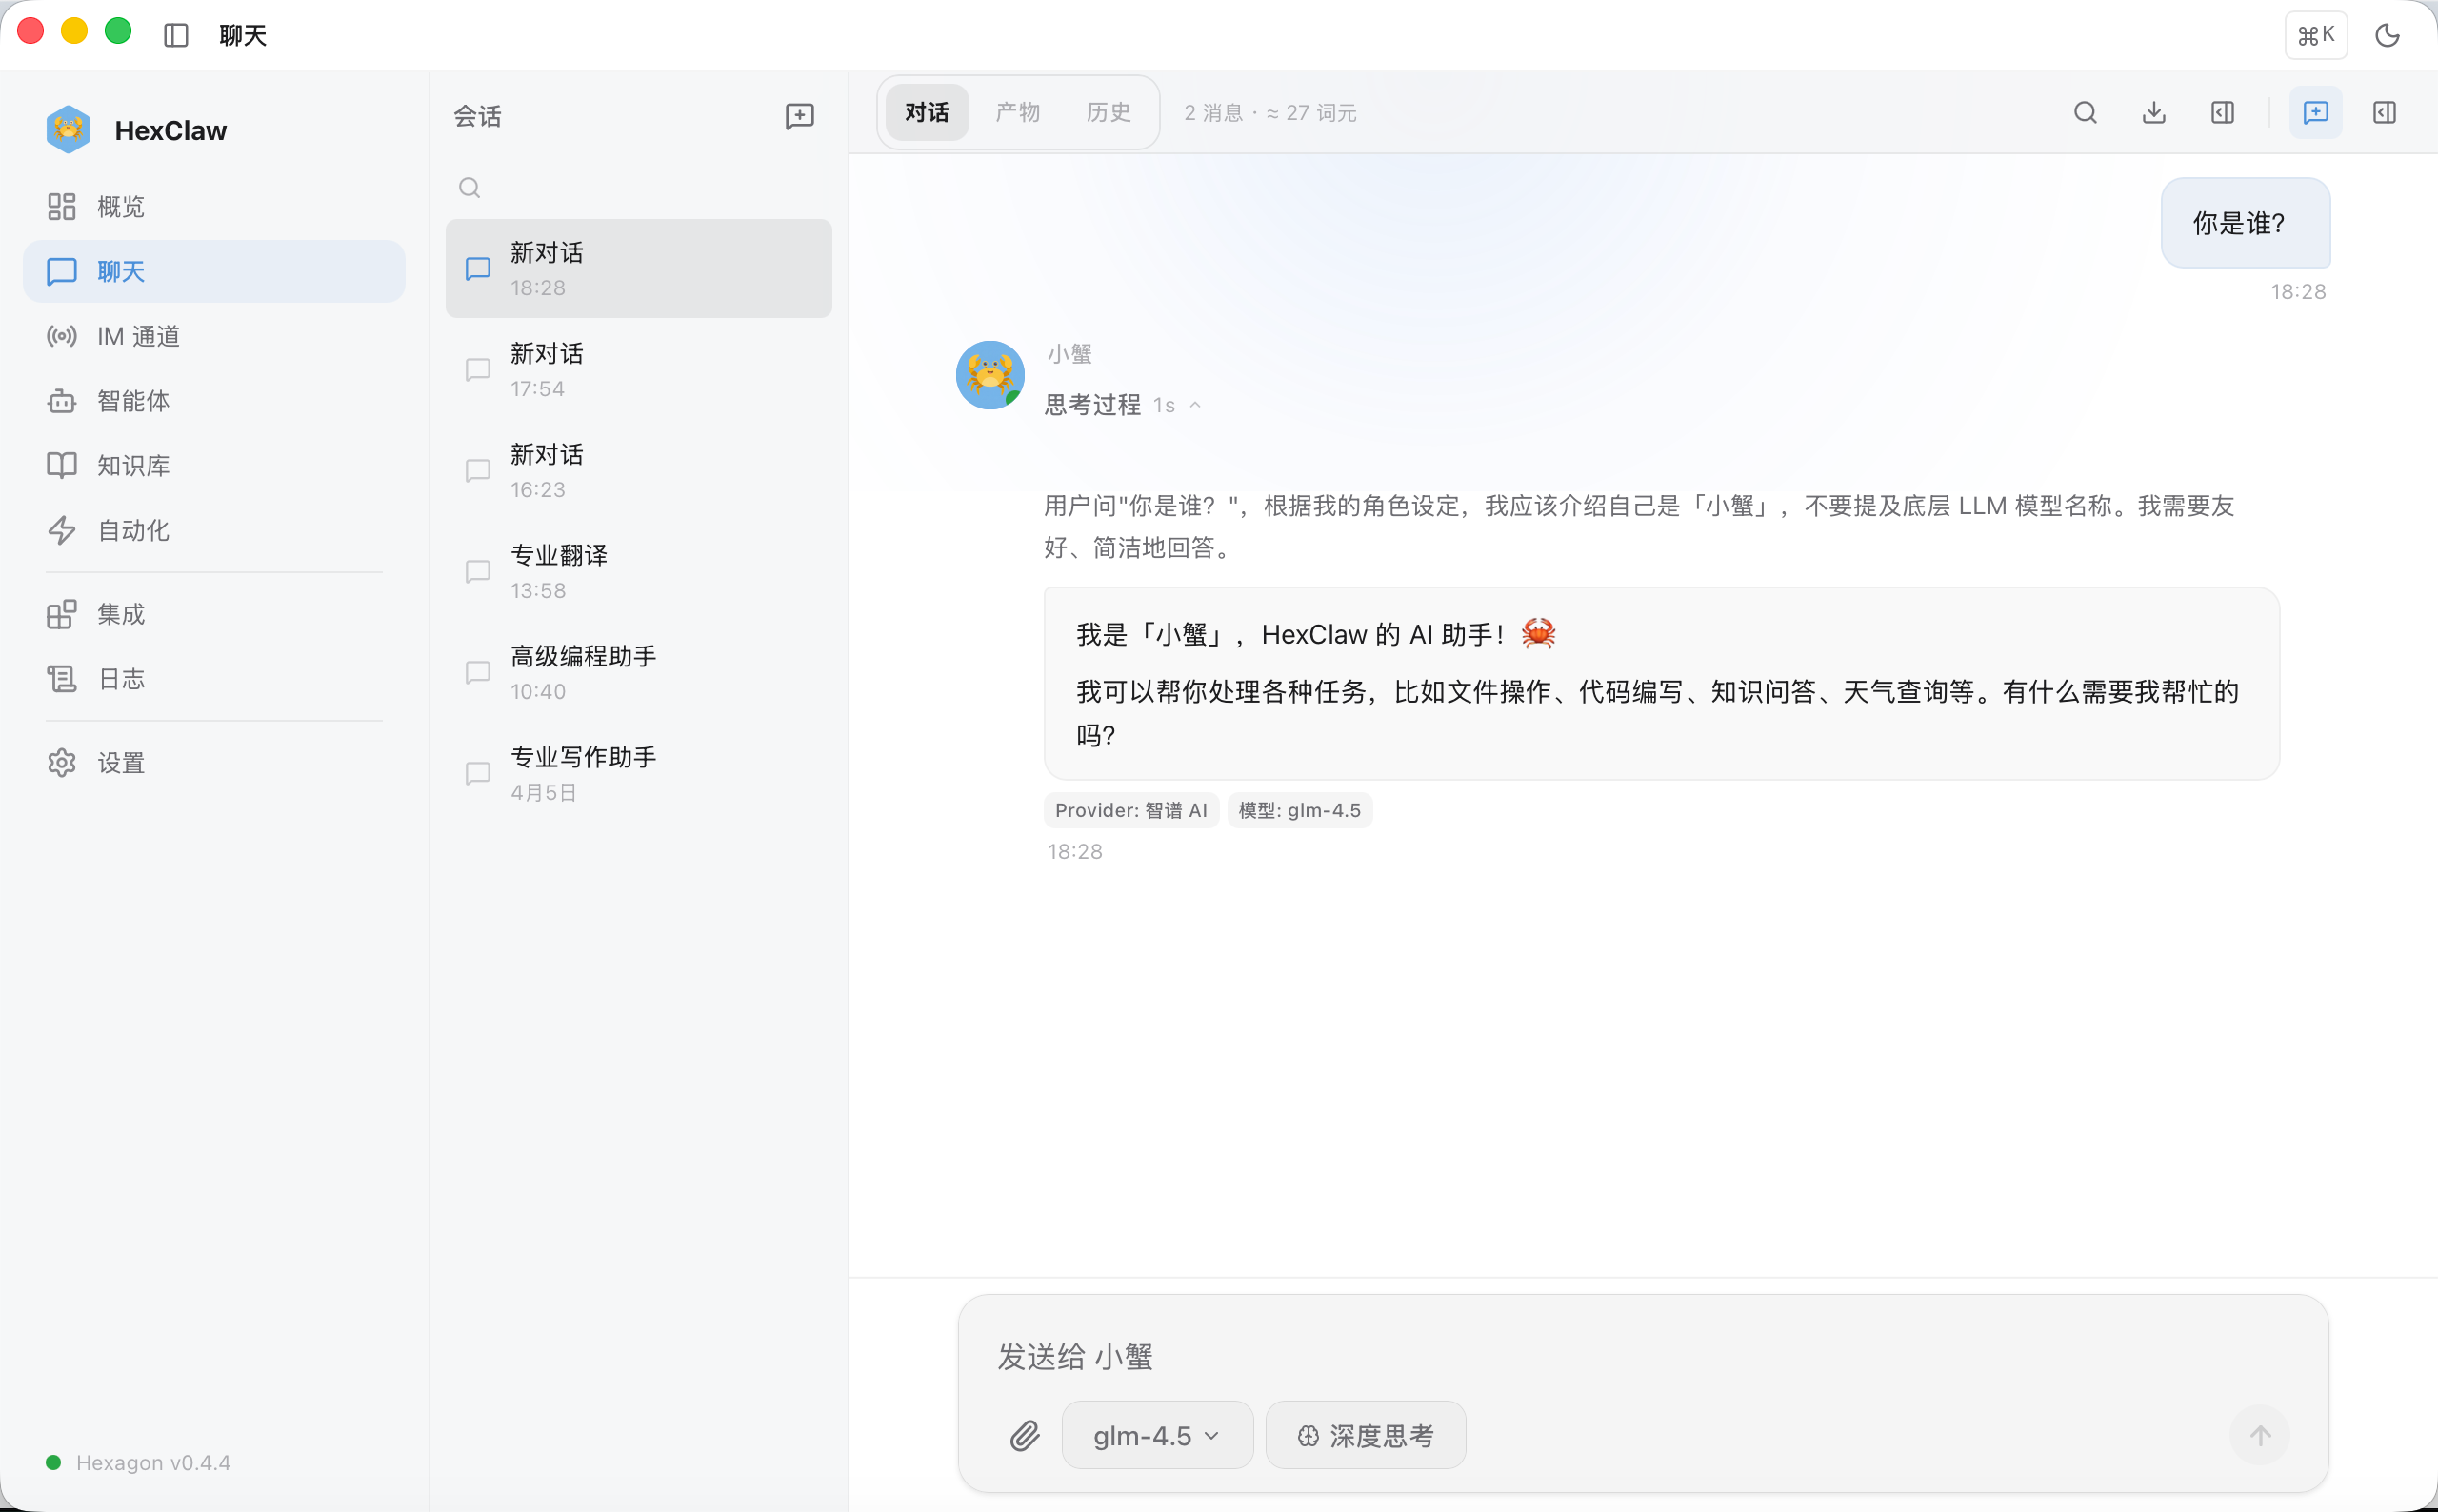
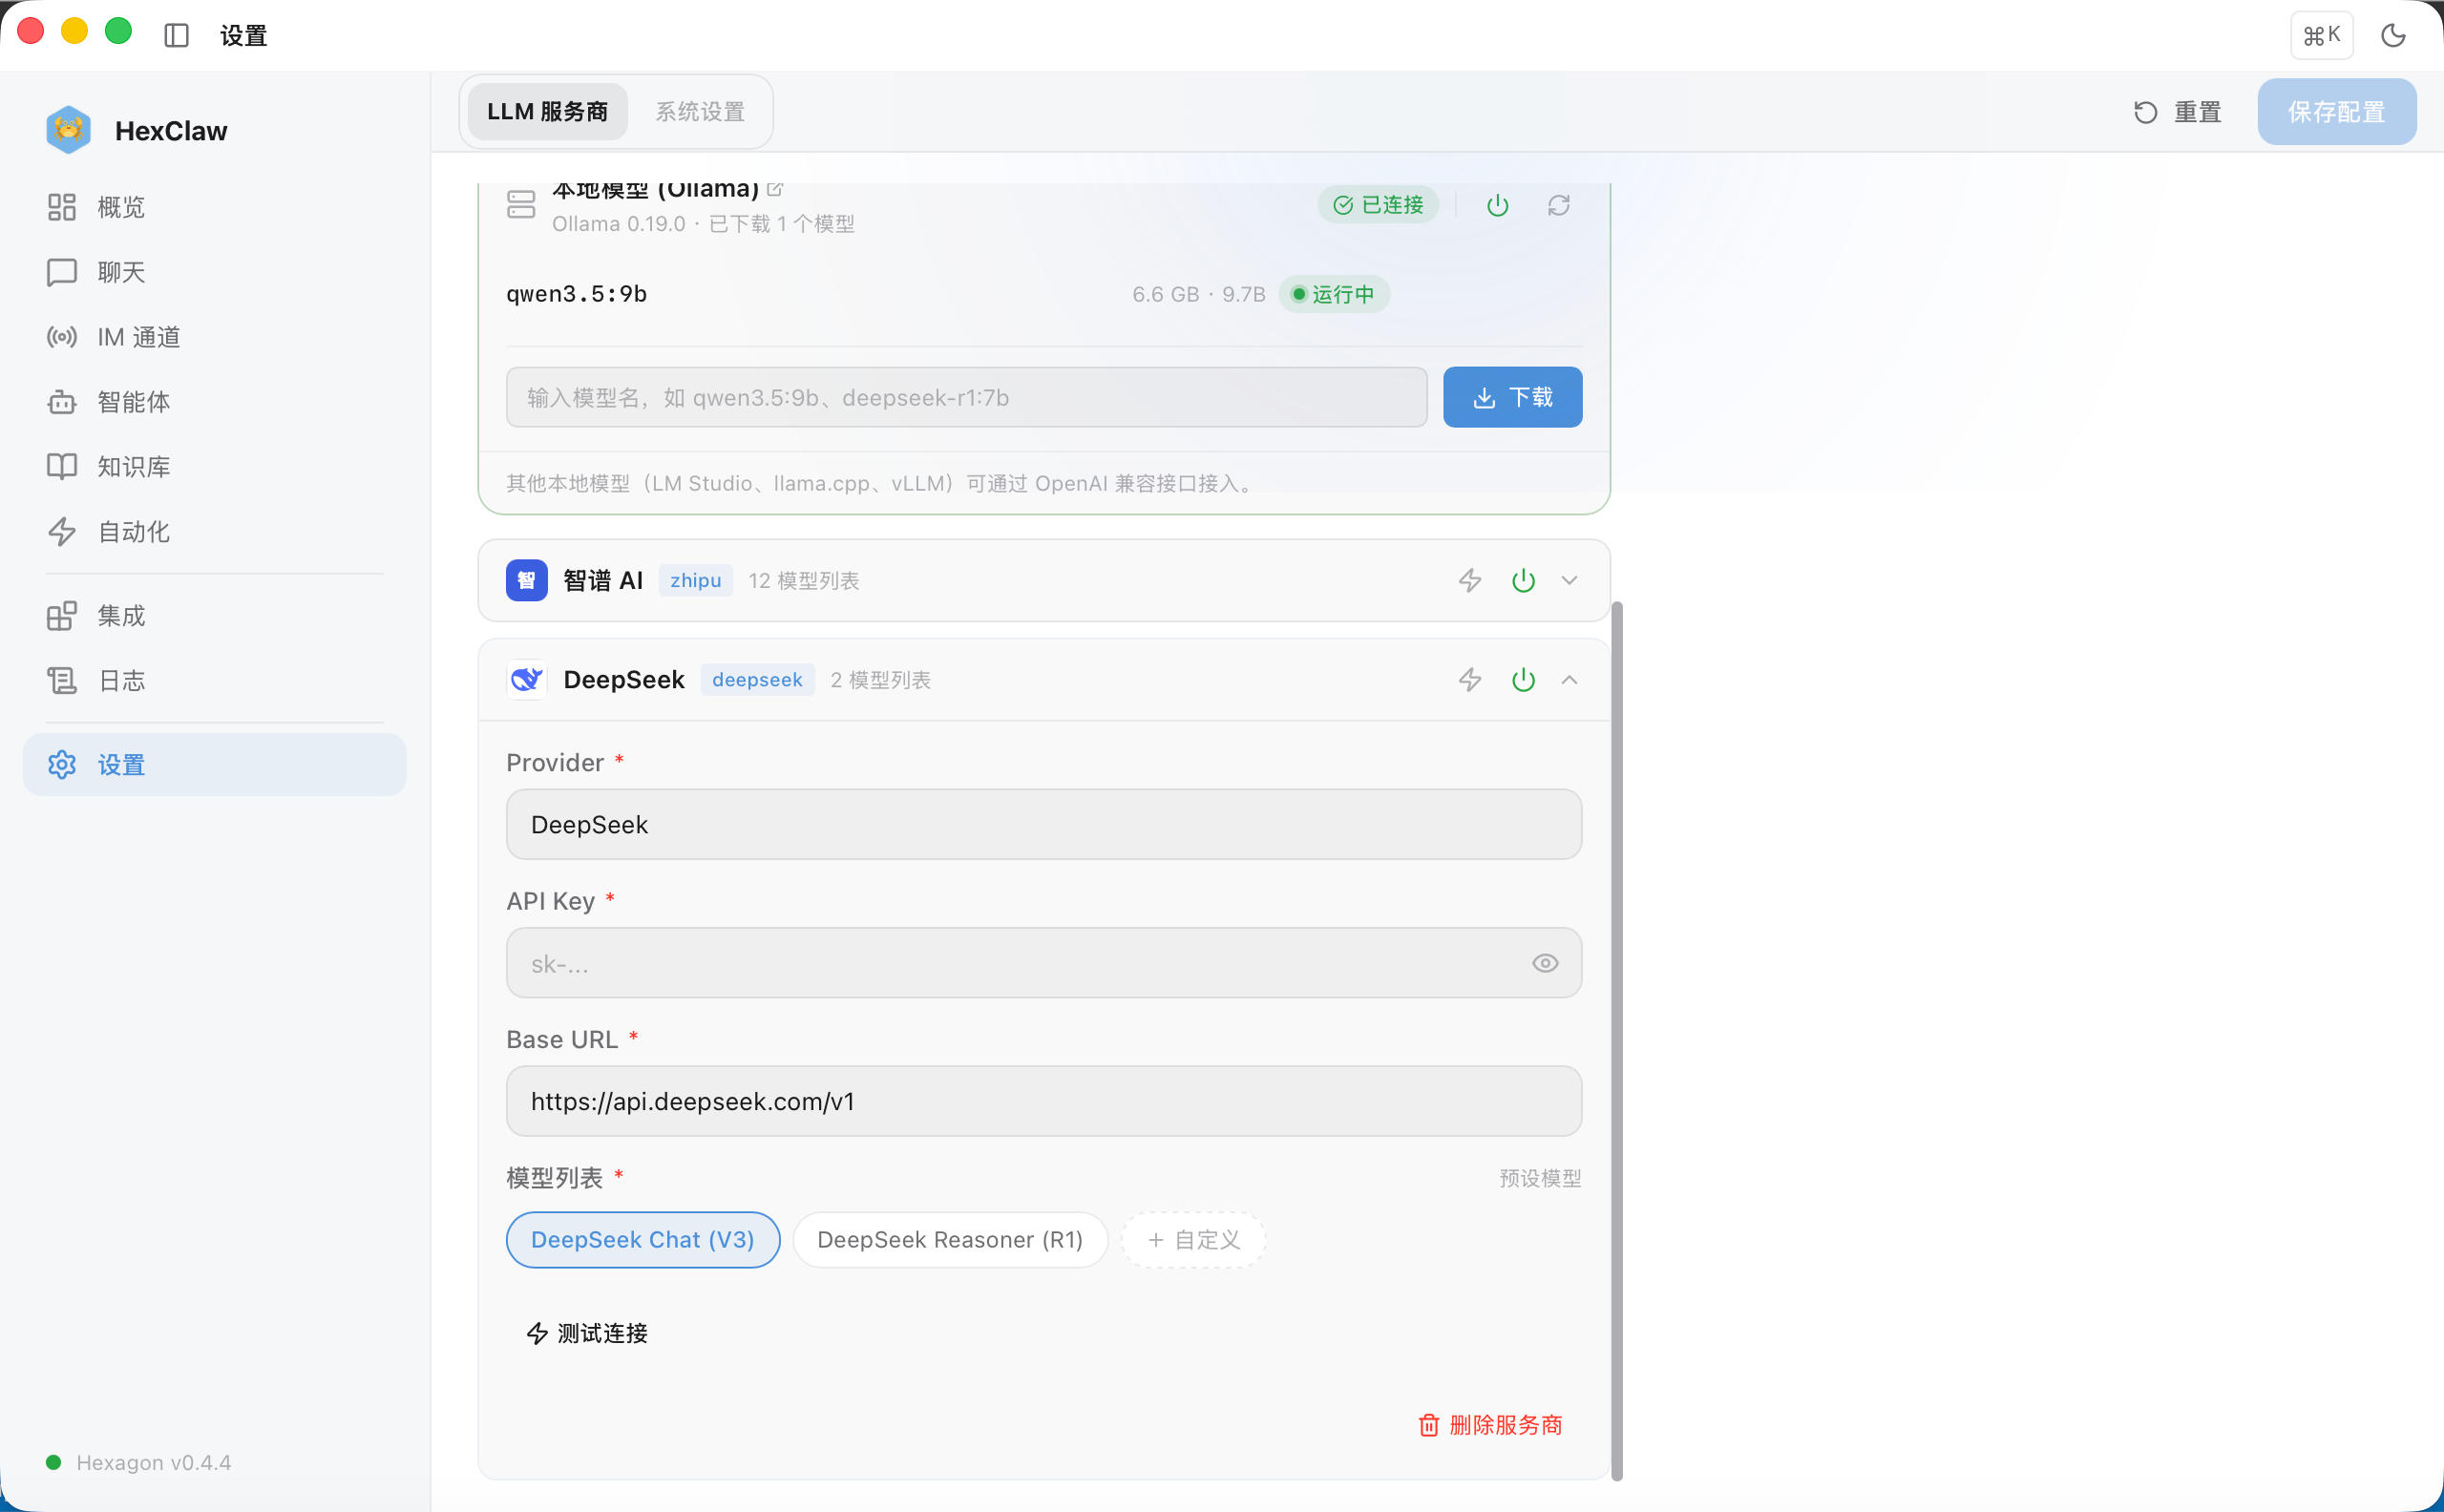
The automatic mistake-review lists and answer-return reminders described above also go to the bound private chat. Send to Phone delivers once to all currently active receiving targets bound to this tutor, with no additional recipient selection. One reminder : content sent through DingTalk reaches a third-party platform. This is a channel you deliberately enable, and its switch remains in your hands.
An honest look · What you should know
Following HexClaw's usual practice, here are the incomplete parts so you can work around them:
- Annotated images still depend on photo quality —the ✓/✗ marks are overlaid beside questions with reliable positions; questions without reliable positions receive text explanations, without putting a red cross on another question . The original is retained and annotations are generated as a separate copy. If annotated-image generation fails, this result is incomplete; follow the message and check the annotated image afterward.
- Marking accuracy depends heavily on the model —handwriting recognition and marking accuracy underpin the whole product. With a cloud model, images, questions, and relevant context are sent to the selected provider as needed and may involve multiple calls. Calculations that can be determined are checked by the current service first. This walkthrough connects to a local service, so mistakes, learning records, and profiles are stored locally .
- Hard method boundaries currently focus on math —math explanations use grade, term, and linked textbook progress to constrain methods. Other subjects follow the primary-school scope and their teaching Skills. Middle and high school remain longer-term plans.
- Distinguish Unrecognizable from processing failure —unreadable questions or answers may finish as “Unrecognizable · Not assessed,” without guessing or creating a mistake record. Send a clearer photo if you want to continue. Connection or model-call failures need the displayed error handled; confirm the task's state before sending repeatedly.
- Scheduled tasks require the local service to be online —when the computer is shut down or asleep, or the HexClaw service exits, tasks cannot run on time. Phone delivery also depends on that service and channel connection. Keep them running for scheduled messages.
Before teaching, check what was verified, then use the answers and explanations with your child. Give anything marked 🤖 another look. Photo question search gives an answer; this toolkit aims to support the twenty minutes spent helping your child understand it.
Create the profile once and make the routine easier.
Send homework, read feedback, explain it, and return practice answers—
so each tutoring session connects with the child's next step forward.
Website tutorial: https://hexclaw.net/zh/docs/k12
Want to know what makes it trustworthy? Read its companion, “ Calmer Homework Time with HexClaw AI: Engineering the First K12 Flagship Scenario ”—the explanation of calculation evidence, locally owned mistake records, and a scenario package removable at compile time.